
A note from the future: This post was originally written when I was still learning to tackle some of the DIY projects that intimidated me. Years later, I still believe one of the best things you can do for yourself—and your home—is learn which jobs really are within your reach. Sometimes the scary part is simply not knowing how something works.
Before you assess a project, research it — look for tutorial videos, learn not just about the process of the project itself, but also what materials will you need? Can you find them? Are they affordable?
Alright, raise your hand if you’re afraid of power tools.
Go ahead. Don’t be shy. You’re afraid you are going to cut your hand off, right?
I am slowly overcoming my fear of losing appendages in the name of design and quite frankly, I’m on a mission to do more without the help of a man. I am deeply grateful that my husband is both handy and willing to help me realize my sometimes crazy design plans but…I want to do it on my own.
You can maybe blame this book. Yes, this children’s book. As a writer, I feel really guilty bashing the work of another writer but man, I loathe this book. Maybe I’m reading it wrong but here’s a quick summary:

Rooster Sam can fly.
The chickens cannot.
They want to fly. They try to fly. They fall on their faces.
Rooster Sam won’t teach them how to fly. (Can you picture me muttering sonofabi**h under my breath as I read this to my children?)
One mouthy chicken decides they should follow Rooster Sam and figure out his secret.
Turns out, Rooster Sam doesn’t fly at all. He hops up on the roof.
So the chickens are all like, Damn that tricky Rooster Sam! He doesn’t fly!
BUT THEN the chickens decide it’s okay that he tricked them and made them feel bad about themselves because he is handsome.
WHATTHEWHAT?! #goodwillpile
Alright, chickens. Let’s fly. And of course, by fly, I mean install our own tile.
Can You Really Cut Tile Without a Wet Saw?
Absolutely—depending on the tile and the cuts you need to make.
For this project, we were working with ceramic tile and mostly needed straight cuts. Instead of using a wet saw, we used a manual tile cutter, sometimes called a score-and-snap cutter.
There’s no electricity, spinning blade or water involved. The little scoring wheel makes a line across the surface of the tile, and then the tool applies pressure to snap the tile along that line. For a beginner tackling a relatively simple ceramic tile project, it’s wonderfully uncomplicated.
One important caveat: a manual cutter isn’t the answer for every tile or every cut. Curves, notches, holes, very thick porcelain and some natural stone may require different tools.
How to Cut Ceramic Tile With a Manual Tile Cutter
Then we give actual written instructions so the post never again depends on a YouTube video to be useful:
- Measure and mark your cut. Mark the tile where you need your finished edge.
- Line up the tile. Place it flat in the cutter and align your mark with the scoring wheel.
- Score it once. Run the scoring wheel across the tile in one smooth, firm pass. Don’t keep running backward and forward over the same line; a single consistent score generally gives you the cleaner break.
- Snap the tile. Position the breaking foot over the score and press the handle down firmly.
- Smooth the edge if necessary. A tile rubbing stone or appropriate abrasive can clean up a slightly rough cut edge.
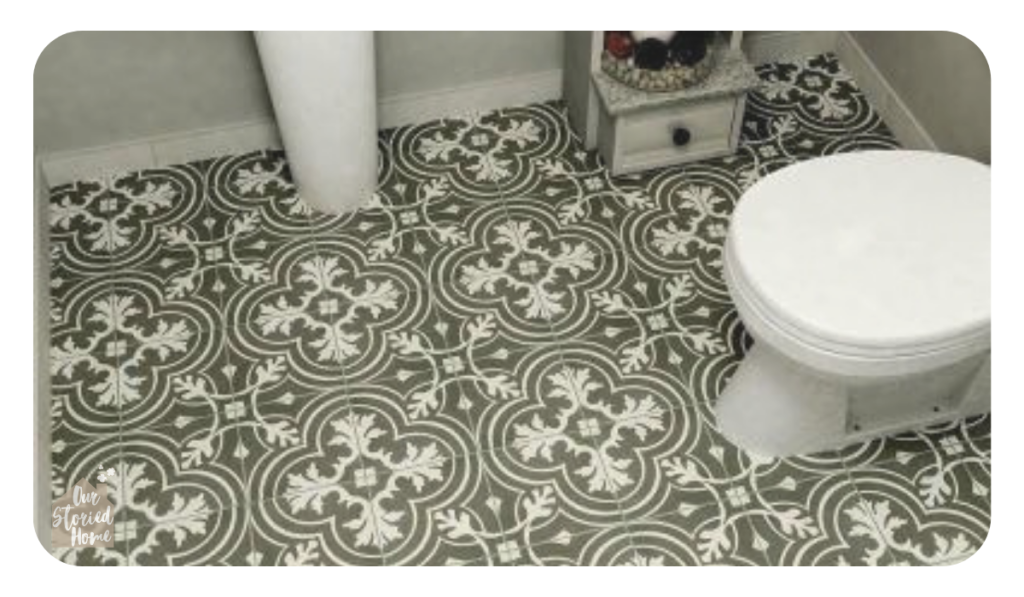
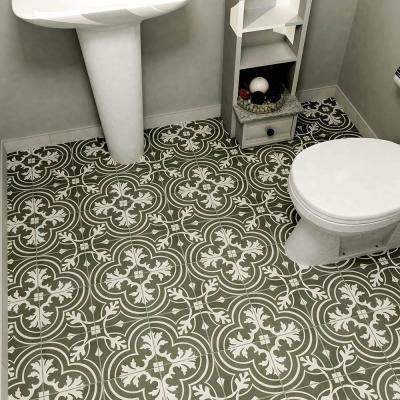
I’m using this ceramic tile from Overstock.com as a feature wall over the garden tub. It has the look of cement tile (which Joanna Gaines has been leaning hard on this season of Fixer Upper) but it’s much more affordable.
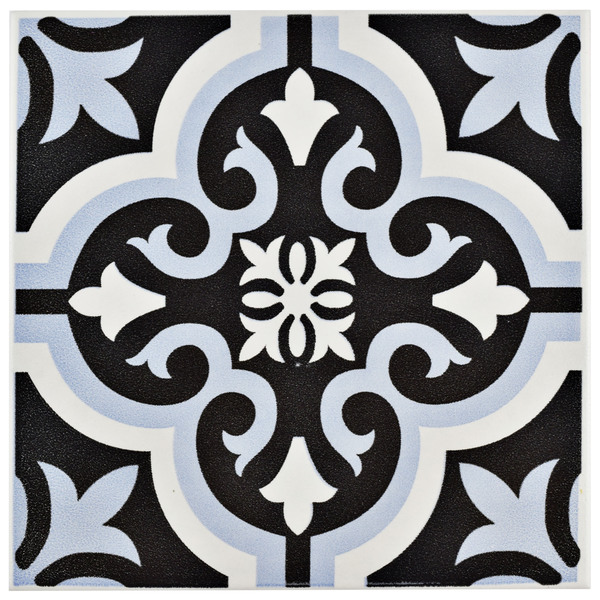
If you like this look, Home Depot also carries a very pretty and well-priced tile that again, has the look of cement tile.
Okay, so we can pick out pretty tile all day long but can we install it? Yes. Yes, we can. And you are not going to lose a finger. Why? Because a tile cutter is crazy-easy to use and you can get one for about 35 bucks. That’s a heck of a lot cheaper than professional installation.
Okay, admittedly, Travis is doing the cutting in this video but Eli (our one-year-old) wouldn’t let me put him down. Trust me, I had the harder job here.
In my humble opinion, cutting the tile is the hard part of installing tile and now that we realize how simple that can be, we’re set. I keep it really simple and buy pre-mixed thinset because I have enough messes in my life. Here’s a quick video…
I’ve used this tile cutter and back-buttering process with this simple, square tile but also with the glass arabesque feature wall in our guest bathroom so don’t be scared.
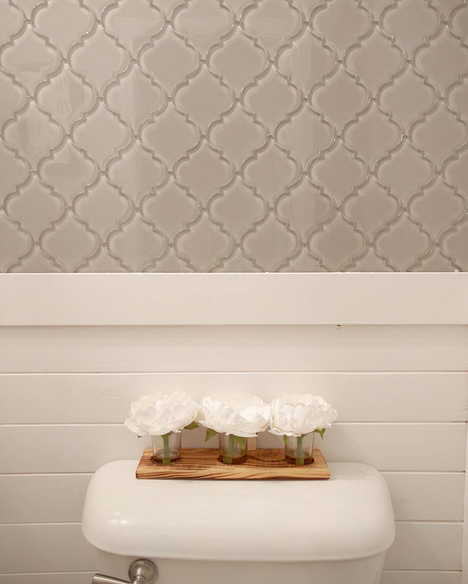
Take that Rooster Sam! We can fly, too!
*This post contains affiliate links. You can read more about my policies on that here if you’d like.






3 Responses
That’s going to look great! BUT….Is that enough thin set to keep it attached to the wall? The thin set isn’t even spread all of the way to the edge on that piece. I’m scared it will all just fall over in one huge wall. I’m probably the kind that would use so much it would be a huge mess.
Hi, Lisa! You’re right, I typically put more thin set but I was trying to film with one hand and apply the thin set with the other. That said, you don’t want to apply too much thin set for two reasons: One, it will squish up between the cracks and two, if you’ve got too much, the tile won’t sit flush to the wall. Thanks for your good eye :)