

The staircase is the first thing you see when you enter our house and when we moved in two years ago, it was carpeted in a builder-basic carpet that wasn’t white or tan or gray. The best way I can describe it is skinned Muppets. Dirty skinned Muppets. Just imagine Fozzie stretched out over 14 steps.
I hated them so much, I don’t even have a before picture. There wasn’t time. I realize that is a DIY blogger fail not to have a before picture, and I apologize, but friend, if you’ve ever walked into a suburban house, you’ve seen them. Unless you live in an old (read: dream) house, then you probably have skinned-Muppet stairs, too.
But that’s okay. Really it is. We can fix them and we can do it on the cheap. We painted ours for under $50! (This posts contains affiliate links for your convenience.)

Take a deep breath, friend. This is a cheap project, yes, but it’s going to be a labor of love. Ready? Of course you are. You’ve got this.
Okay, before we get too ahead of ourselves, you better take a peek at what’s underneath that carpet. Look for a place where you can pull it back a little. Most builder-grade stairs will have a tread that is in decent enough shape to paint and a riser that looks pretty rough. Sort of like this:
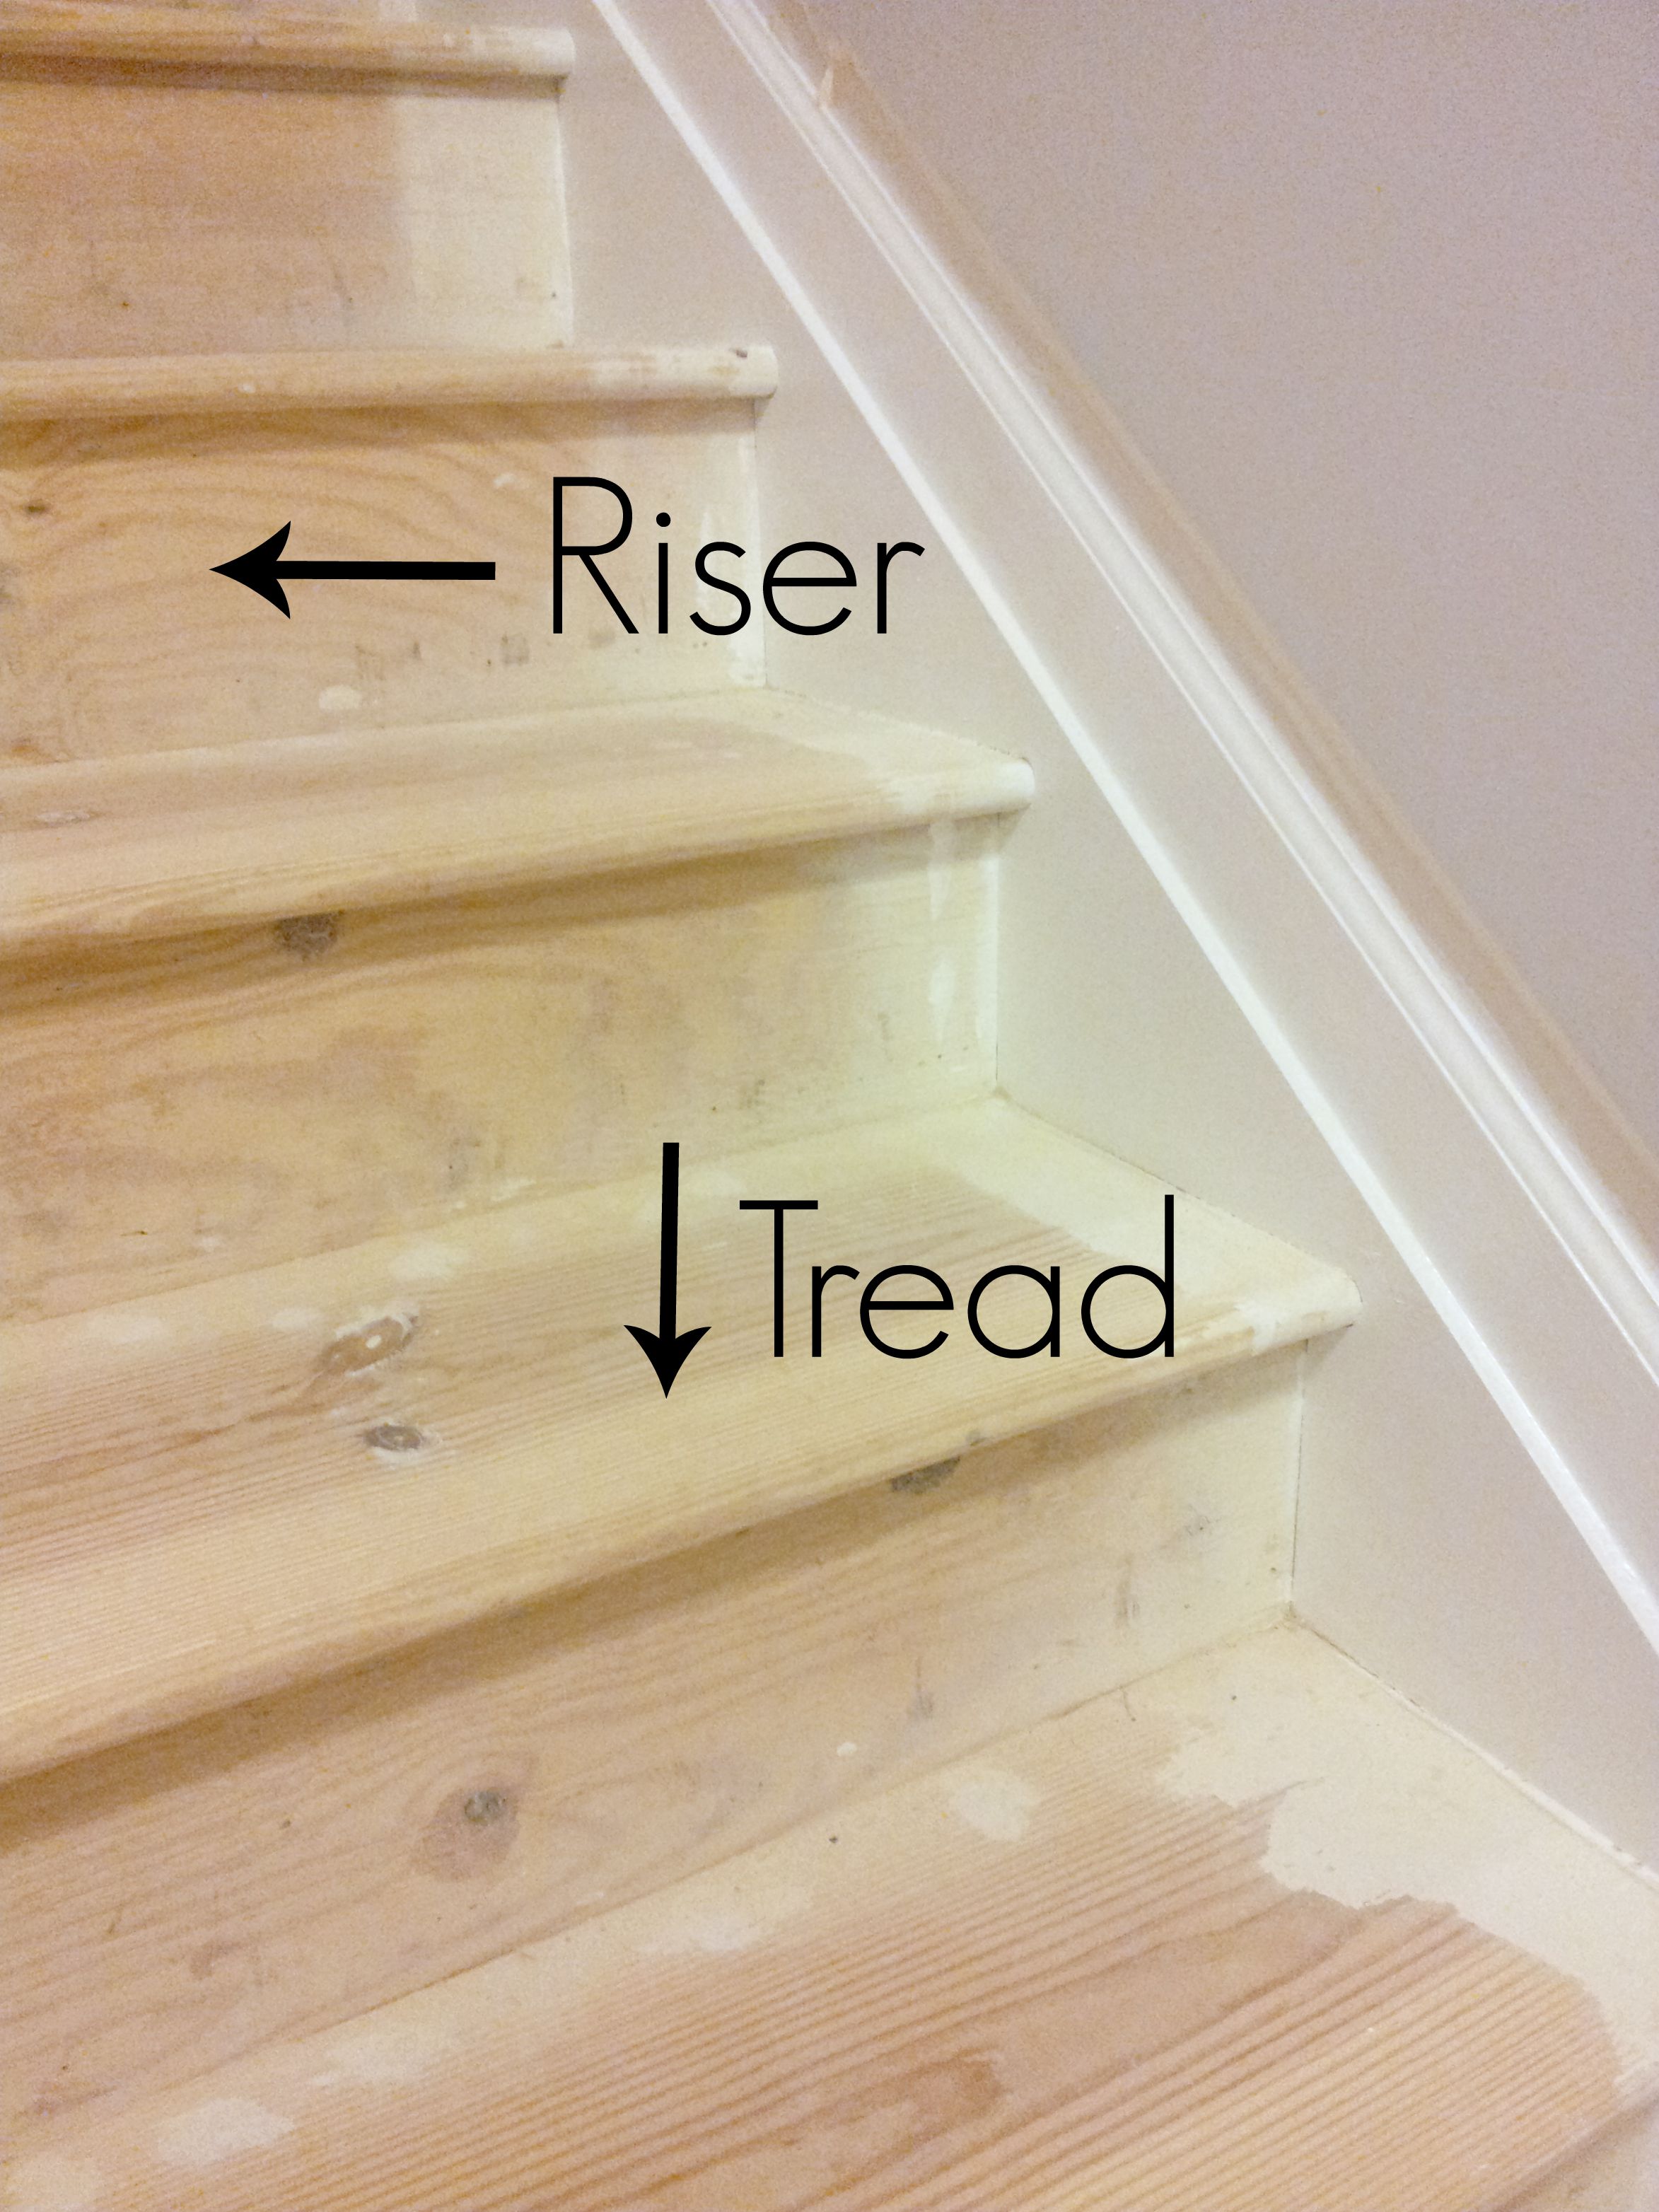
This picture is a little deceiving and doesn’t show just how rough the risers looked. When you peek at your stairs, you’ll be able to see that the risers are rough and the treads are better quality wood. The treads will have some knots and of course, staple holes, but we can fix those issues.
Ripping the carpet up is the easy part. You’ll start at the top and just pull. I’m a little giddy imagining all of the POP-POP-POP sounds of staples leaving wood. This step is DIY therapy at it’s best.
Your stairs are going to look like this once the carpet is gone. You’ll be left with gross carpet padding, tack strips and thousands of staples. Grab a pair of gloves, a hammer and crowbar and start pulling everything out.
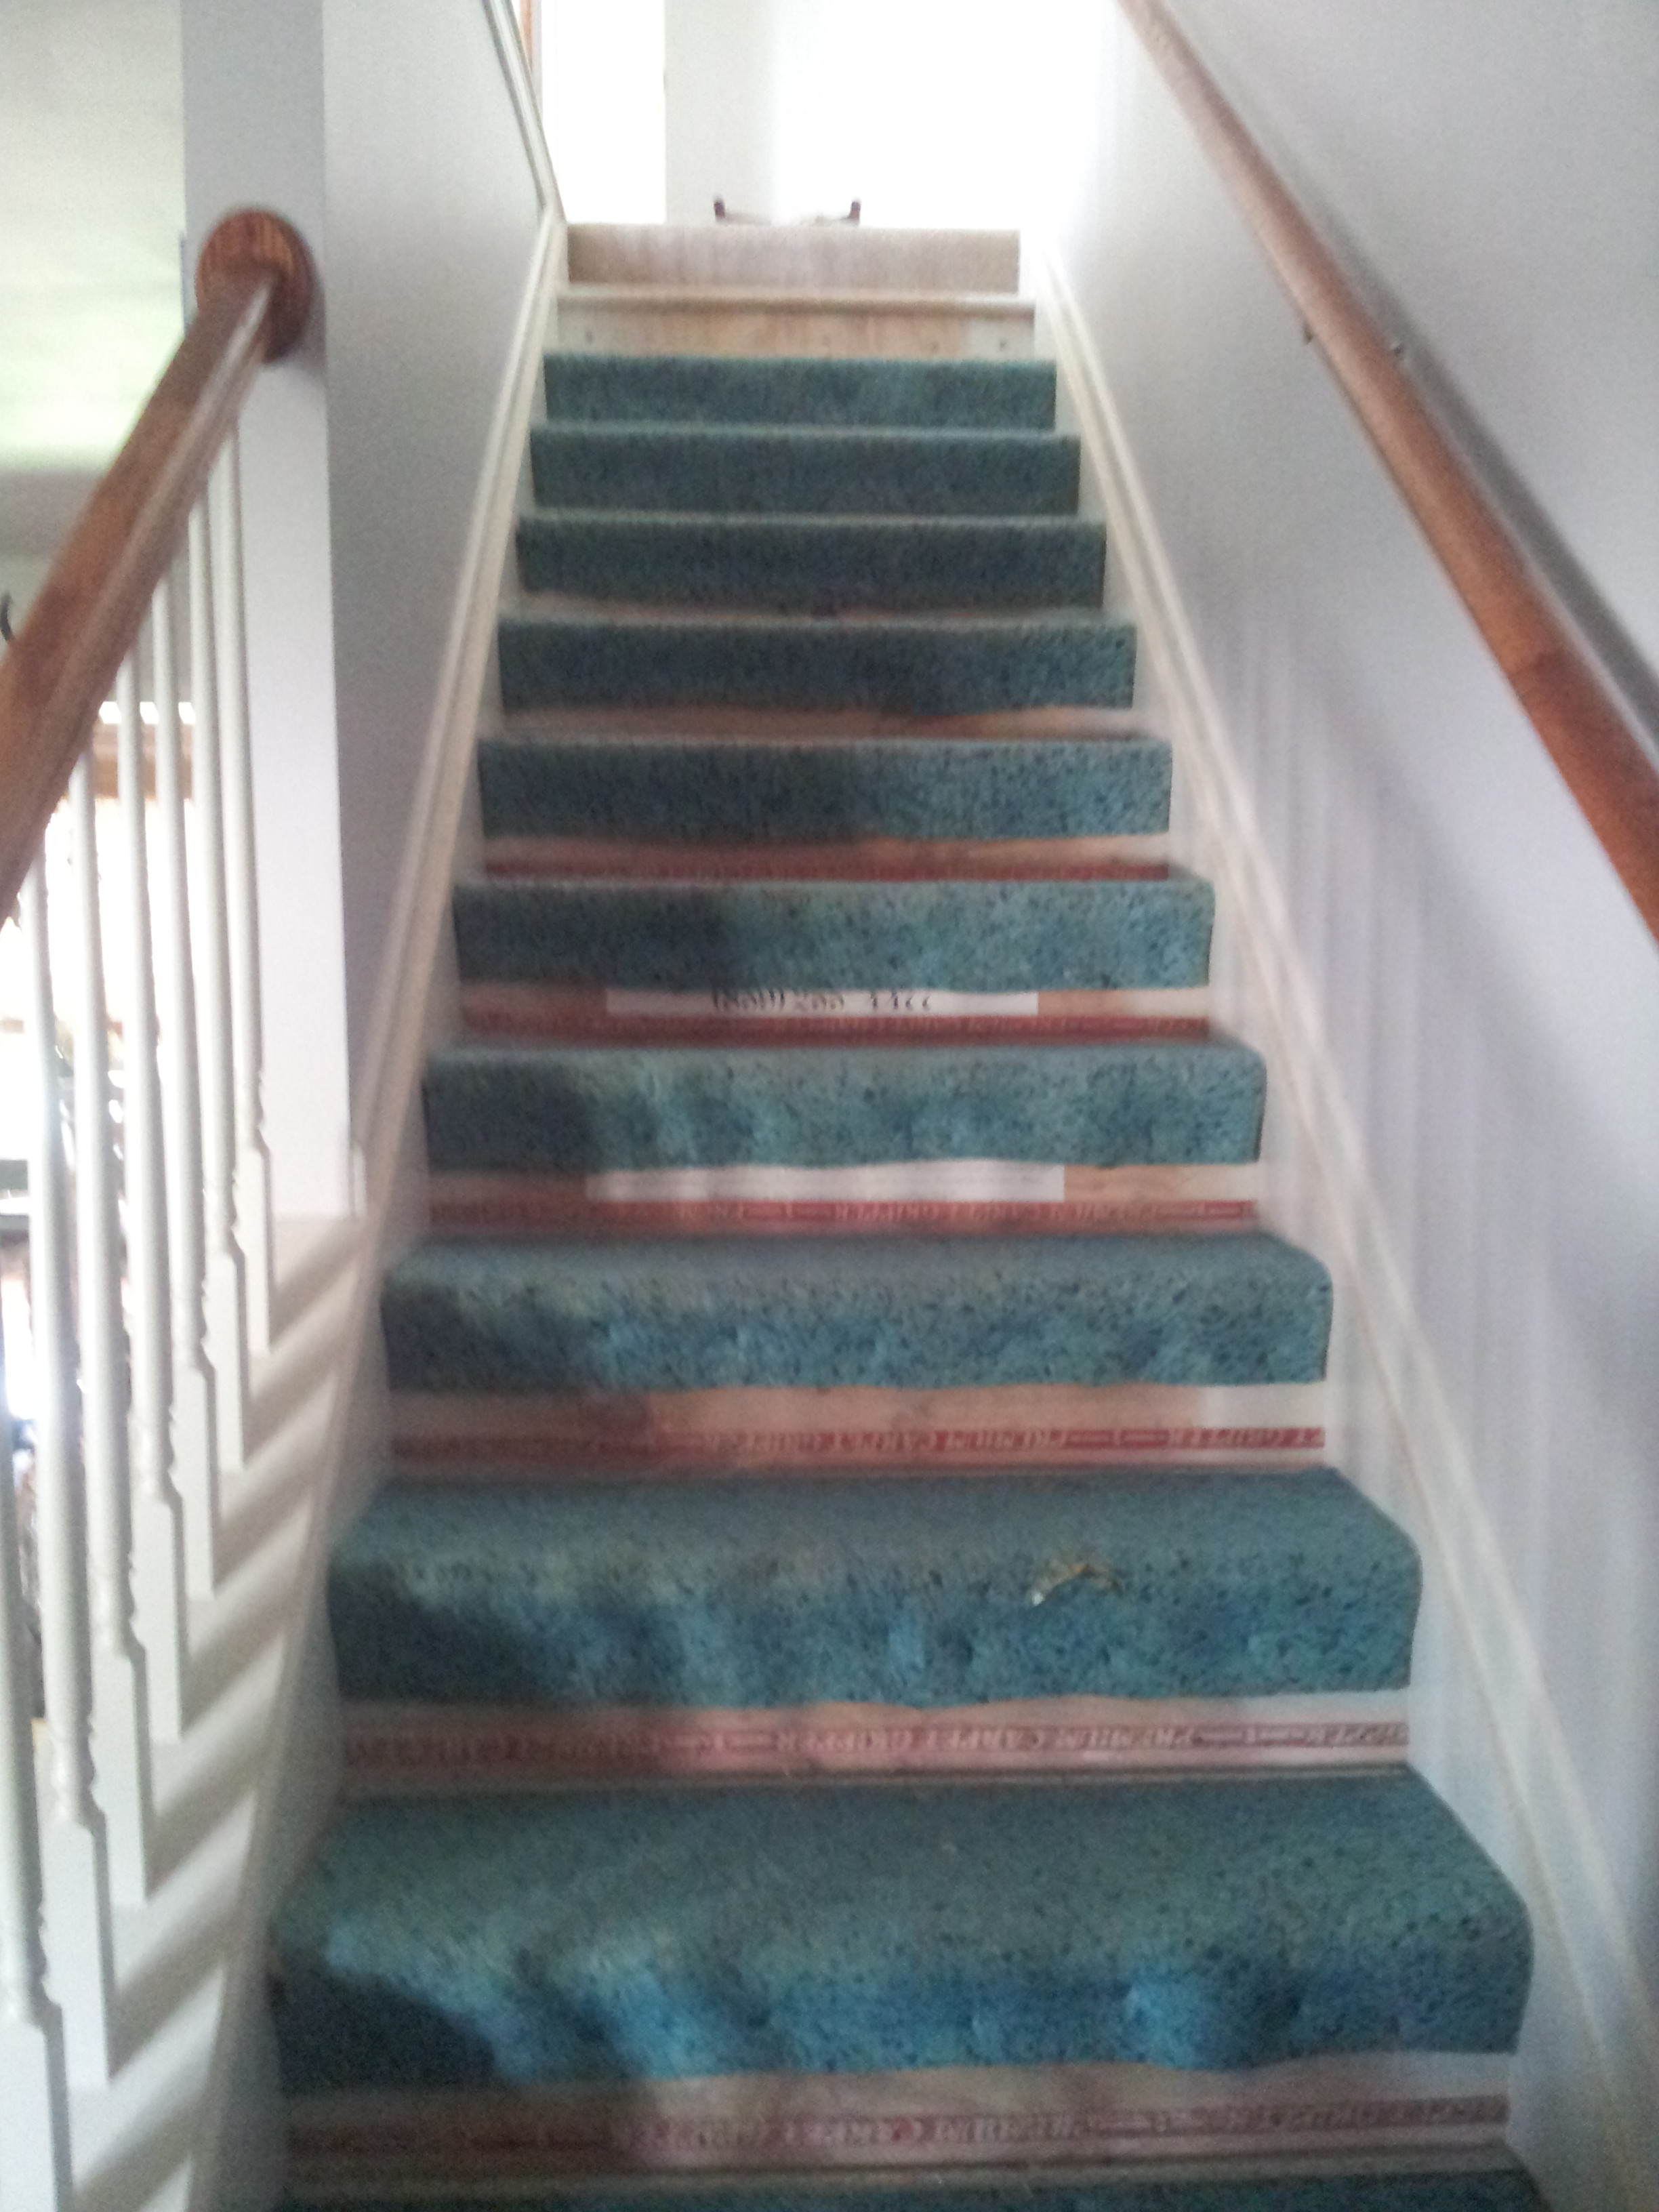
Remember when I said this was going to be a labor of love? Here’s the part where love is a battlefield. That’s okay; heartache to heartache, we stand. Maybe grab something to drink and turn on some good music. This is going to take awhile.
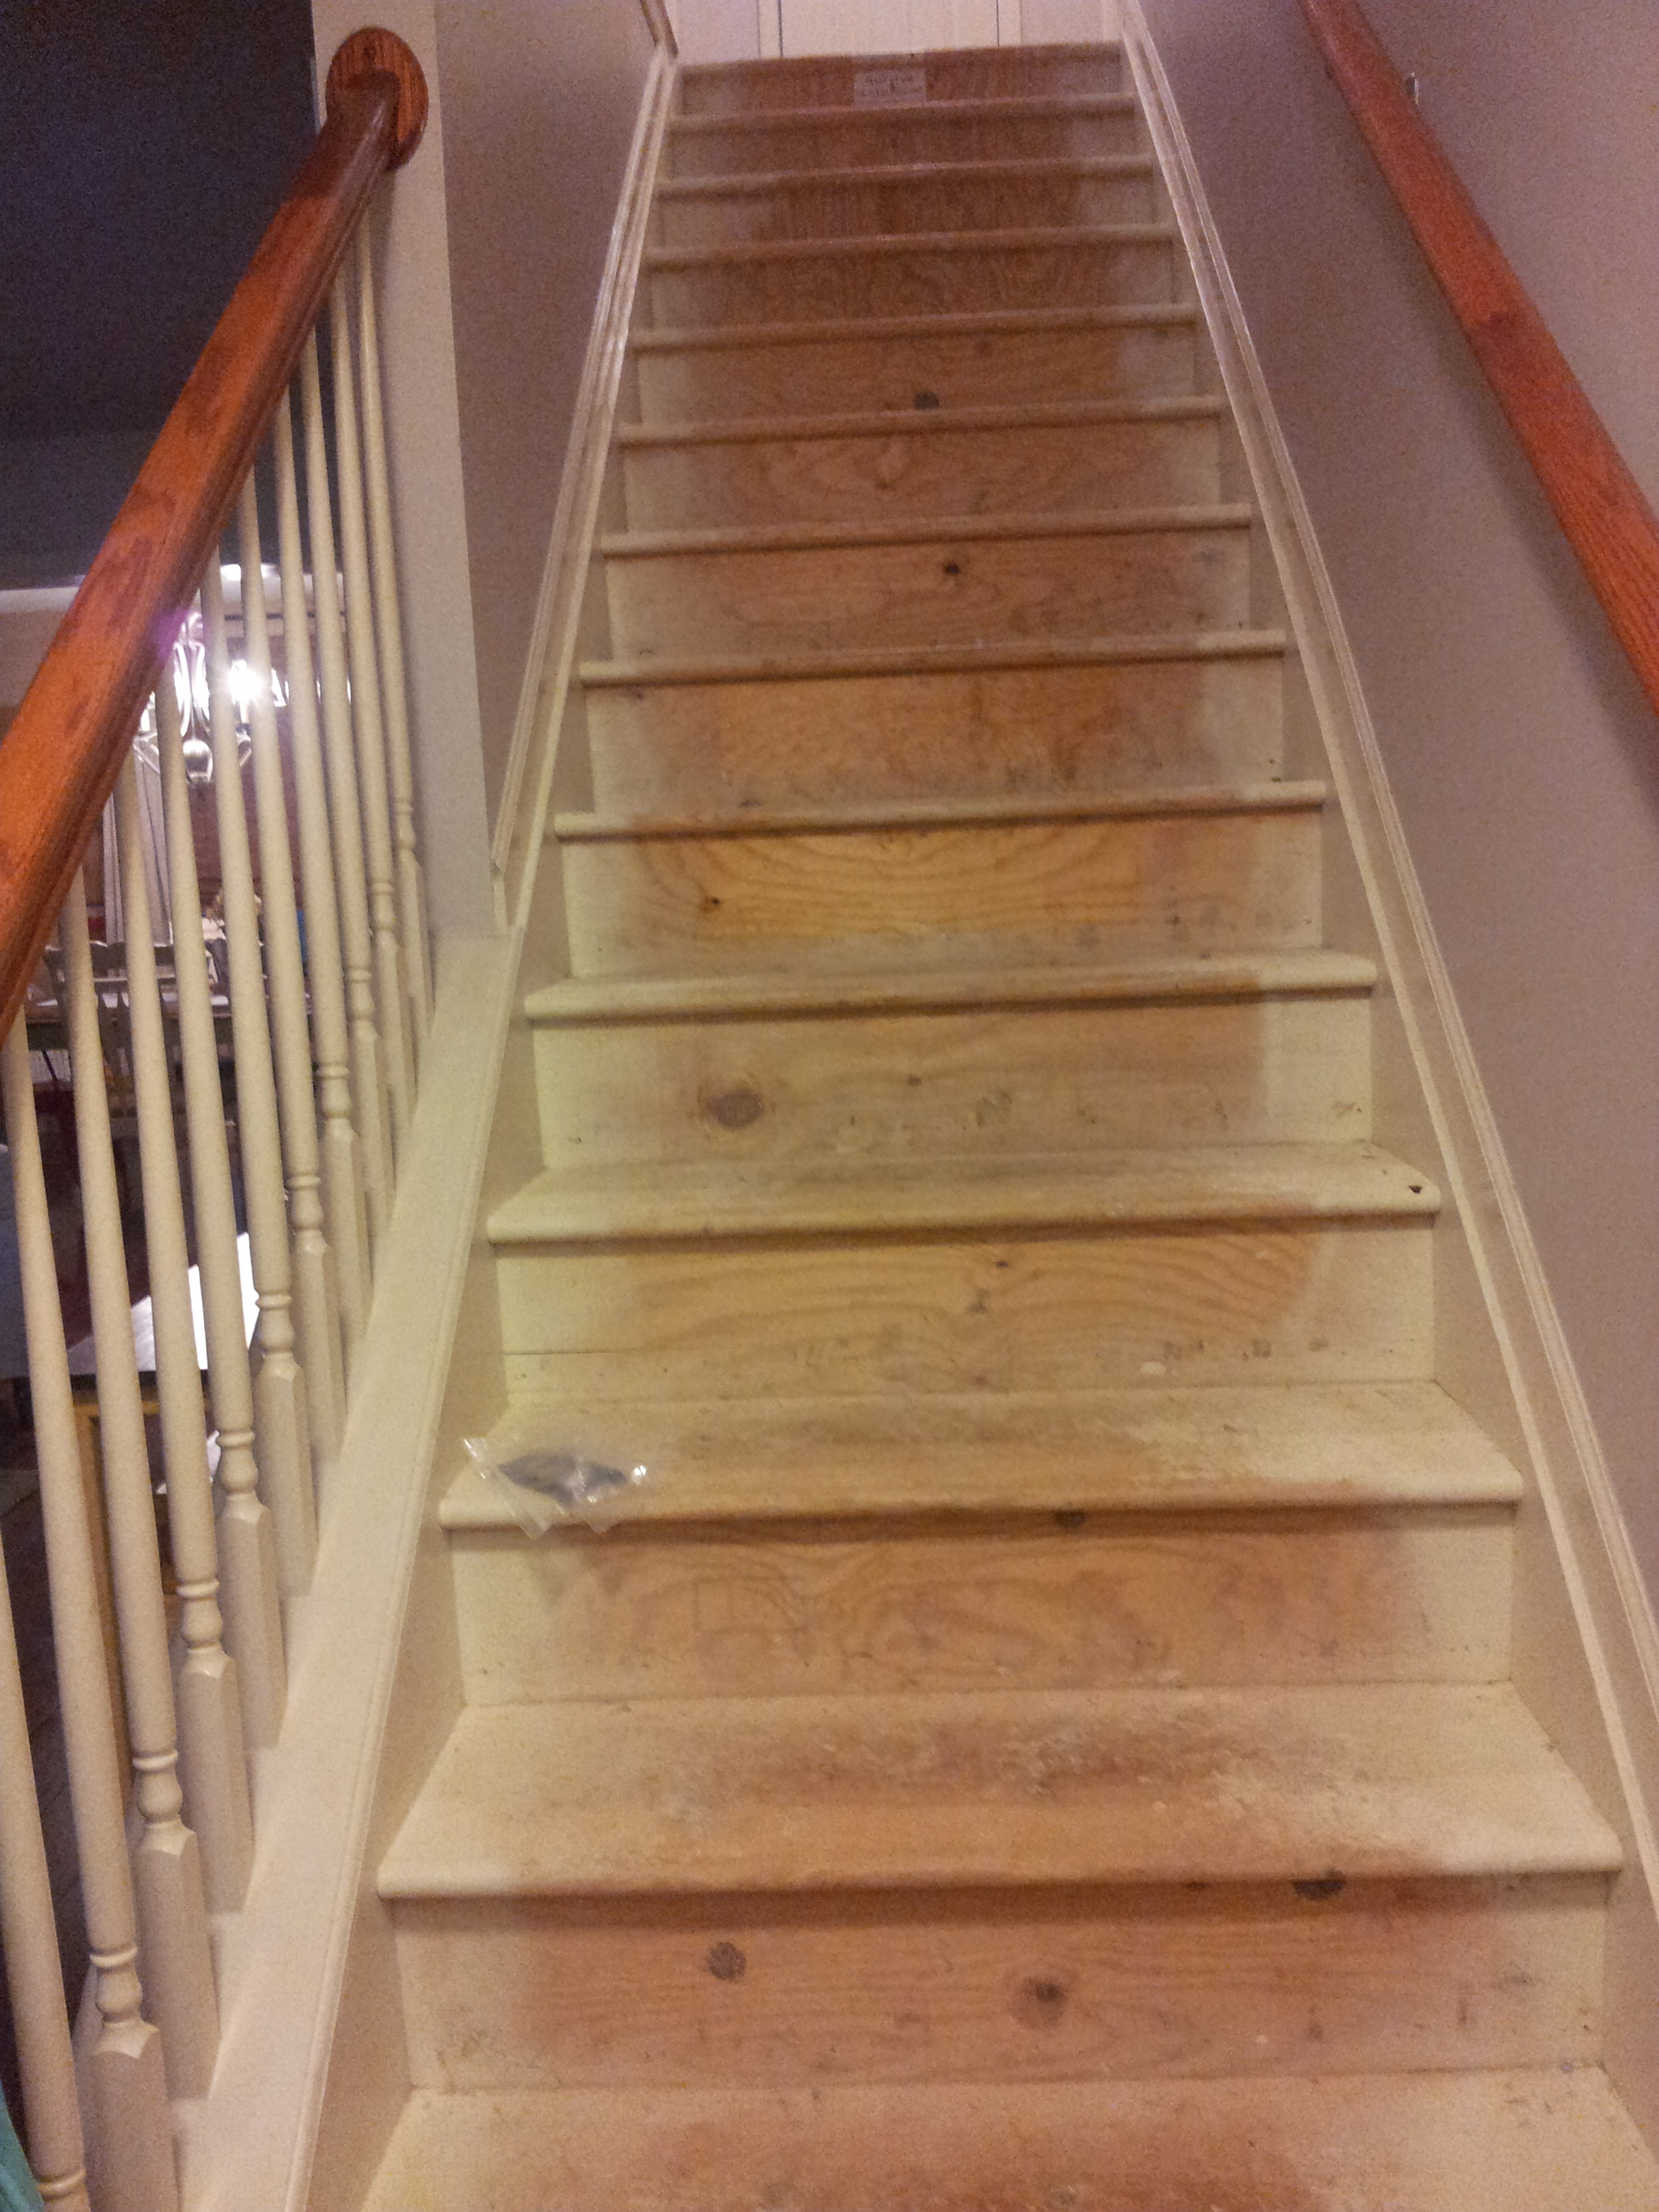
Once you have pulled everything out, you’ll need to clean the stairs. They will be filthy. Hair. Dust. Dirt. A decade-worth of yuck.
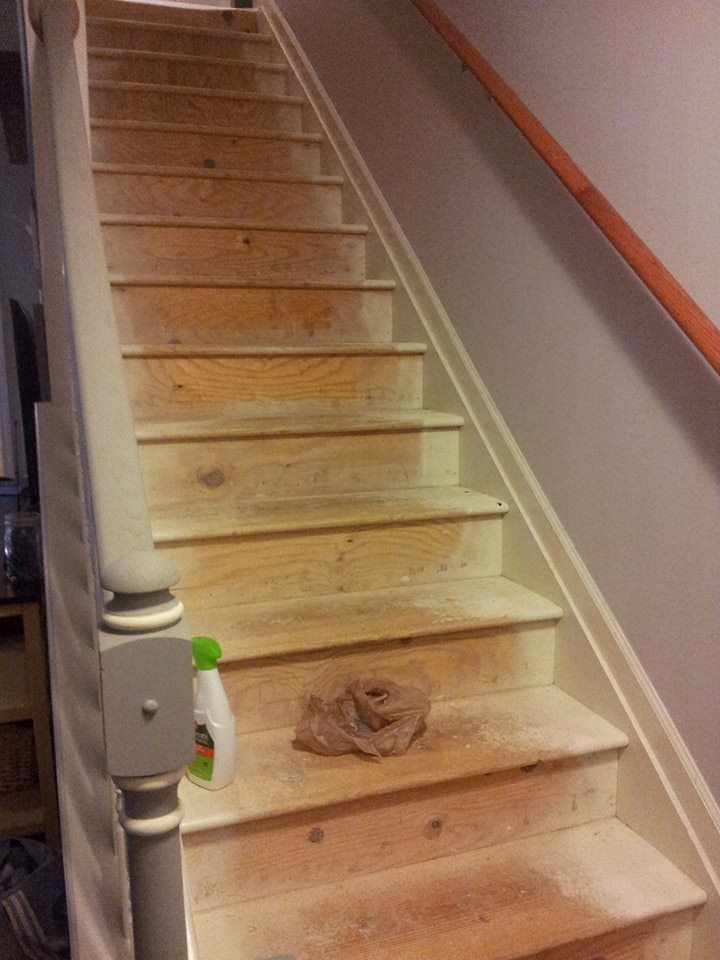
Get all of that up and start filling the holes in the treads. I like and use 3M Paintable and Stainable Wood Filler. You can use a little spackle tool but I like to get in there with my fingers and fill the knots and holes. Don’t worry about the risers. We’re going to cover those up.


Okay, here’s my little secret: I painted all of the stair treads with one sample quart of Sherwin-Williams Halcyon Green. I didn’t use primer, and I applied the paint with a brush, painting every other tread first so we could still use the staircase. Once those were dry, I painted the remaining treads.
Note: Paint samples and prices have changed since this project was completed. For the most durable results, ask your paint retailer to recommend a primer and floor-rated paint appropriate for your stair material and household traffic.
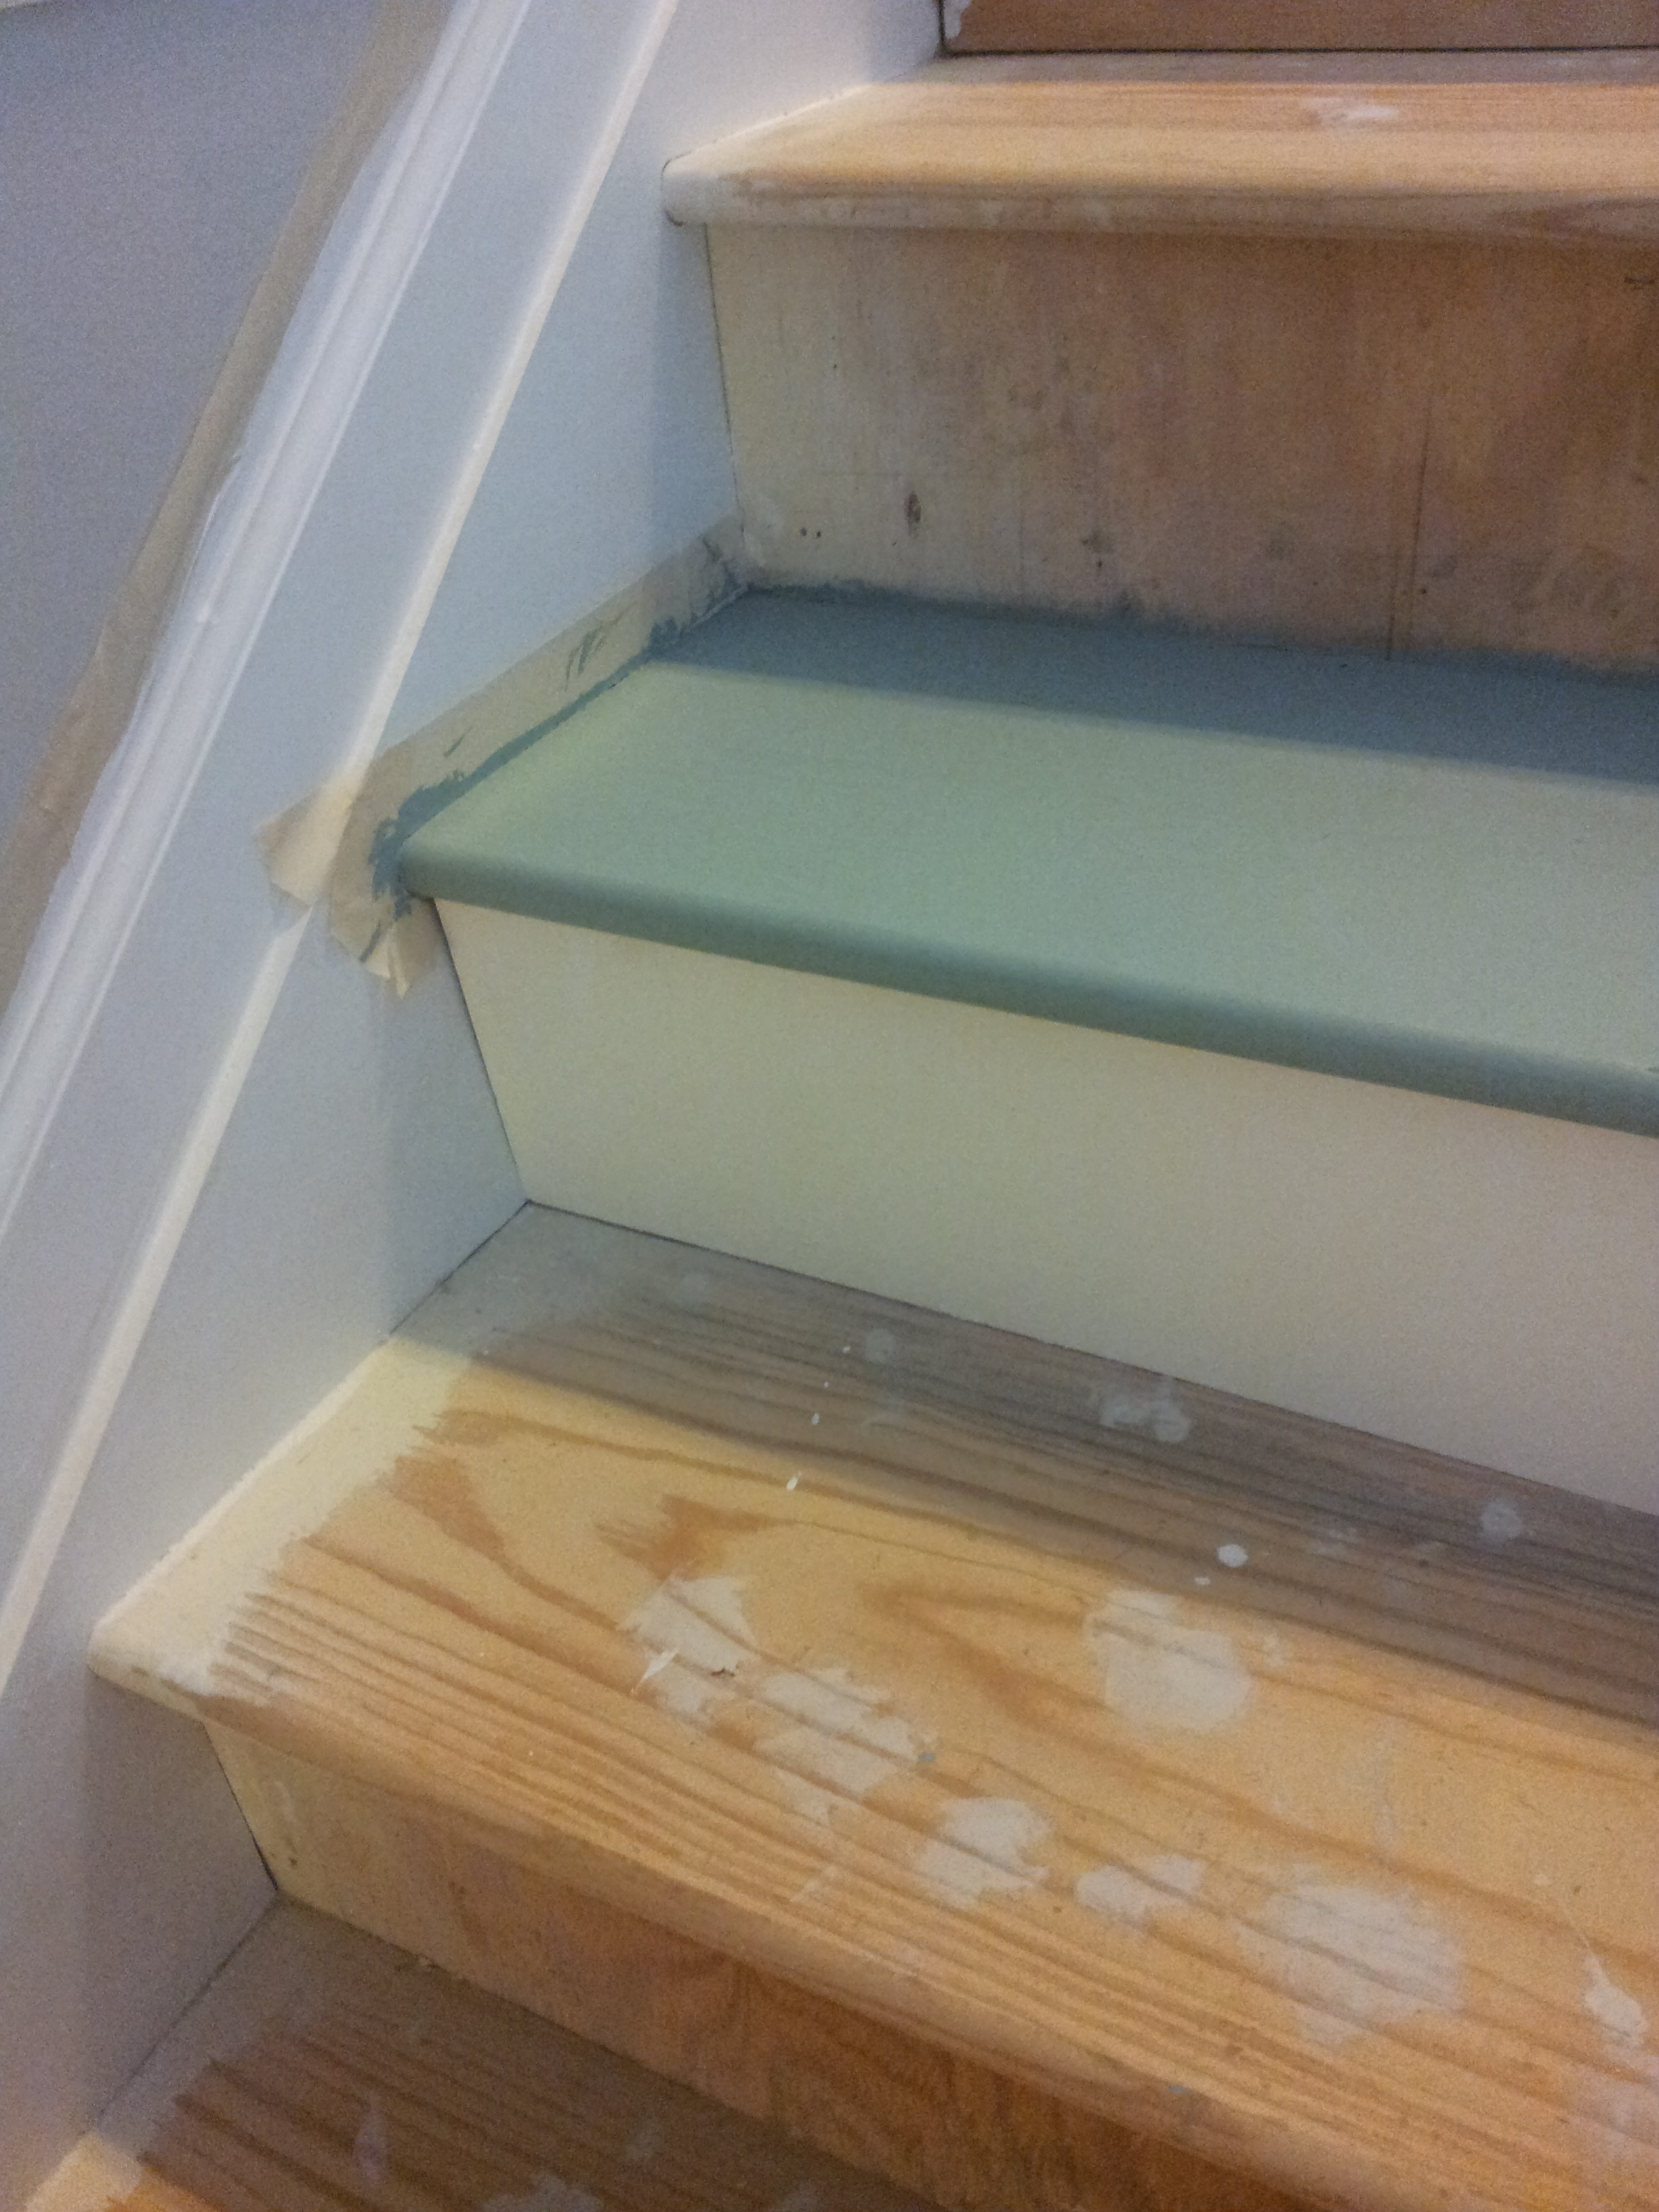
At this point, I was giddy and had to stand the riser up next to the painted tread to see how it was going to look.But how could that possibly hold up to traffic, you ask? Honestly, I painted the stairs and didn’t touch them for a few months and the paint held up just fine through one of the worst winters we’ve ever had. If you want extra protection, here’s the trick:
Update: I originally protected the painted stair treads with two to three coats of Polycrylic. However, the manufacturer does not currently recommend Polycrylic for floors or other high-traffic surfaces. Today, I would use a clear, floor-rated polyurethane instead, following the manufacturer’s application and drying instructions. A satin finish provides protection without making the stairs look overly shiny. Keep in mind that any smooth clear finish may make painted stairs feel slick, so consider adding a securely installed stair runner or another slip-resistant solution.
You can purchase pre-cut stair risers for about $10 each or save some money and cut your own. We cut our own out of thin plywood and that only cost about $20. Once we painted the risers white, we used Liquid Nails to install the risers then hit them with the nail gun so they’d be secure.
Another option are stair riser decals. This is a great option that is cheaper (many less than $50) and there are so manay options!
After we installed all of the risers, we used caulk to give them a seamless look and touched up the trim and risers with my favorite white, Sherwin Williams’ Pure White. Again, I used a sample quart.

I snapped this (blurry) photo of Ada on the stairs, just before I finished them. If you look closely, you can see the spots where I filled the nail holes on the risers. I used a small foam roller to repaint those places so everything is crisp and seamless.
I have since added a custom-cut stair runner from Sisal Rugs Direct and this is how the stairs look today:
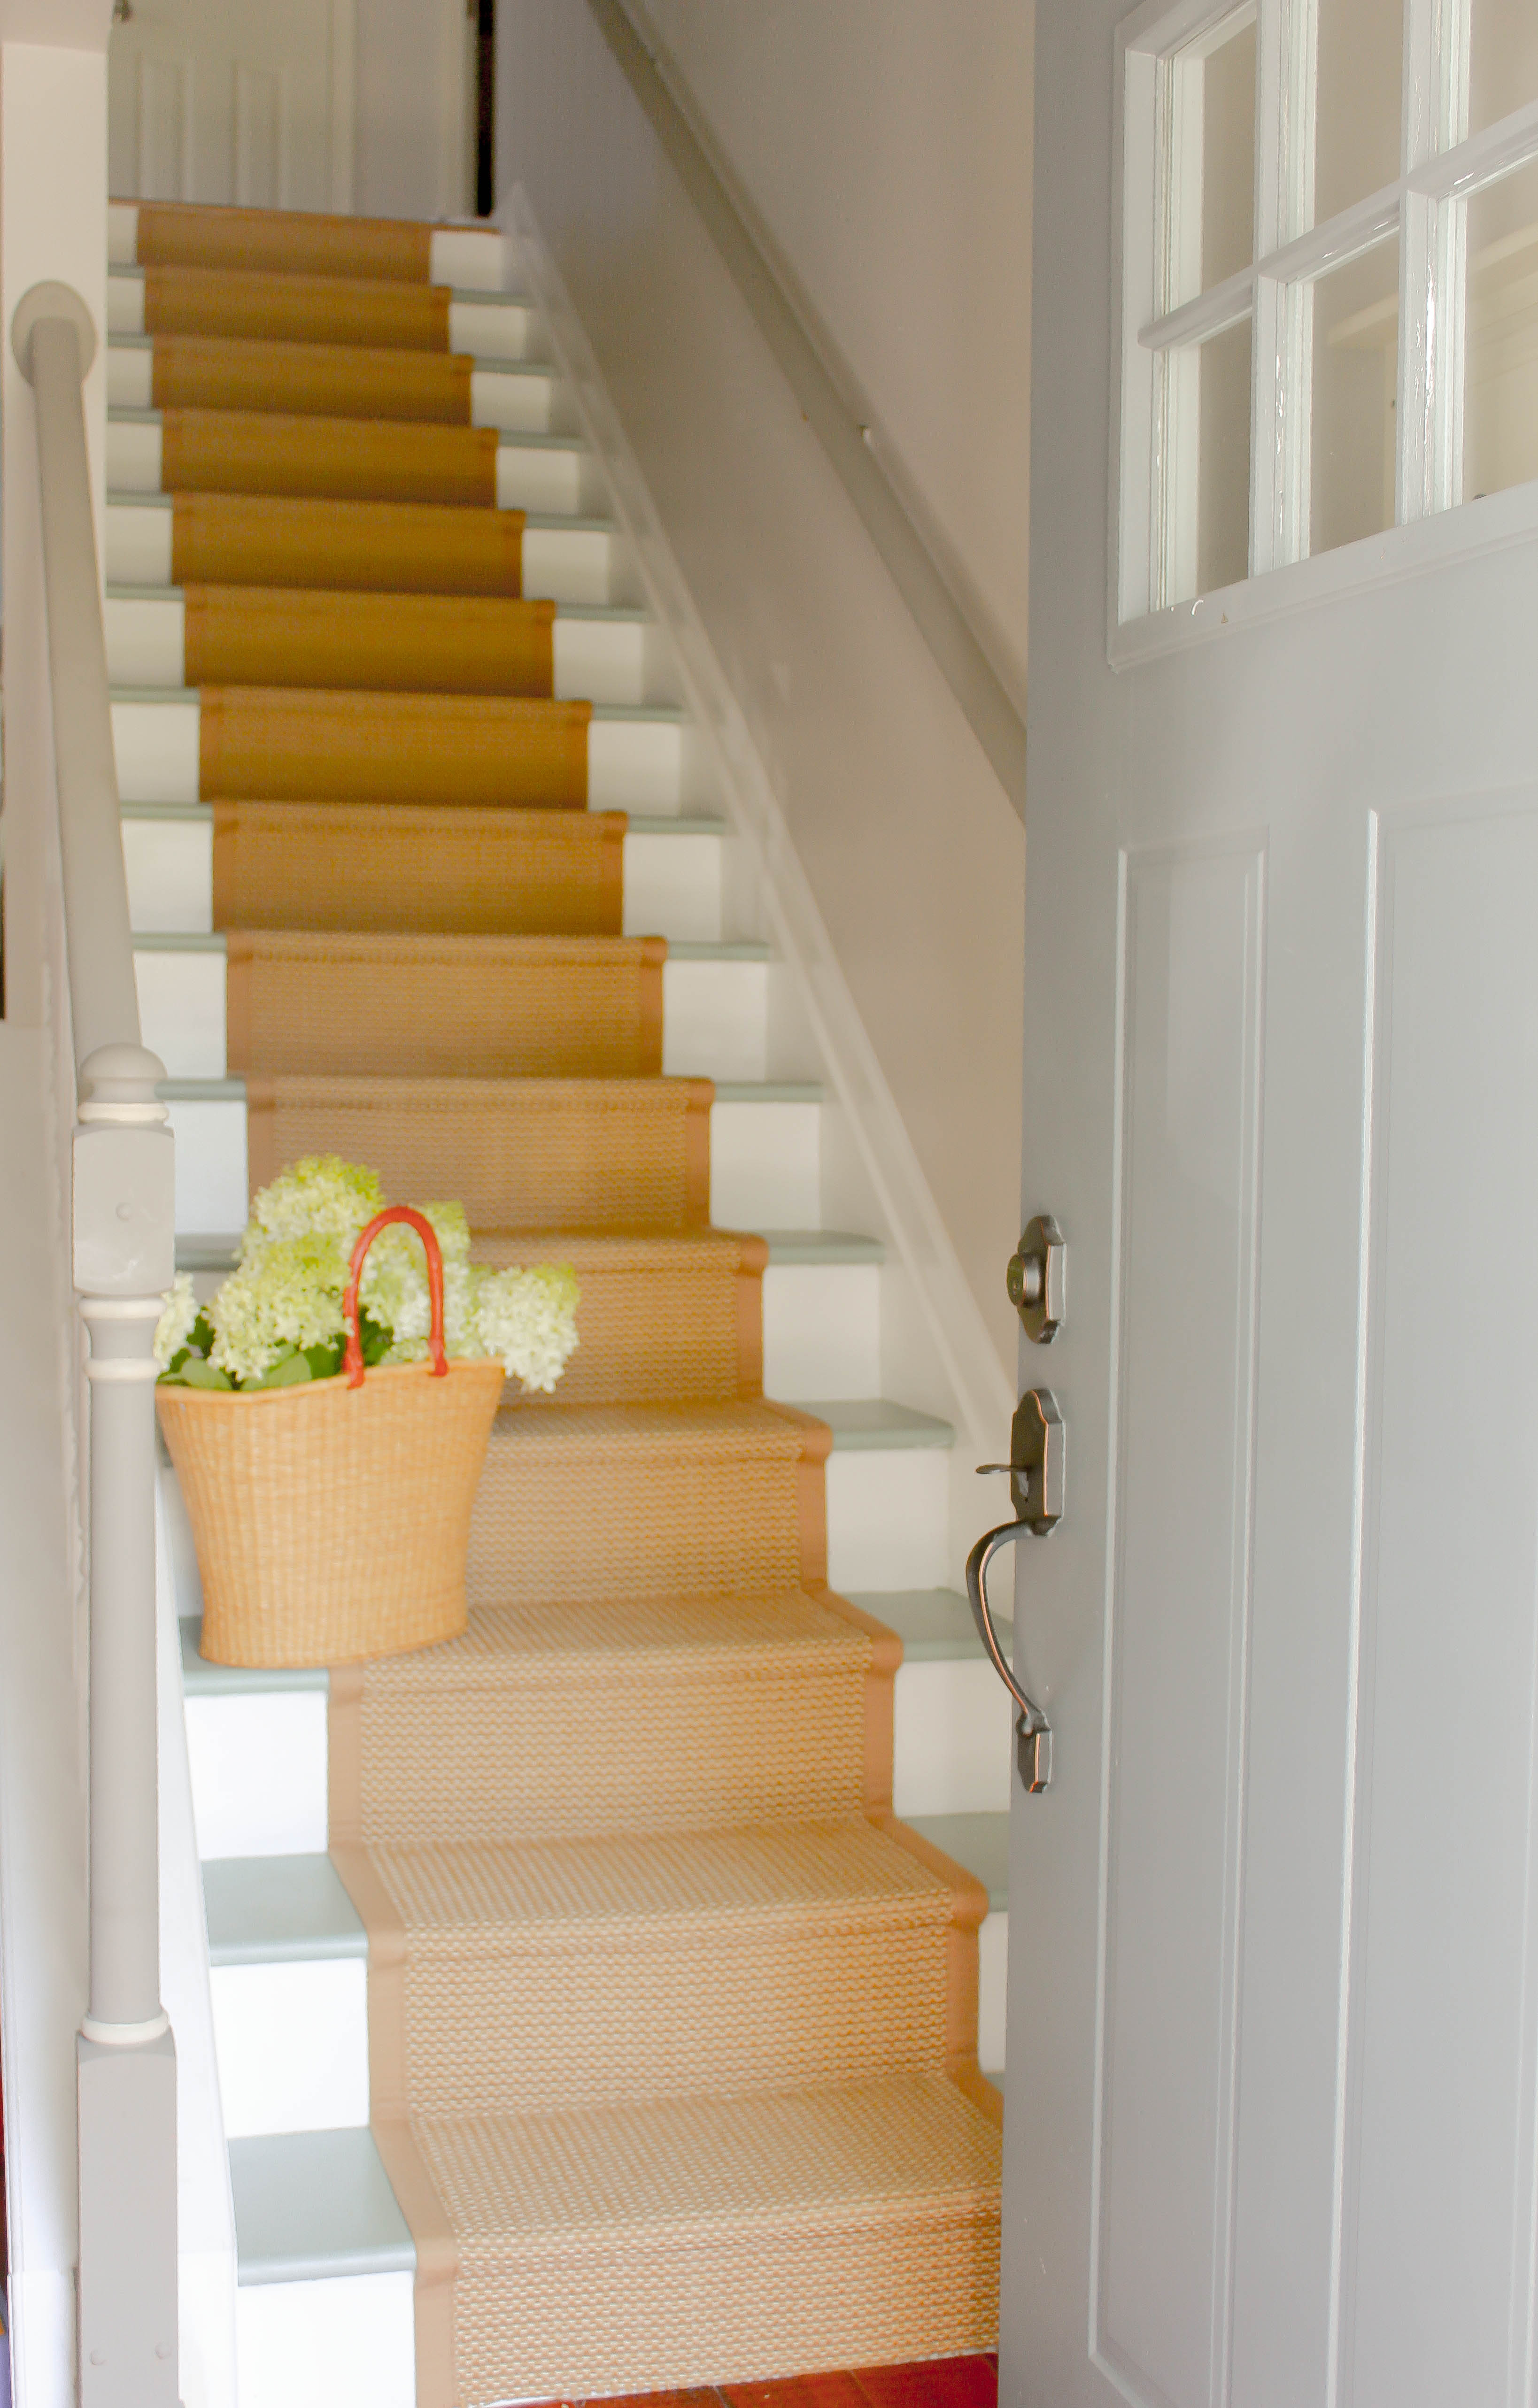
What do you think? Ready to take on your stairs now?



6 Responses
Can you post a link to where you bought the runner?
Yes….please….I would also love to know where you purchased your runner. The stairs look awesome! Thanks for the inspiration!
Hey there! Thanks for this tutorial – just found your blog via google as I was researching ways to update my stairs :). I think I’ll give this a try!
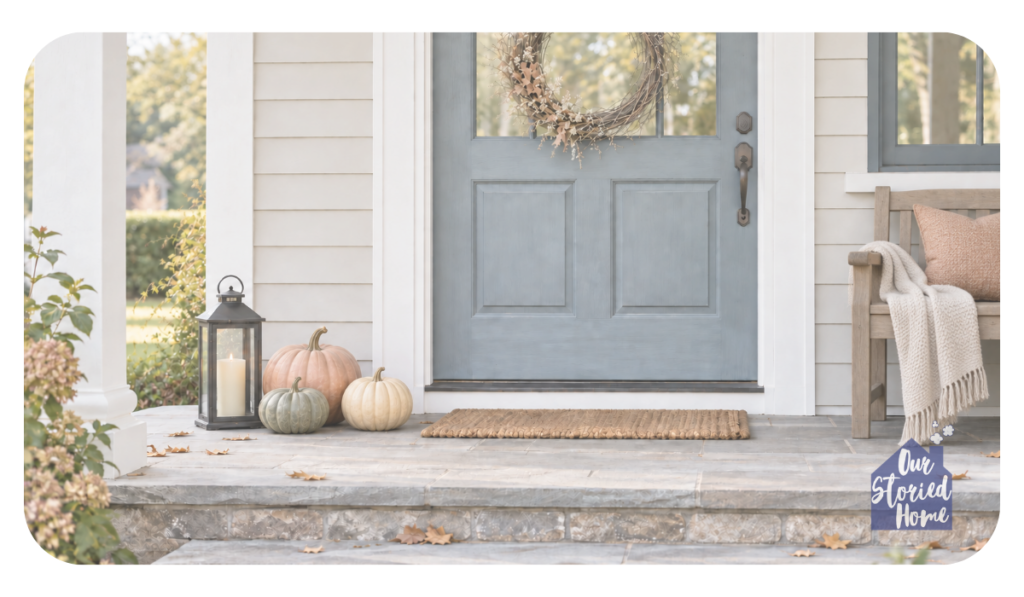
Also, I tried searching your blog but to no avail – do you happen to have the name/brand of the paint color on your exterior door in the very last photo? I’d be so appreciative if you can share the info!
Great Job, looks fabulous!
Thanks for the information. I’m in the process of redoing my staircase now
and your riser fix was just what I was looking for:). Thanks!
Thank you for the great suggestions! Based on your rec, I ordered my wool sisal runner from Sisal Rugs Direct as well. I was able to get a custom length and width for less than our local carpet dealers could offer.
What is the flooring at the top landing and the main floor? Do you have wood or carpet on those areas? Than you!