
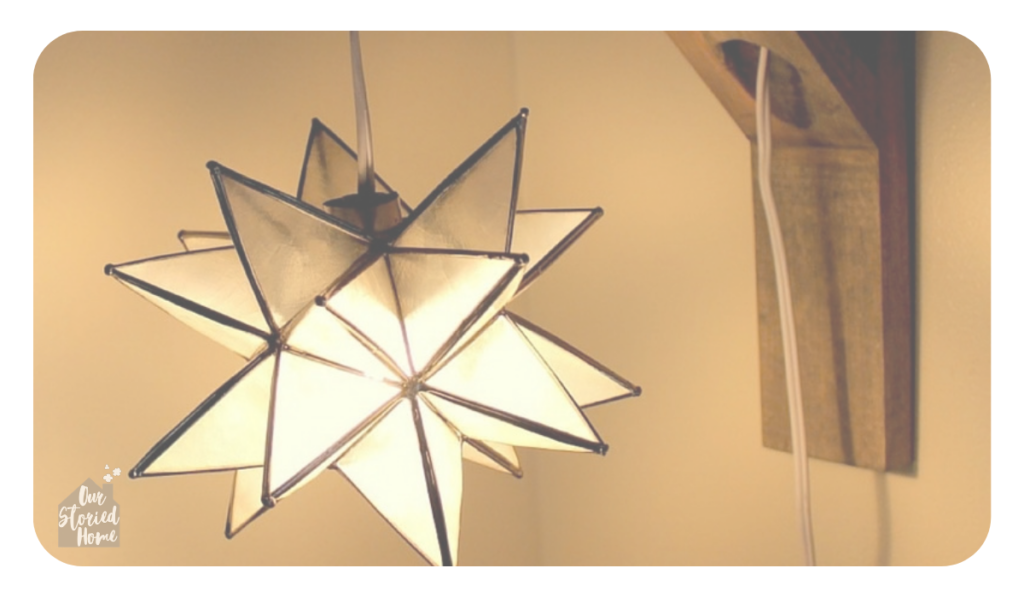
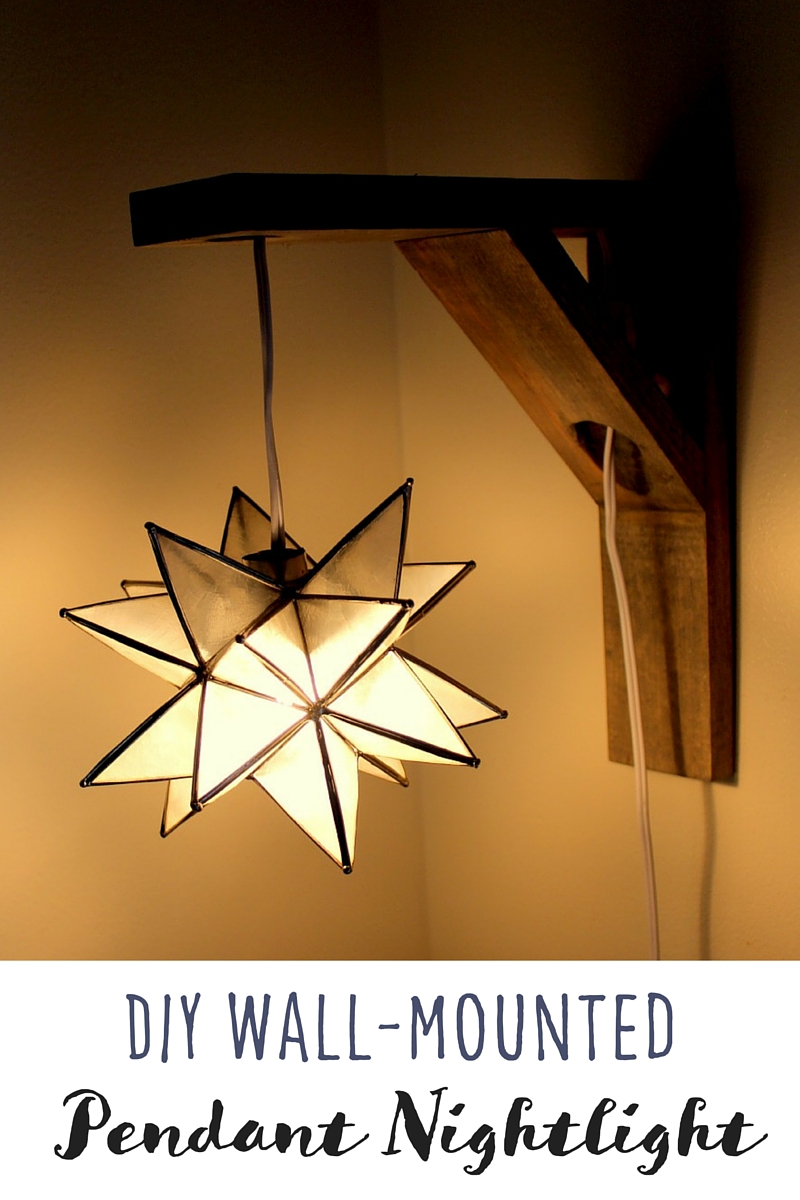
I originally created this wall-mounted bedside lamp while looking for ways to refresh my bedroom using things I already owned. By repurposing a Moravian star candleholder and building a simple wooden bracket, I made a plug-in bedside light that adds a warm glow without taking up any space on the nightstand.
If you follow me on Instagram, you’ve probably seen the weekly #homeyouhave challenges I’ve been hosting with some of my blogger friends. The challenge was born out of a conversation we all had in January about wanting to mix things up in our homes without spending any money. It’s a great hashtag to search if you’re looking for inspiration and we’re having a lot of fun seeing how you all are working-what-you’ve-got! This week, we’re focusing on styling our nightstands with things we already have so I thought it was a perfect time to share this easy tutorial for making your own wall-mounted nightlight, which gives you a pretty bedtime glow without taking up valuable tabletop space.


As an Amazon Associate, I earn from qualifying purchases. This post may contain affiliate links, which means I may receive a small commission if you purchase through one of my links, at no additional cost to you.
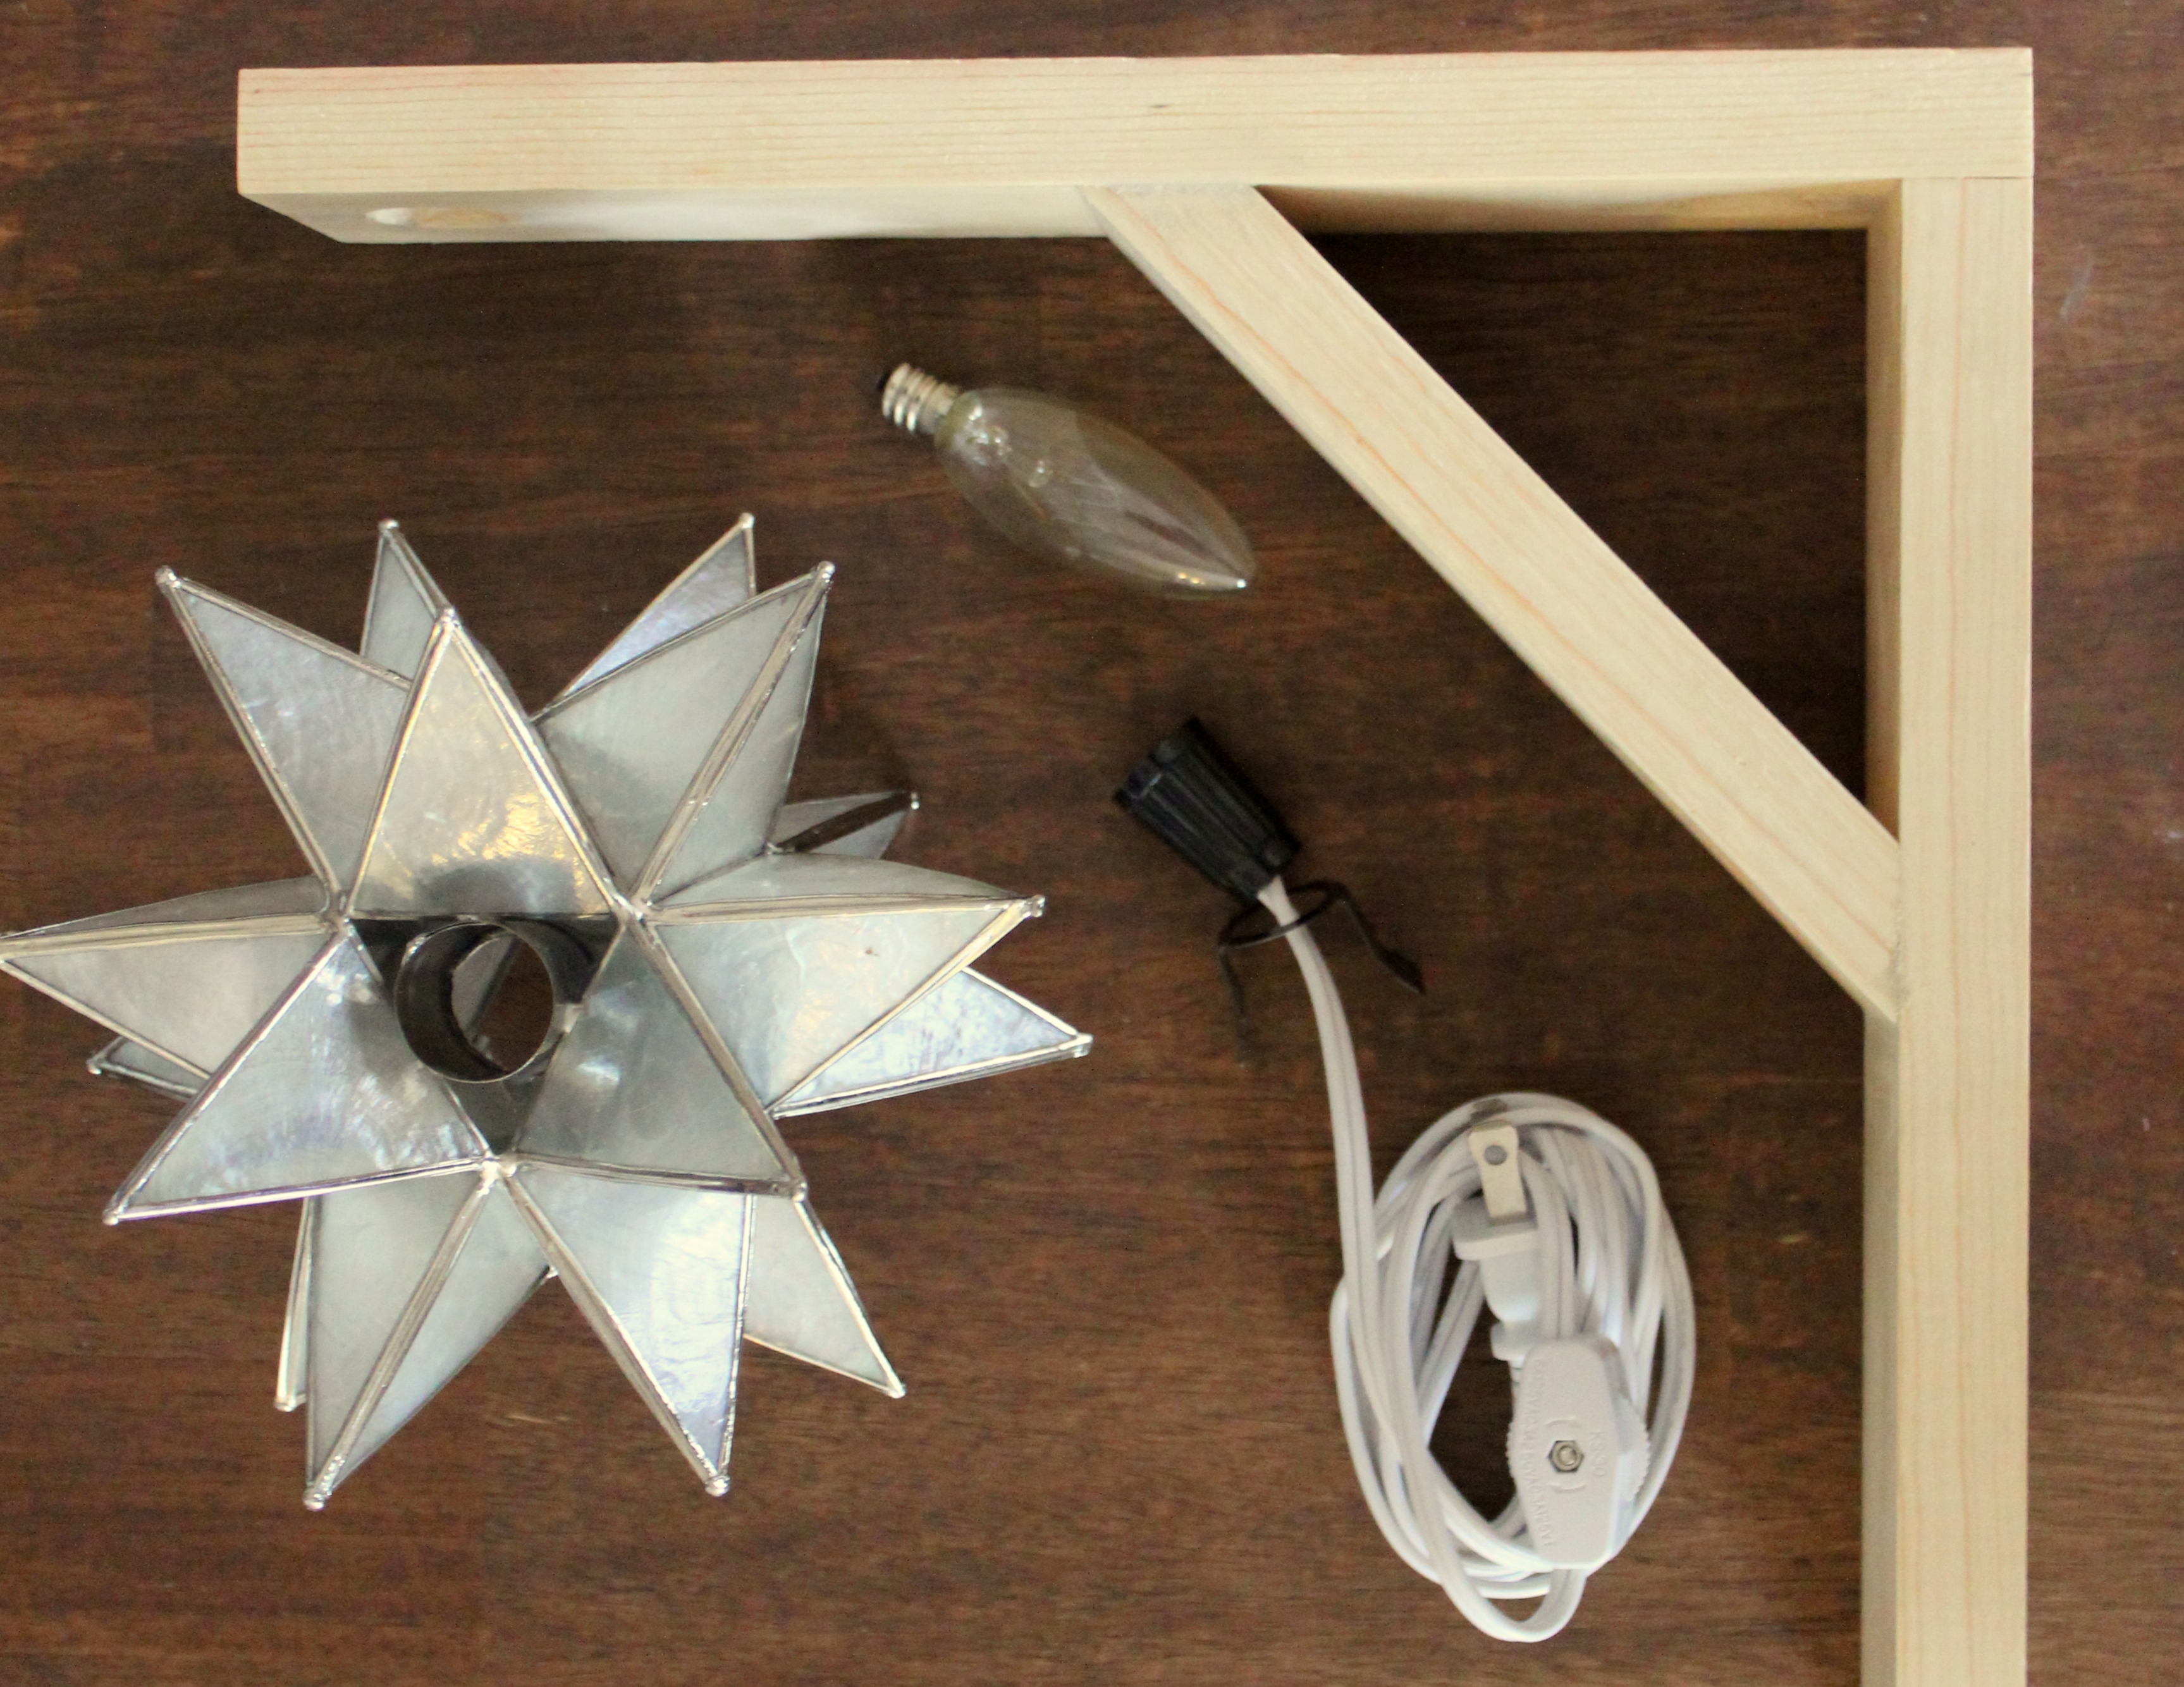
• An item to repurpose as a pendant (I used a Morovian star candleholder)
• Candelabra base switch cord
• 40-Watt candelabra base bulb
• A 1X3 piece of wood cut into three pieces (a 10 ¾-inch piece for the top, a 10-inch piece for the back, and a 7-inch piece for the brace)
• Drill with a 1-inch spade bit
• Router with a ¼-inch fluted bit, keyhole router bit (optional but one of my favorite little tools)
• Air nailer
• Nails (I used 2-inch nails)
• Minwax Weathered Gray stain
• Cloth or old T-shirt for staining

To build the wall bracket:
1. Drill two 1-inch holes in your longest piece of wood (the one measuring 10 ¾ -inches). One hole should be a half-inch from the end, and the other hole should be one inch from the opposite end of the wood.
2. Use a ¼-inch fluted router bit to create a channel between the two holes. This will conceal the cord later.
3. Cut down the ends of your shortest piece of wood (the one measuring 7 inches) at 45-degree angles. Drill a 1-inch hole at an angle to create a place for the cord to hang. You can look at the photos below as a reference for this step.
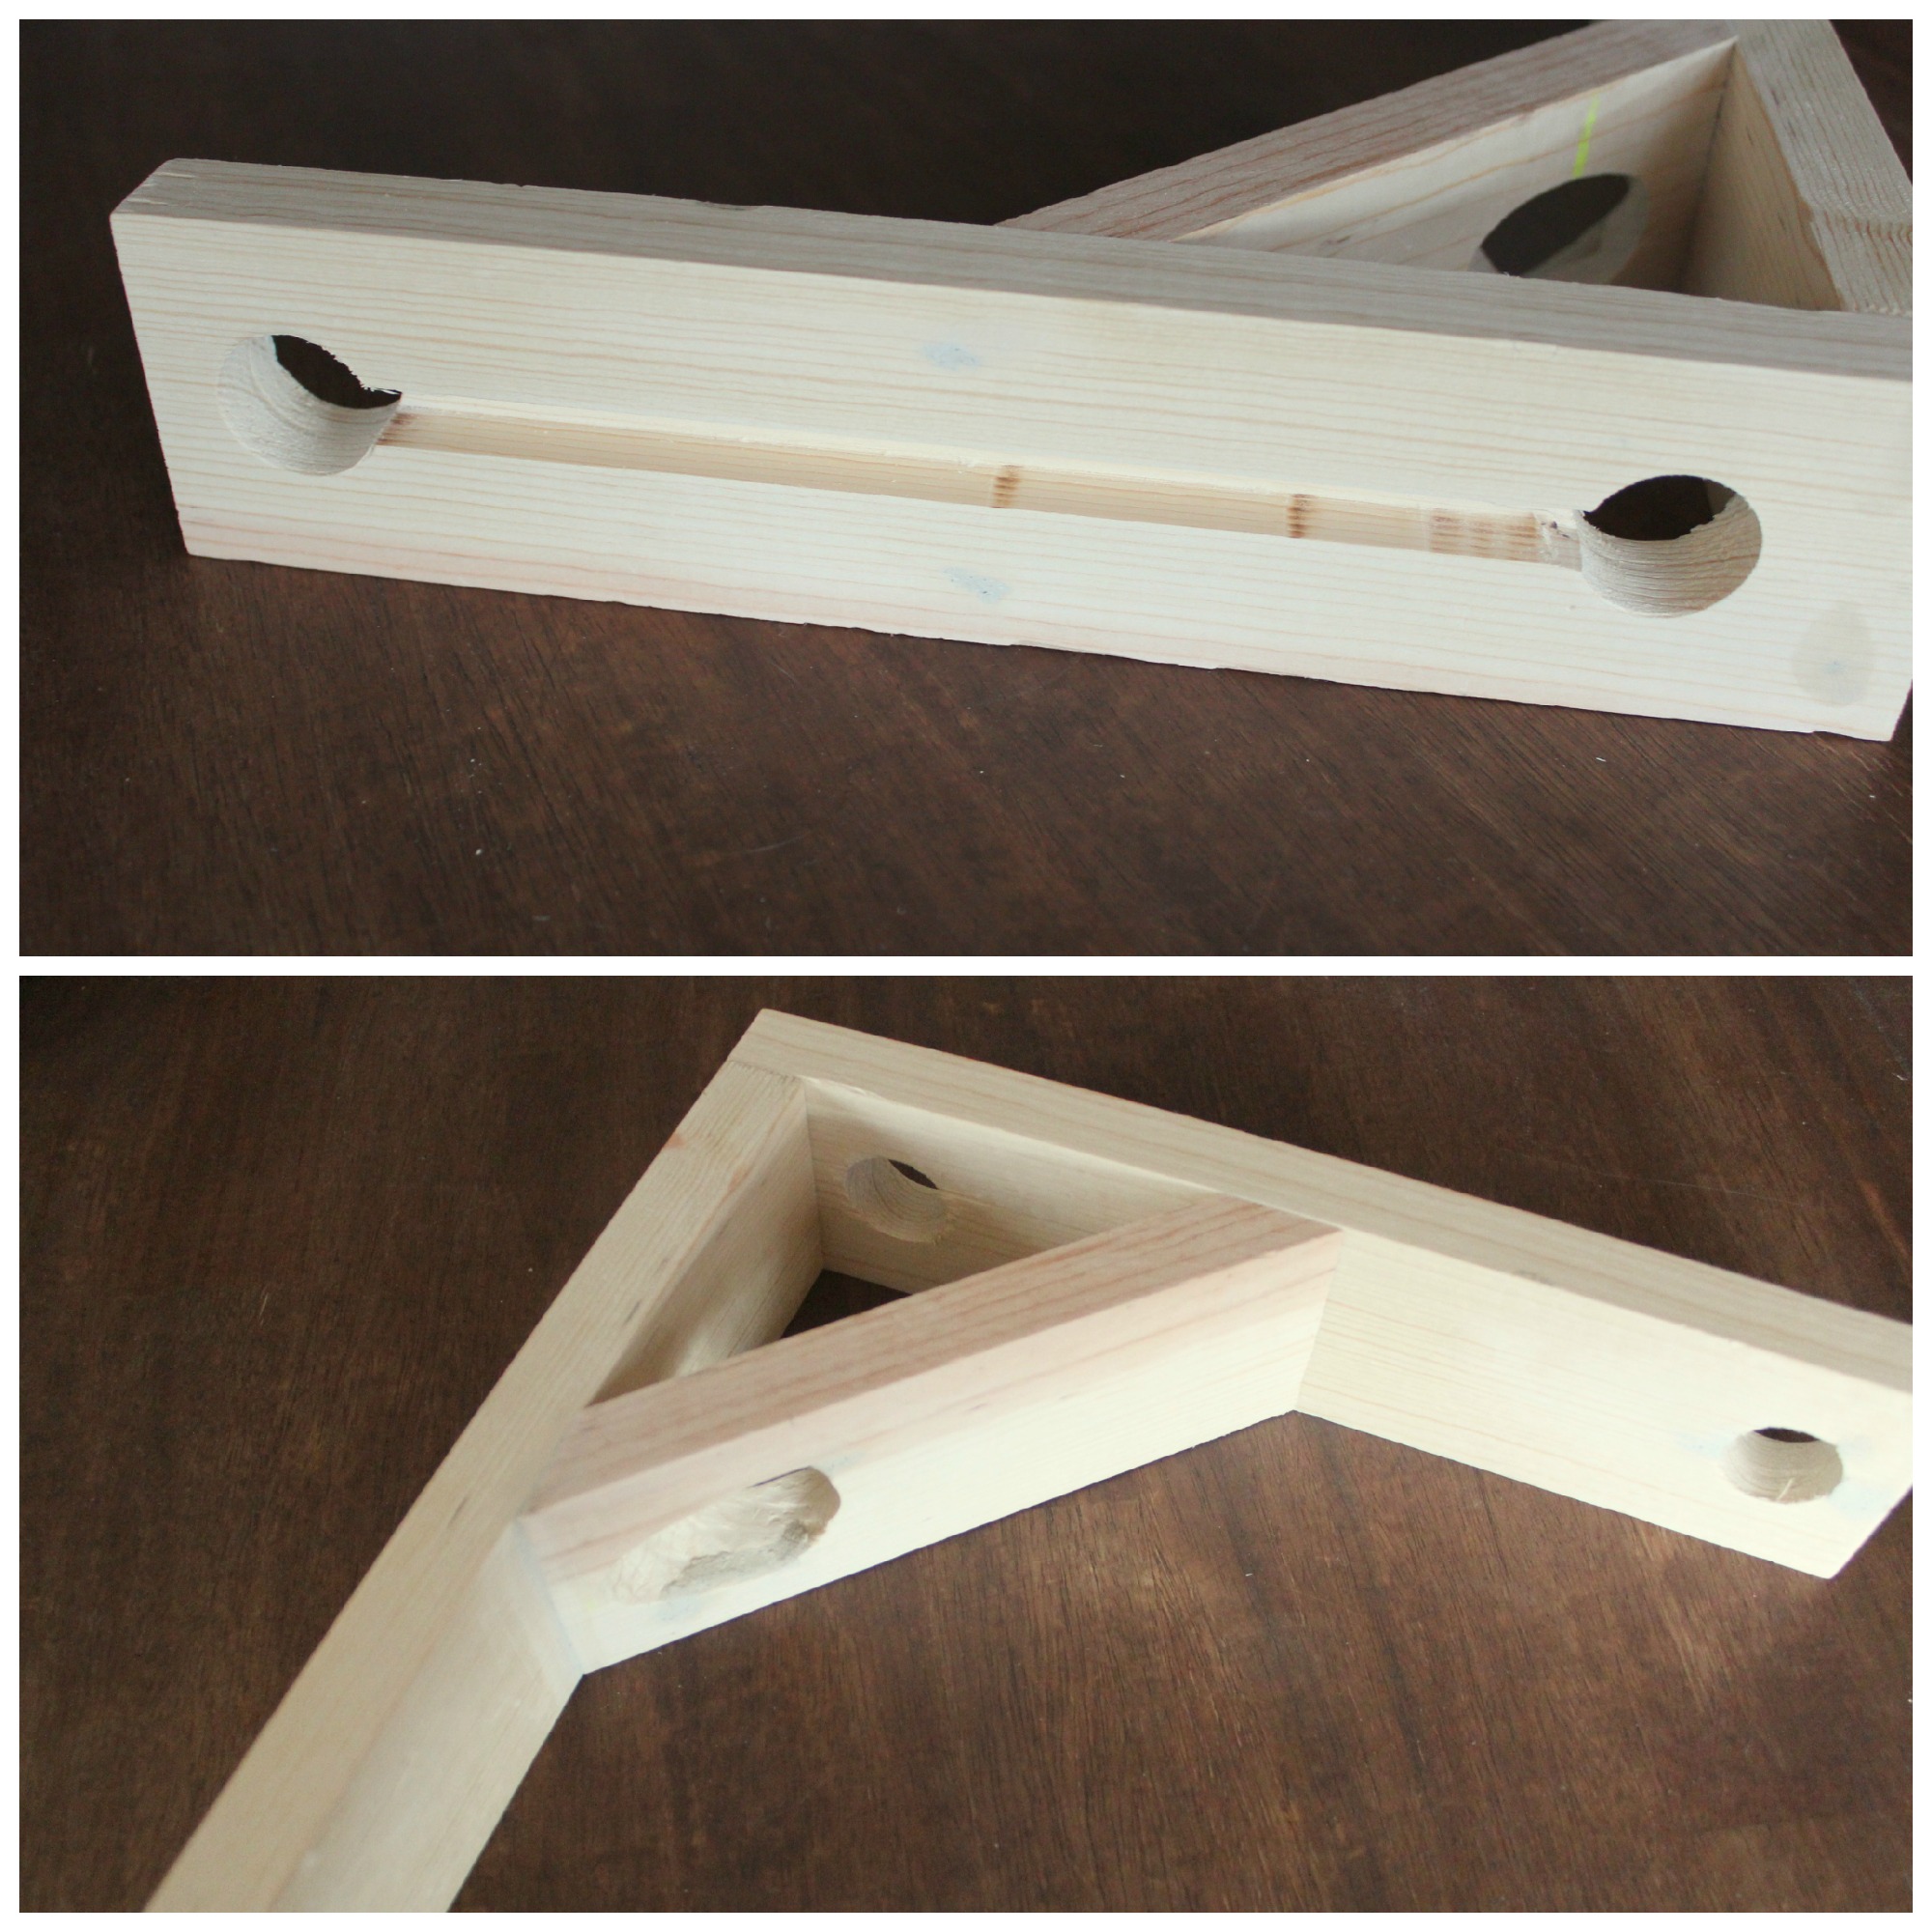
4. Nail the three pieces together as shown. If you do not have access to a nail gun, you could use finishing nails to complete this step.
5. If you have access to a keyhole router bit, cut out a small hole in the back of the bracket to hang the piece. If you don’t, you can use long screws to mount it.
6. Paint or stain the bracket to fit your décor. For this look, I used Minwax Weathered Gray stain. I worked gradually to build the color and carefully wiped away excess stain after each application.
To assemble the pendant light:
1. If your item doesn’t have a hole big enough for the cord to fit through, drill a hole through the top of your repurposed item big enough for the cord. I drilled through the space that would have held a candle, so it was relatively easy to do.
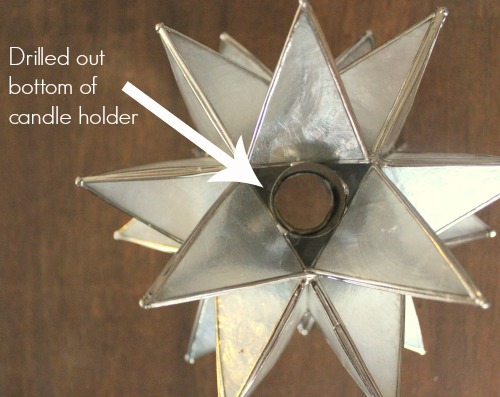
2. Run the candelabra base switch cord through the bottom hole and up through the top two holes so that the cord is hanging from the front hole.
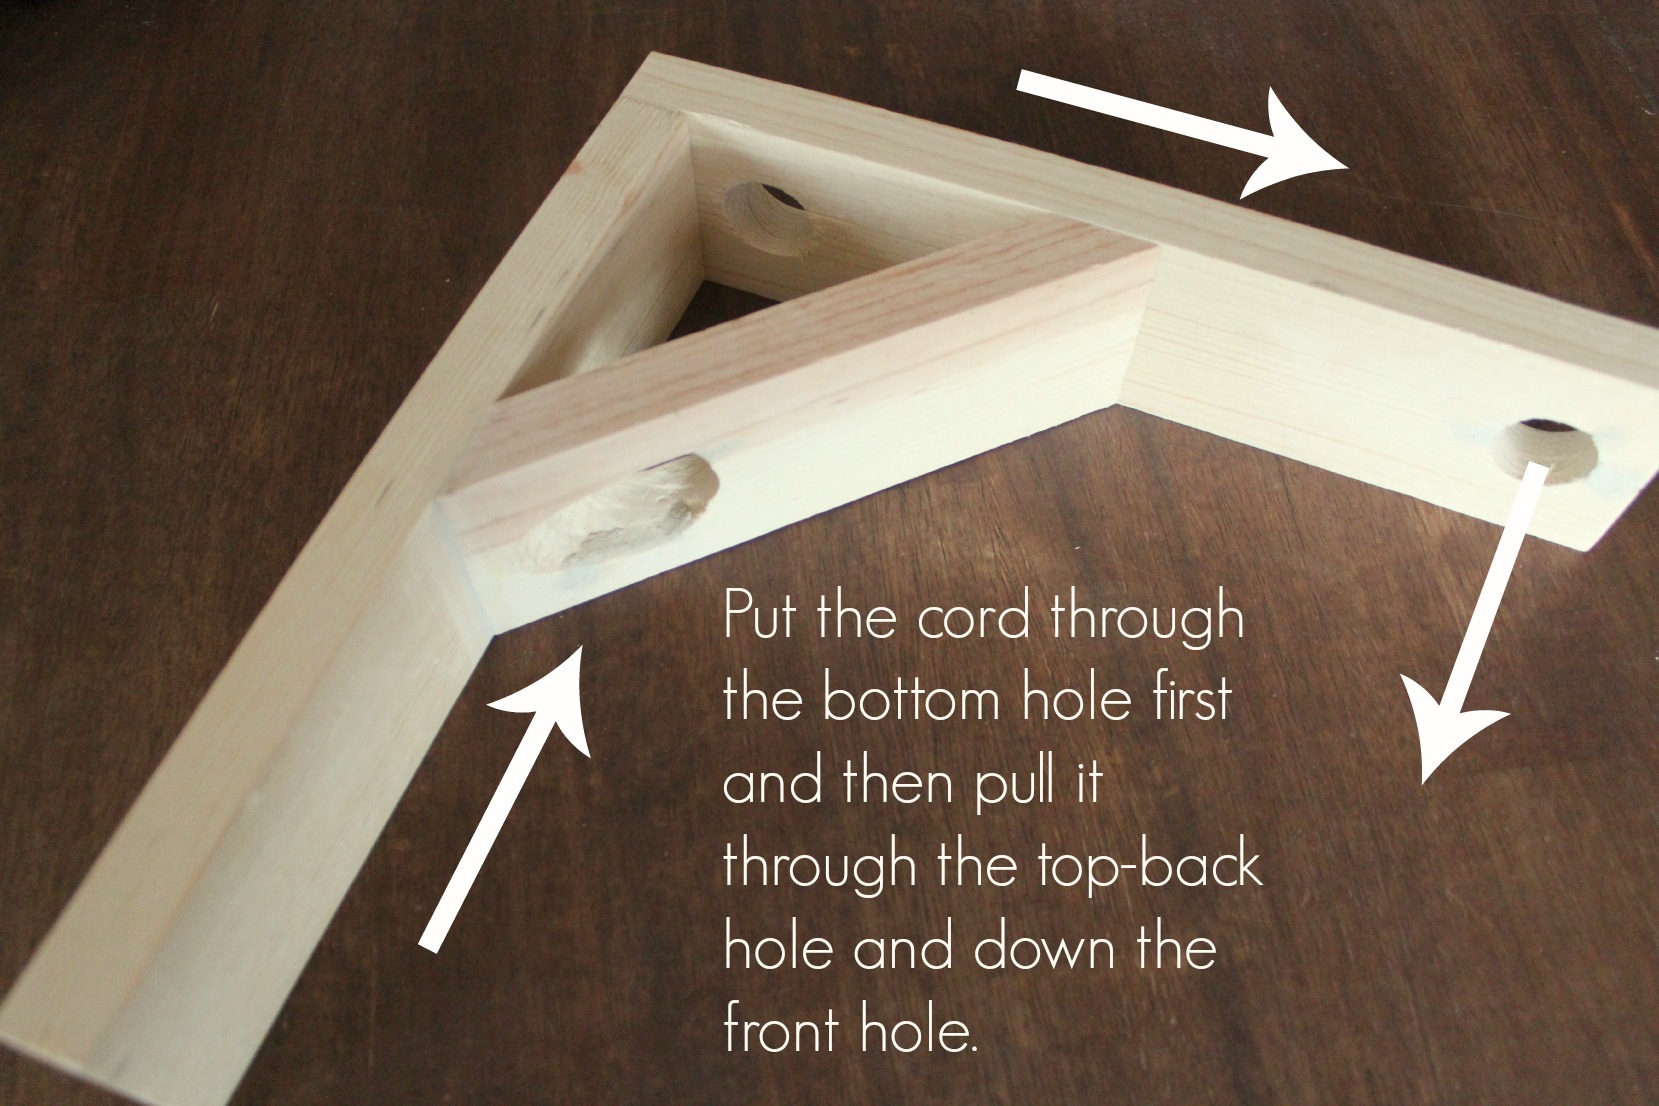
3. Pull the cord through the pendant and screw in the candelabra bulb.
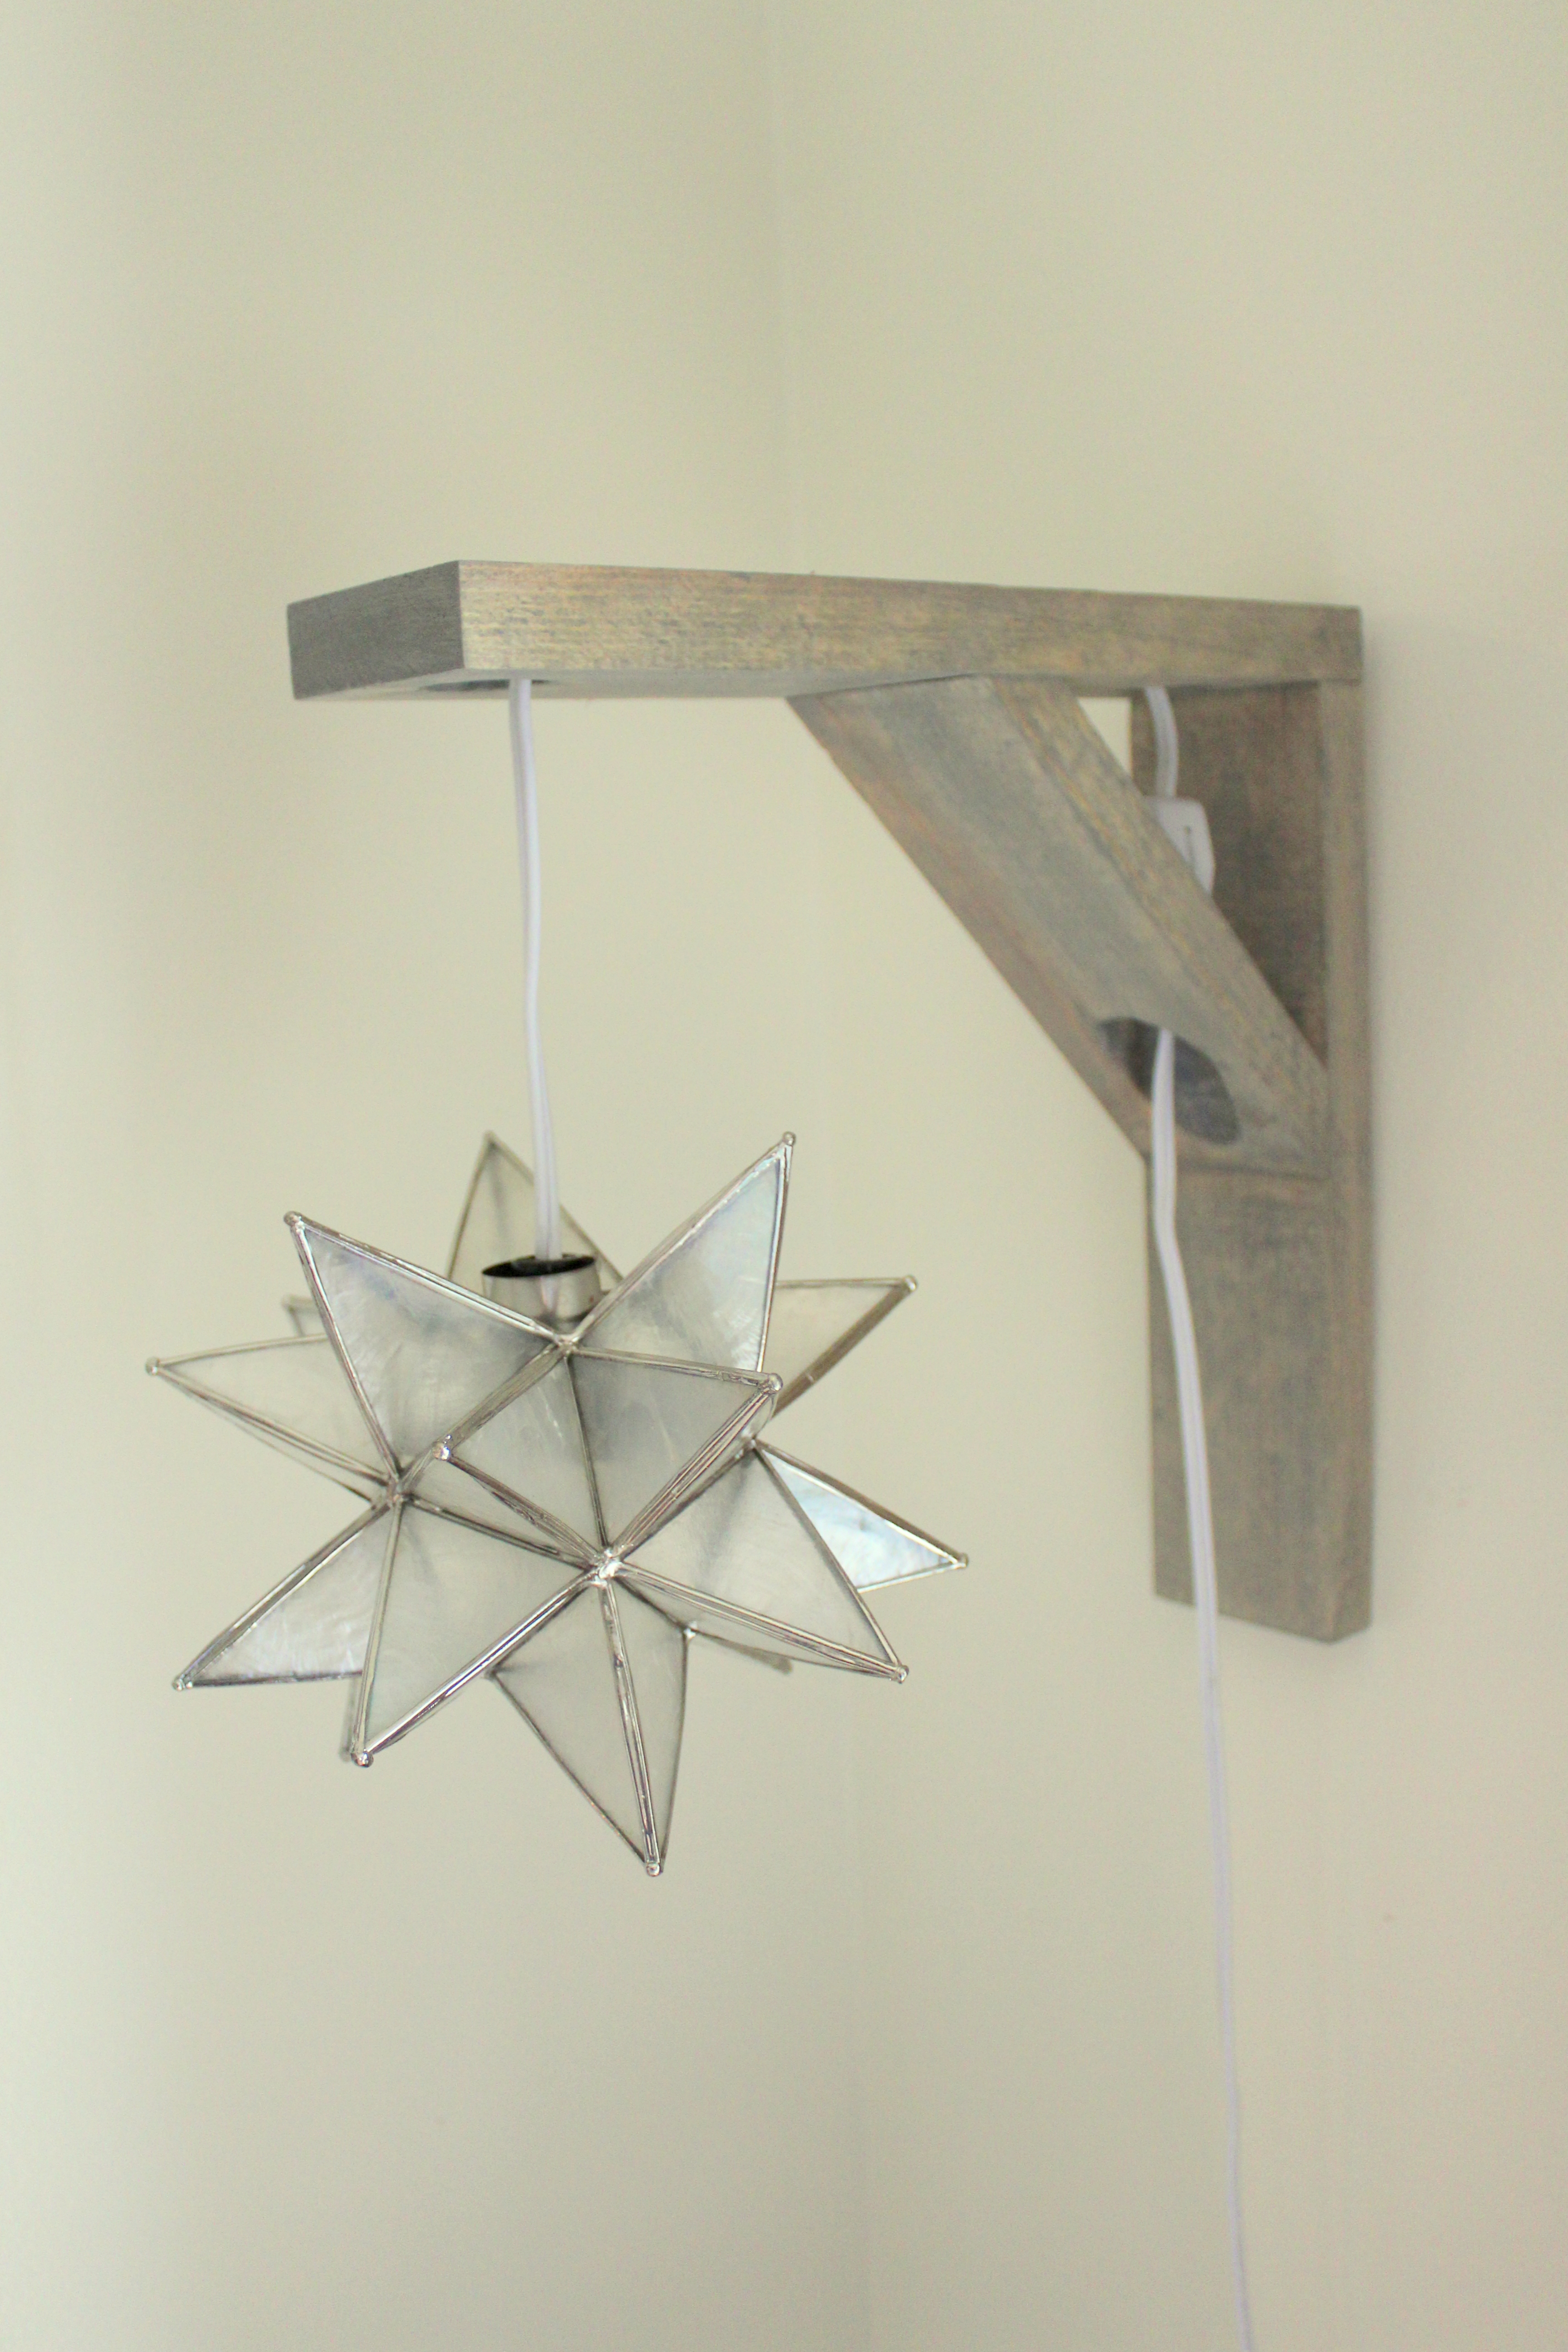
4. Turn it on and admire your new light!
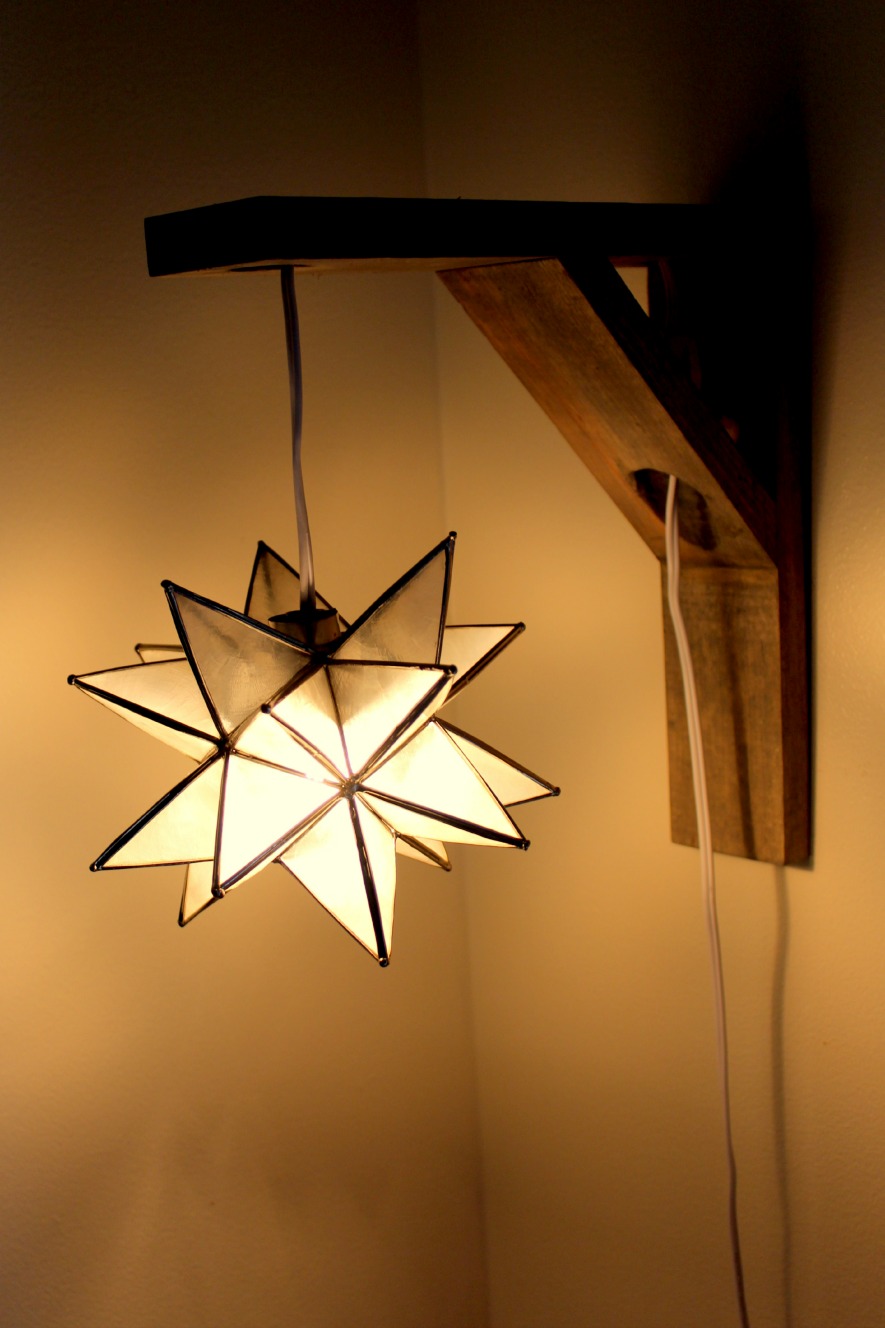
This DIY wall-mounted bedside lamp tutorial originally appeared on the Everything But the House blog. EBTH is one of my favorite resources for finding distinctive vintage and secondhand pieces that can be repurposed into something entirely new. You can also read more about my experience with Everything But the House here.
How do you style your bedside table? Share your pic on Instagram with us and don’t forget to follow my co-hosts for inspiration!
This DIY wall-mounted bedside lamp is proof that practical lighting doesn’t have to be expensive—or take up valuable tabletop space. With a simple wooden bracket and a repurposed candleholder, you can create a one-of-a-kind light that fits your room and your style.






One Response
Great DIY and very simple! I love this variation of the wall mounted night light. At lalalighthouse we also have handmade wall mounted night lights, and ours can be set to be colour changing, or to sparkle. It has been a great journey for me to create a night light to share with the world, it is good to see others doing the same :-). Keep up the good work!