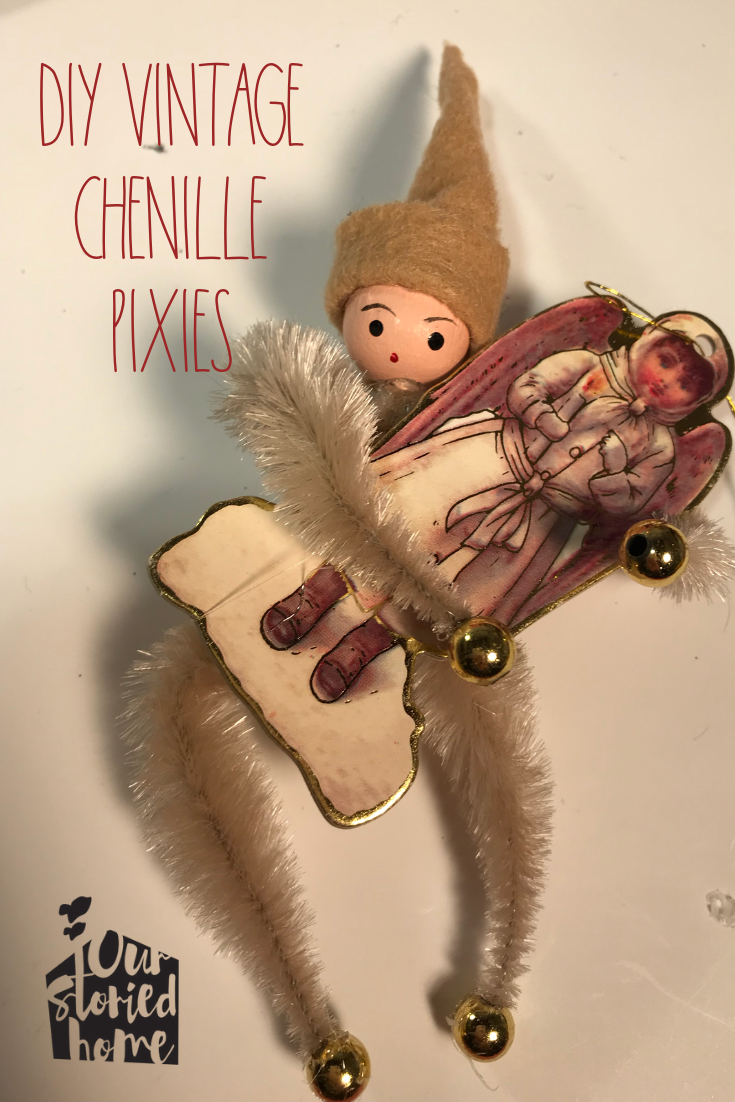
Chenille pixies have been in our family for many years. My grandma (who I am just now realizing the extent of her craftiness) made them and I always thought they were so beautiful. They make my “nostalgia-meter” go nuts. I wanted to give it a try myself and realized the difficulty in replicating delicate pixies from my childhood (not because of the actual making them, but because the supplies are not the quality they once were). That being said, there are several things you can do to give your pixies the “vintage look” and we’ll go over all the options and neat things you can do with them. We always put our chenille pixies in our tree, like ornaments, but the more I thought about it, you could do so many other things with them, and not just at Christmas.
One very important note on the items needed for these pixies. I am providing you with Amazon links to some of these products, mainly so you can see what they look like. You can also check out Michael’s and of course other craft stores. If you do end up using Amazon to shop for these products, please check carefully for quantity, quality and price. I do my best to find the best option, but prices, options and availability change so quickly, especially during the holidays.
Lessons Learned
As I was gathering all the “ingredients” to make our vintage chenille pixies, I discovered a few things. One, the fluffy, plush chenille pipe cleaners that are “bumpy” are sadly a thing of the past. They still make the “bumpy” chenille stems, but they are no longer plush and full like the originals. Gone are the beautiful colors (muted olive green, baby blue, and light gray) of long ago. They are smaller and the quality has gone down too. There are varying degrees of quality of the newer stems. I bought some on Amazon and they weren’t great. I ended up doubling the stems and twisting the ends together for the pixie’s limbs just to get some additional fullness. I later purchased other chenille bumpy stems and these weren’t as great as the original stems, but were better than the first ones I ordered, so there is a difference in quality.
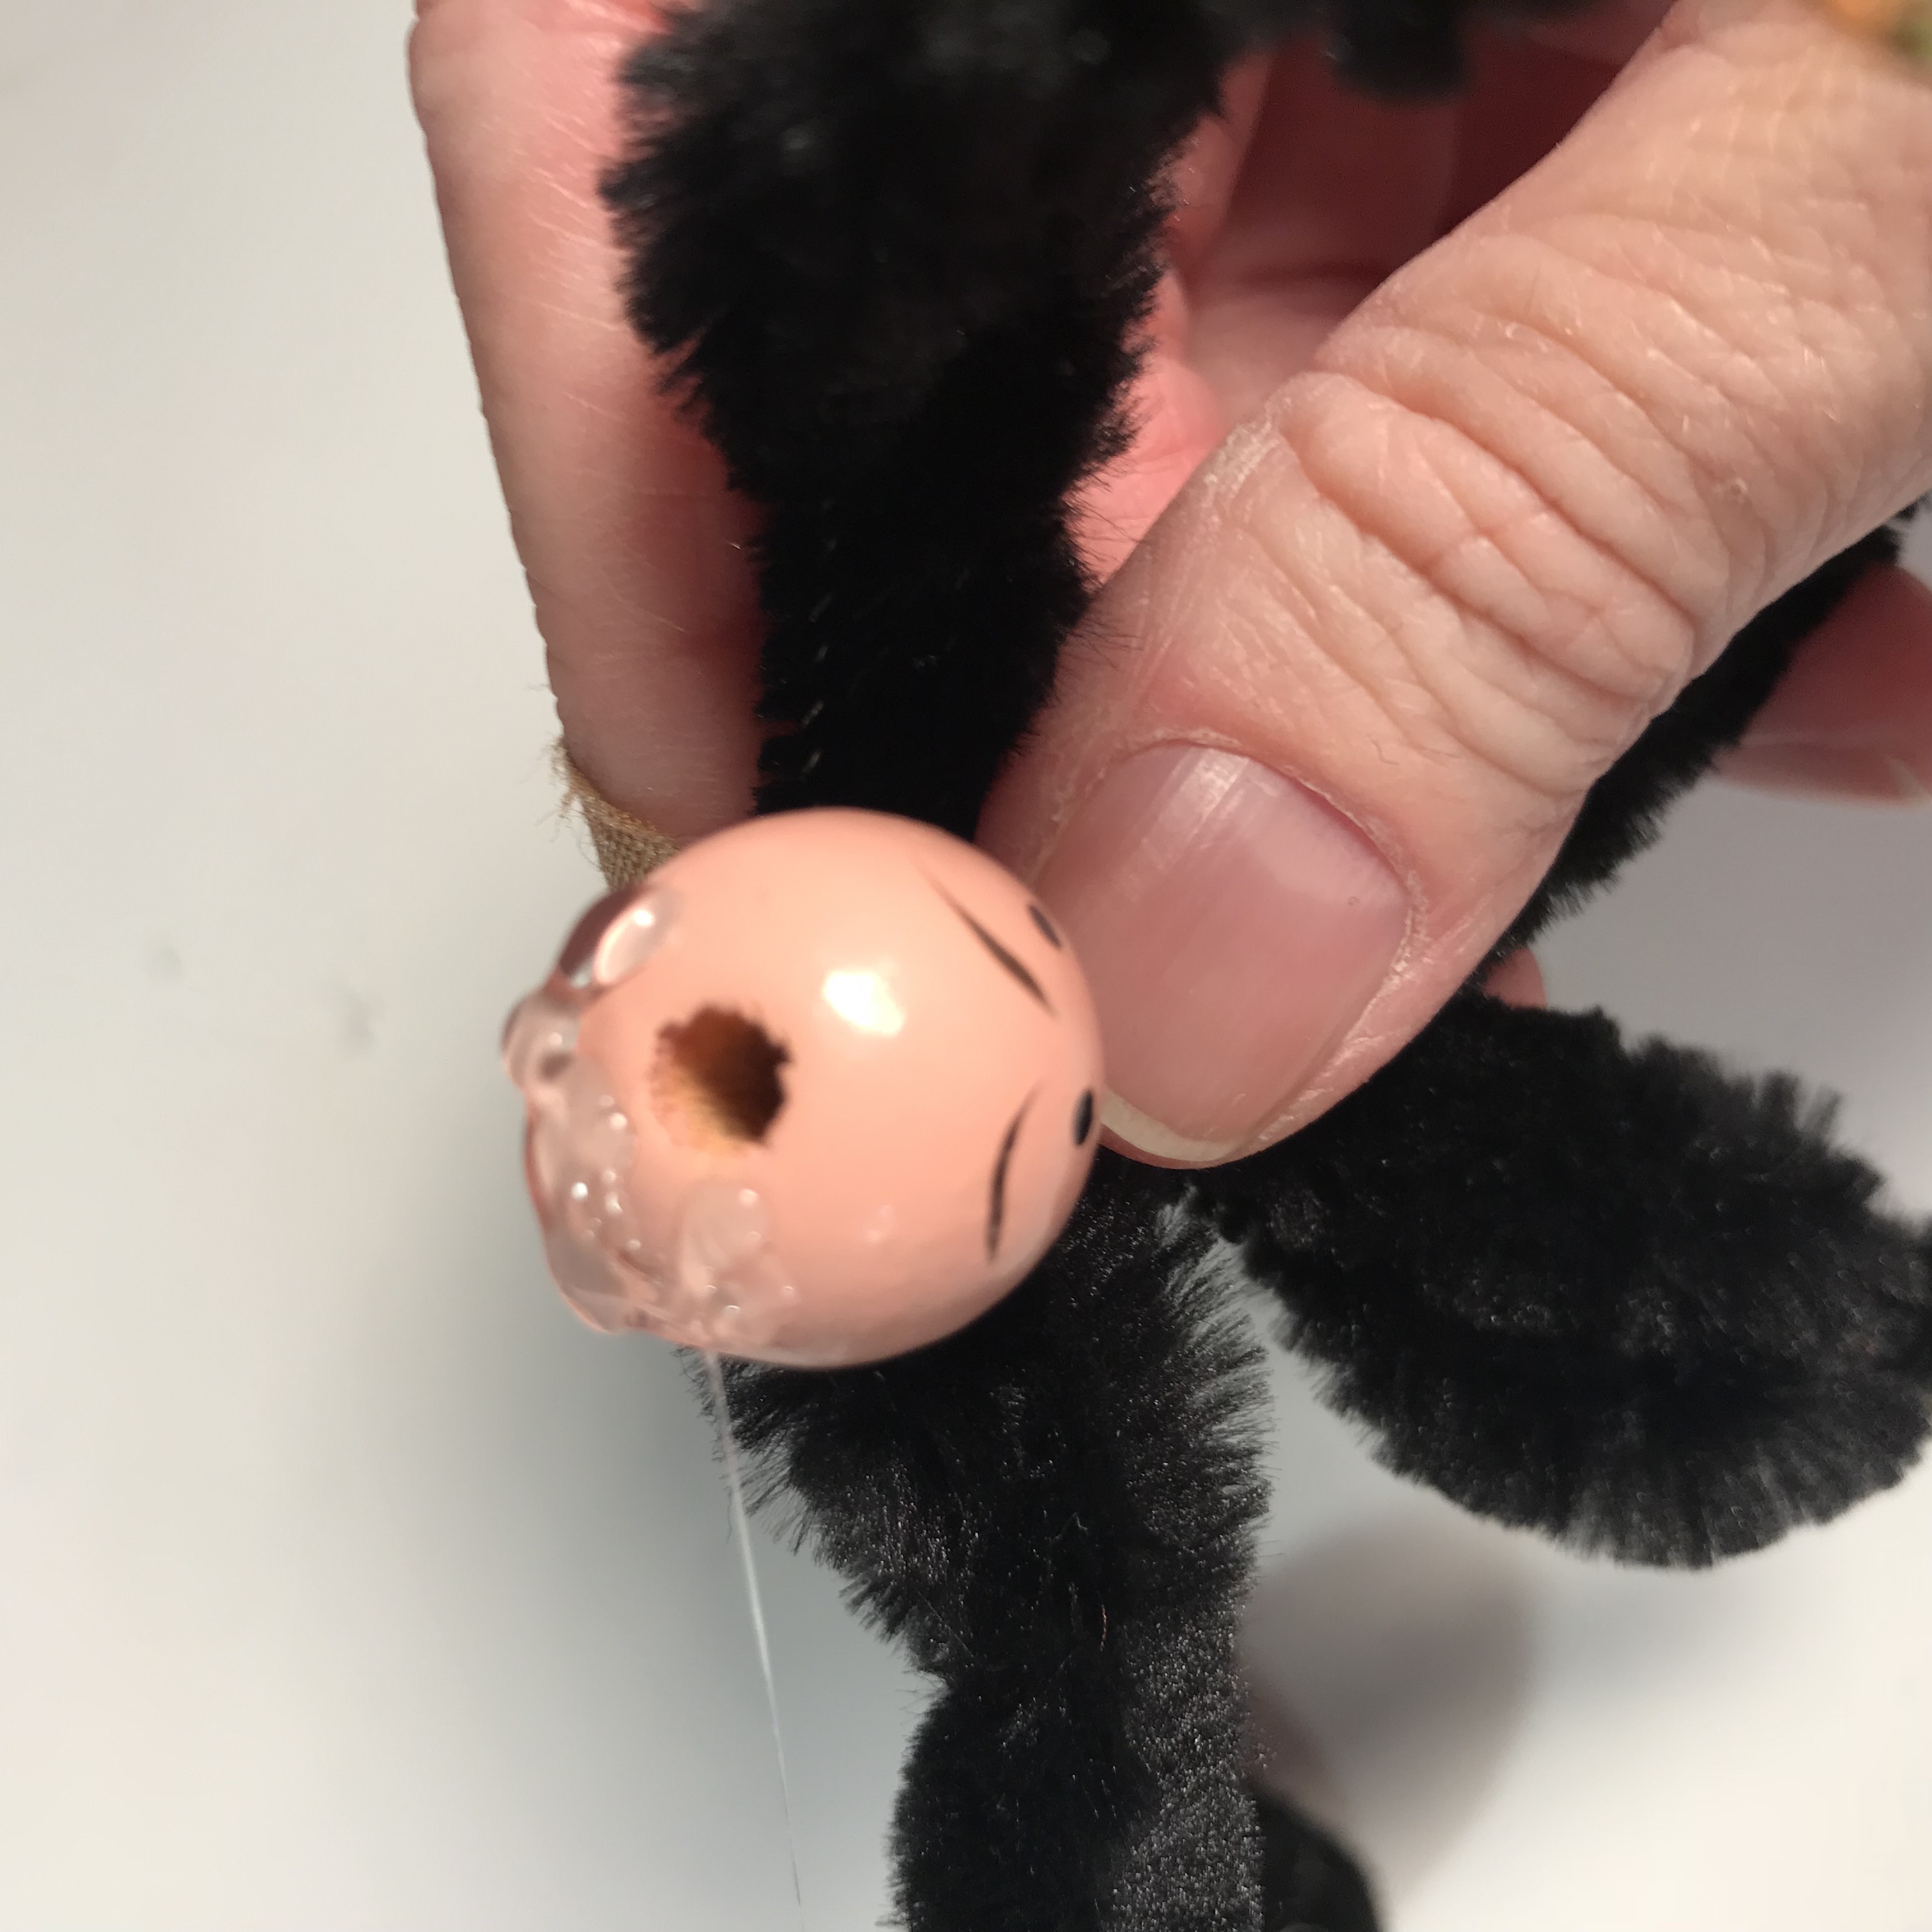
Two, the little wooden bead “doll heads” are also in fact vintage now and it’s really hard to find them. I had some luck on Etsy finding the original chenille stems and doll heads, but if that isn’t an option, we can come up with some alternatives. Never fear friends. We can do this. Sometimes we have to improvise.
One Other Note
As I mentioned before, you do not HAVE to have all the vintage items to make these pixies. You can always buy wooden beads/heads in various sizes, paint them whatever color you like and then also paint whatever face/expression you like. I have a pretty severe tremor and I also wanted to get as close to the original vintage chenille pixies as possible, so painting them myself wasn’t really an option.
Chenille Pixie Memories
I remember seeing the pixies for the first time as a very small child. I thought they were so incredibly delicate and beautiful. Even then they had the look of a time long ago, which I loved and even had some sort of awareness for then. We had so many of them and used them on our tree every year, sometimes my mom would use them as package decorations as well, so some have unfortunately disappeared over the years, which hurts my soul a little.
Decorating Ideas
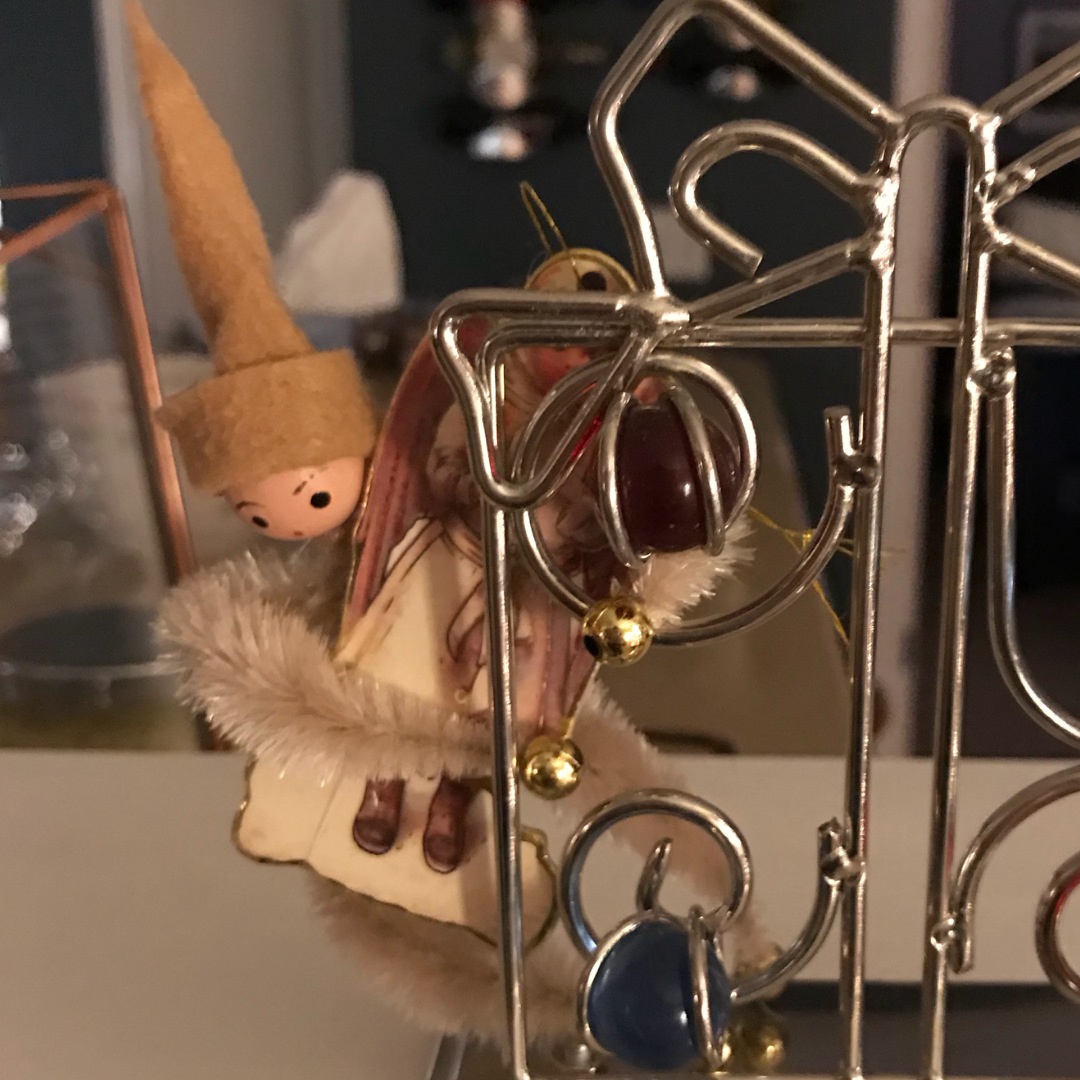
You could also use your chenille pixies to hold gift cards or wrap around Christmas cards you give in person. I am even considering making a chenille pixie wreath. It wouldn’t even have to be just for the Christmas holidays either. I think they could be adorable with spring and fall decor and wreaths. Once I get some new ones made, I will definitely be incorporating them into everything I possibly can because they’re so dang cute!
You’ll Need:
bumpy chenille stems You will need a total of four (bumps) for each pixie. If you are using the newer, less plush chenille stems, you may need a total of 8 “bumps” (two stems) per pixie.
wooden beads (3/4 in) OR vintage small wooden doll heads (these already have the vintage face painted on them. I found some on Etsy after searching “vintage wooden doll heads”)
small beads (I like silver and gold, but you can get whatever you want. They are for the hands and feet of your pixie that go at the ends of the chenille stems, so the hole has to be big enough for the ends of your chenille stems. You can also paint these if you can’t find the color you want/need)
felt (for the hat. Each one is about 3″ x 3″ so you may want to get a variety pack of smaller squares so you can have several colors to choose from)
glue gun
craft paint (acrylic) — You’ll need a flesh tone (shade to your own liking), black and and dark pink or red (if you are painting your faces like the vintage ones).
good crafting paint brushes (one with a TINY, FINE point for the faces and a good small brush to paint the beads)
*You only need the paint and brushes if you are painting your own faces or something else like the beads for the hands/feet
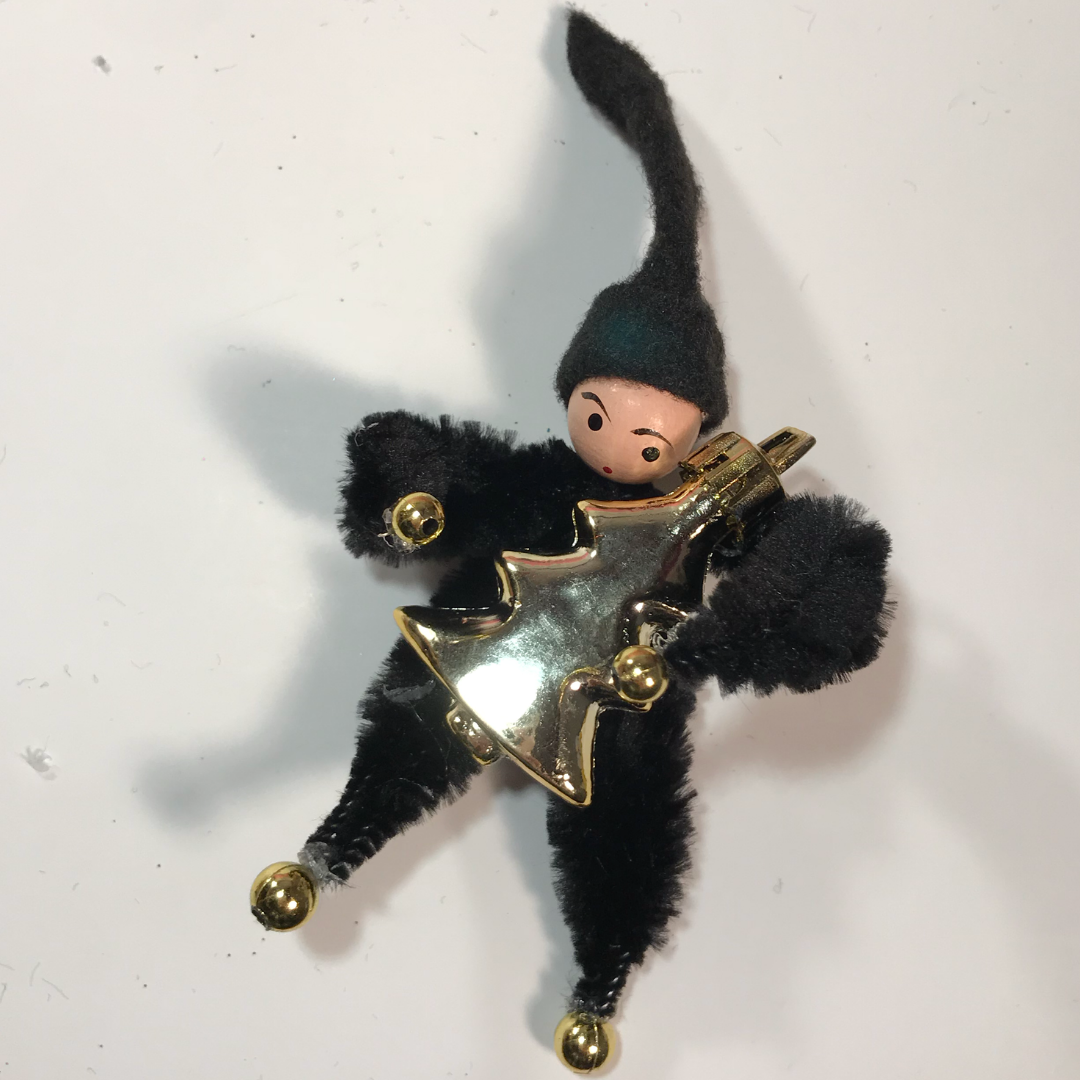
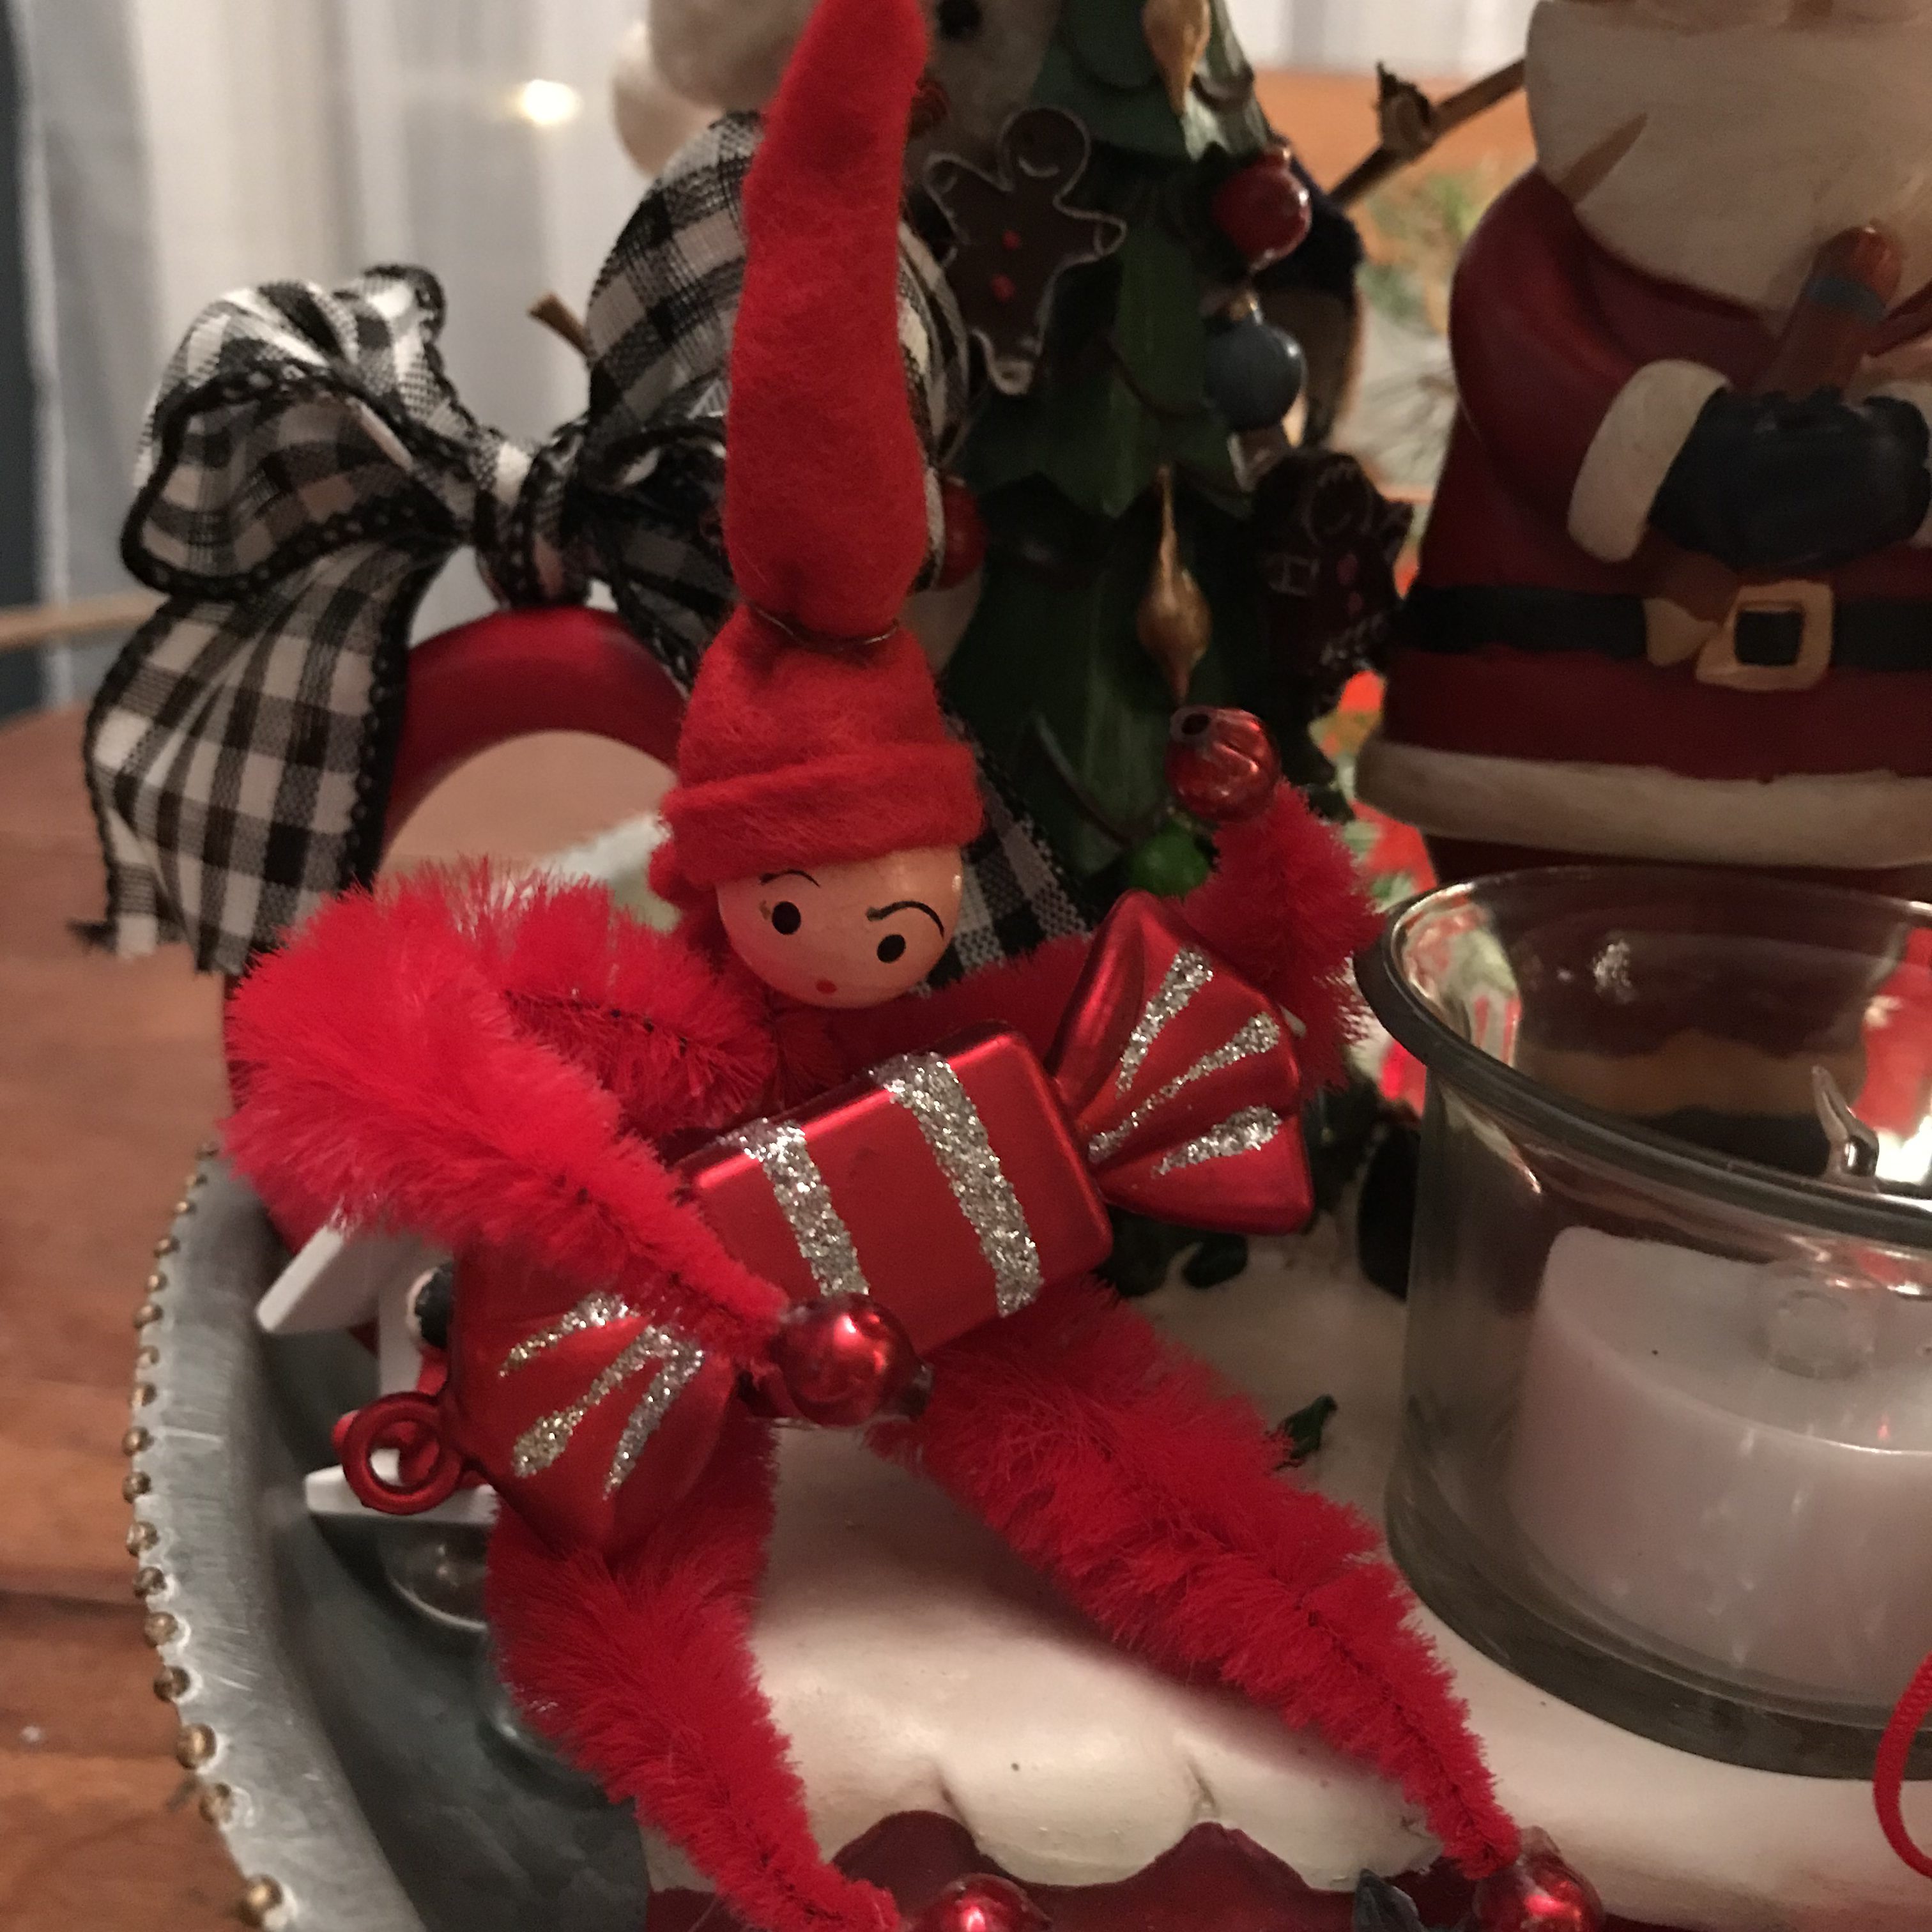
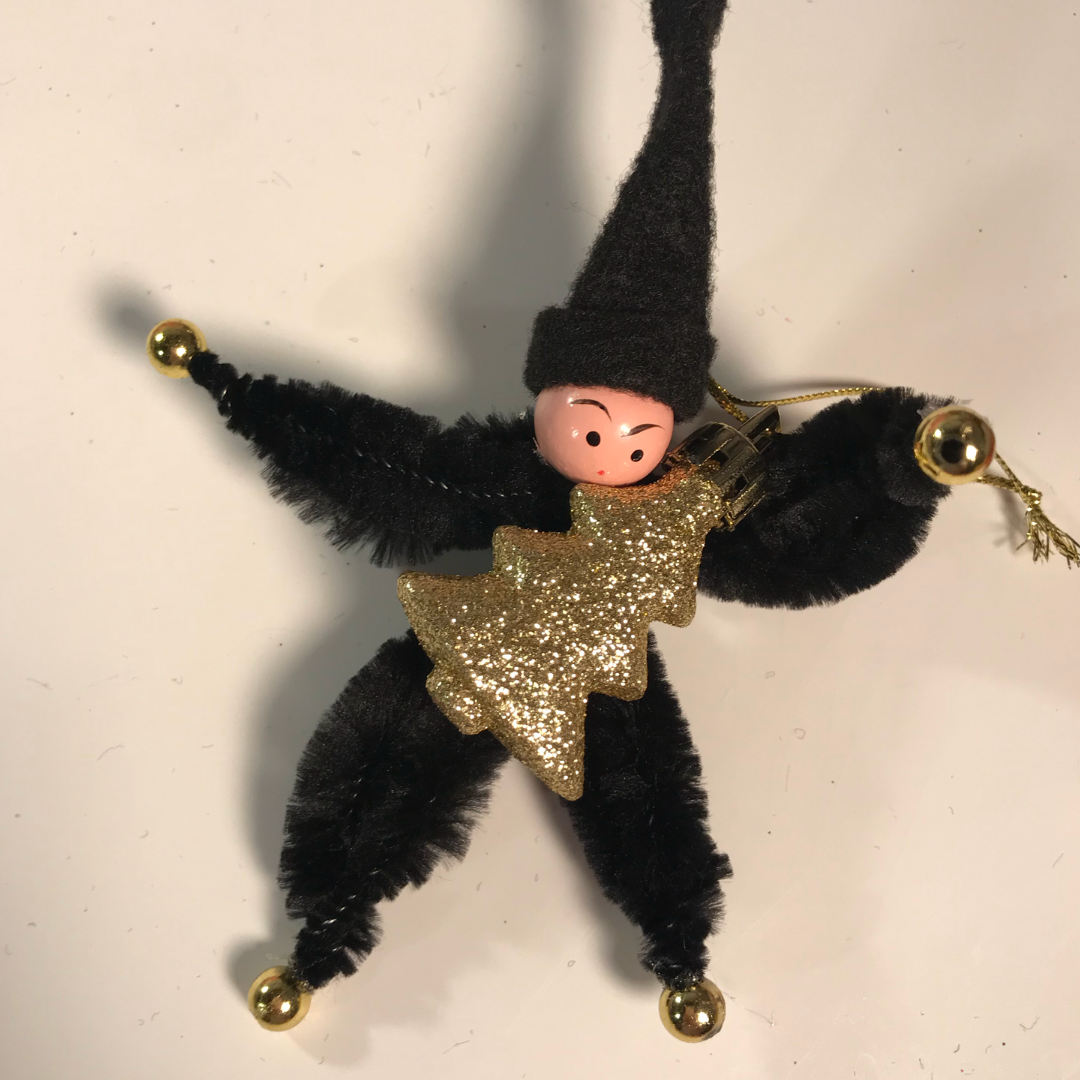
small items for the pixies to “hold” These are the items that will cover up the fact that your chenille pixies basically don’t really have a torso. I get many of my little things from the dollar store. Small ornaments, pieces of artificial arrangements, jingle bells, etc. make great items to mask your torso-less pixie.
VERY sharp scissors (used to cut your felt hat)
tin snips or wire cutters to cut pipe cleaners, artificial floral arrangements
our downloadable pattern for the pixie hat
a few straight pins for the pattern and felt
I decided to start making these little cuties quite a few years ago. After recovering from my horror of the less than ideal chenille stems and doll head beads, I did go on Etsy and was able to get a few vintage doll heads as well as some of the really good chenille stems, which are actually sold in one larger roll instead of like the pipe cleaner stems we see now. The process of actually making the chenille pixies doesn’t take long, especially after you get the hang of it.
Wooden Heads/Faces
Once you have all the necessary items to make your chenille pixies, there are a few things to do depending on how you are making yours. If you have your wooden doll heads/faces, then great. If you don’t, you’ll need to go on and paint your wooden beads and then paint your faces as well. There are some cute face options on Pinterest. As I mentioned earlier, I use ready-made heads for my pixies, so I don’t have a lot of guidance for this step. If I find a way to do these myself eventually, I will of course post it.
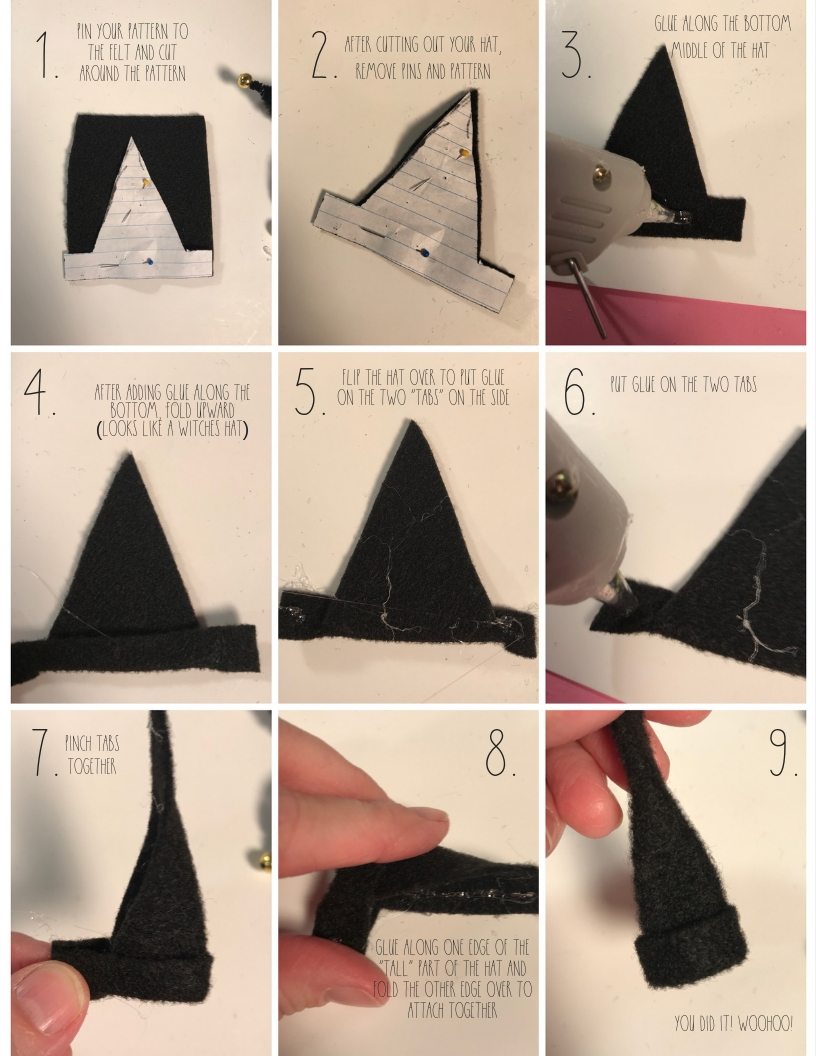
Cut Out Your Hat(s) and Assemble
Be sure to print out our pixie hat pattern here. Cut out the pattern and then using the straight pins, pin onto the felt to hold it in place, then cut out the hat, using the pattern as a guide. You will want to fold the bottom up until flush with where the triangle part of the hat starts and glue it for it to hold, so the hat has a little edge to it. Then take the two “tabs”, one on each side and pull around to the back of the hat and glue those together. Take the “tall” part of the hat and glue together to get more of a pixie look to the hat.
With the original pixies, my grandmother used thin floral wire to gather the felt, right above the head. I started to use embroidery thread instead because I liked it better. Originally the hats weren’t glued vertically (the last step we did in assembly). Once I started gluing the hats together there, I didn’t really feel the thread or wire was necessary. You may feel differently, do whatever works for you.
Gather Your Four Small Beads
These little beads are to glue on the tips of your stems for hands and feet once you have the body assembled. Just keep them handy.
Maneuvering and Shaping Your Chenille Stems for the Body
Basically think of each “bump” as a limb for your pixie, two arms and two legs. You’ll need a total of two “bumps” for each of your two stems you need to make the body, whether you choose to twist and double up is up to you.
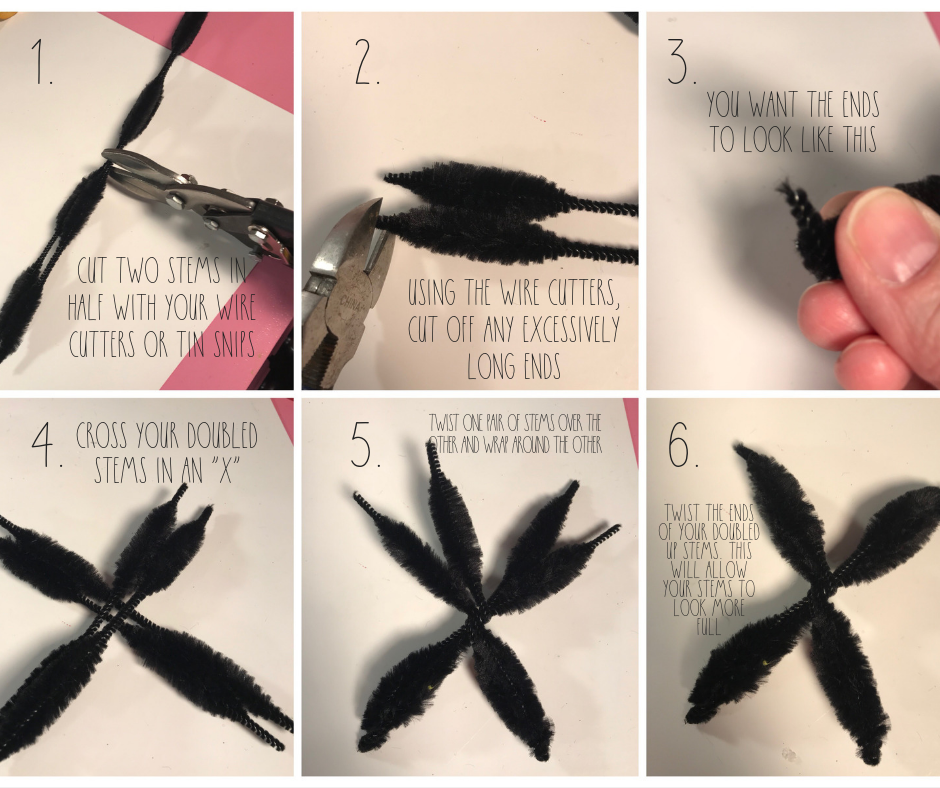
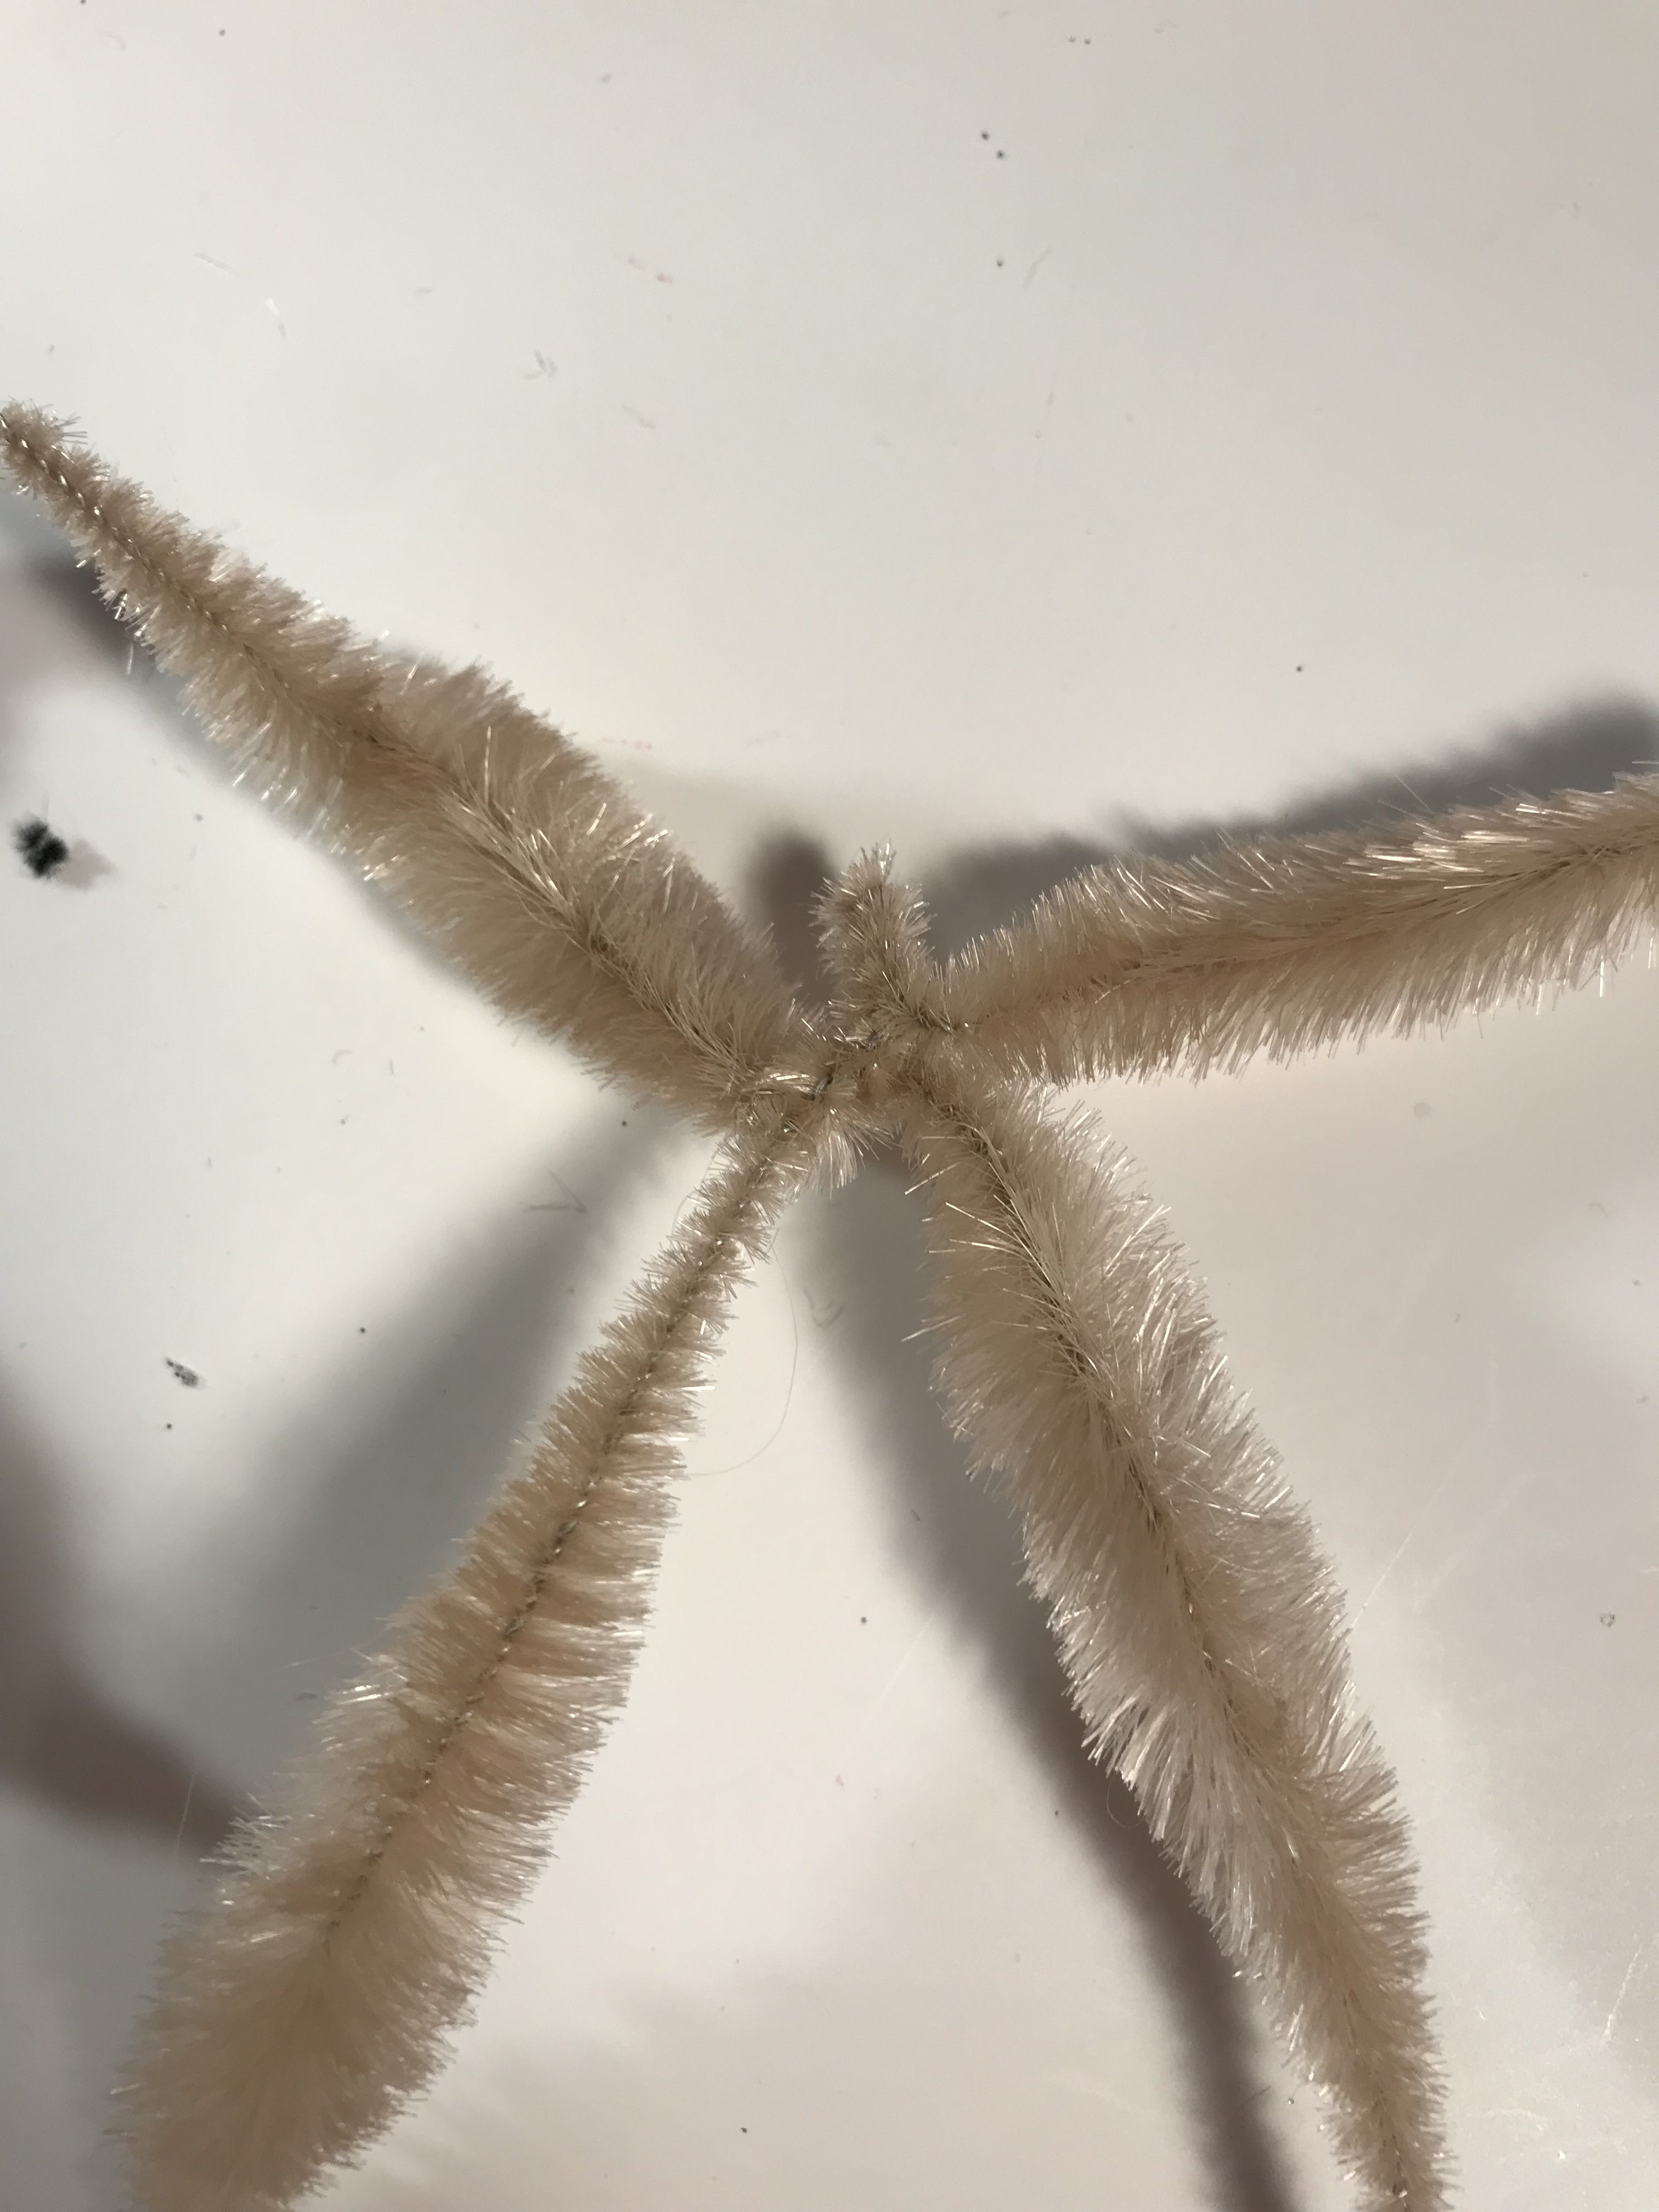
Take the stems and make an “X” and twist in the middle once or twice, trying to keep your limbs as close to the same length as possible. Trim off any ends that may be excessively long. For each pair of stems (you have four), twist the ends together. This will make it easier when you glue on the beads for the hands and feet.
Once your 4 “limbs” have taken shape, bend one of the stems slightly, close to the twist, so it will stick up just a little. This will be the “neck” of your pixie.
Take your glue gun and put a little glue on your “neck” and then stick the head over it.
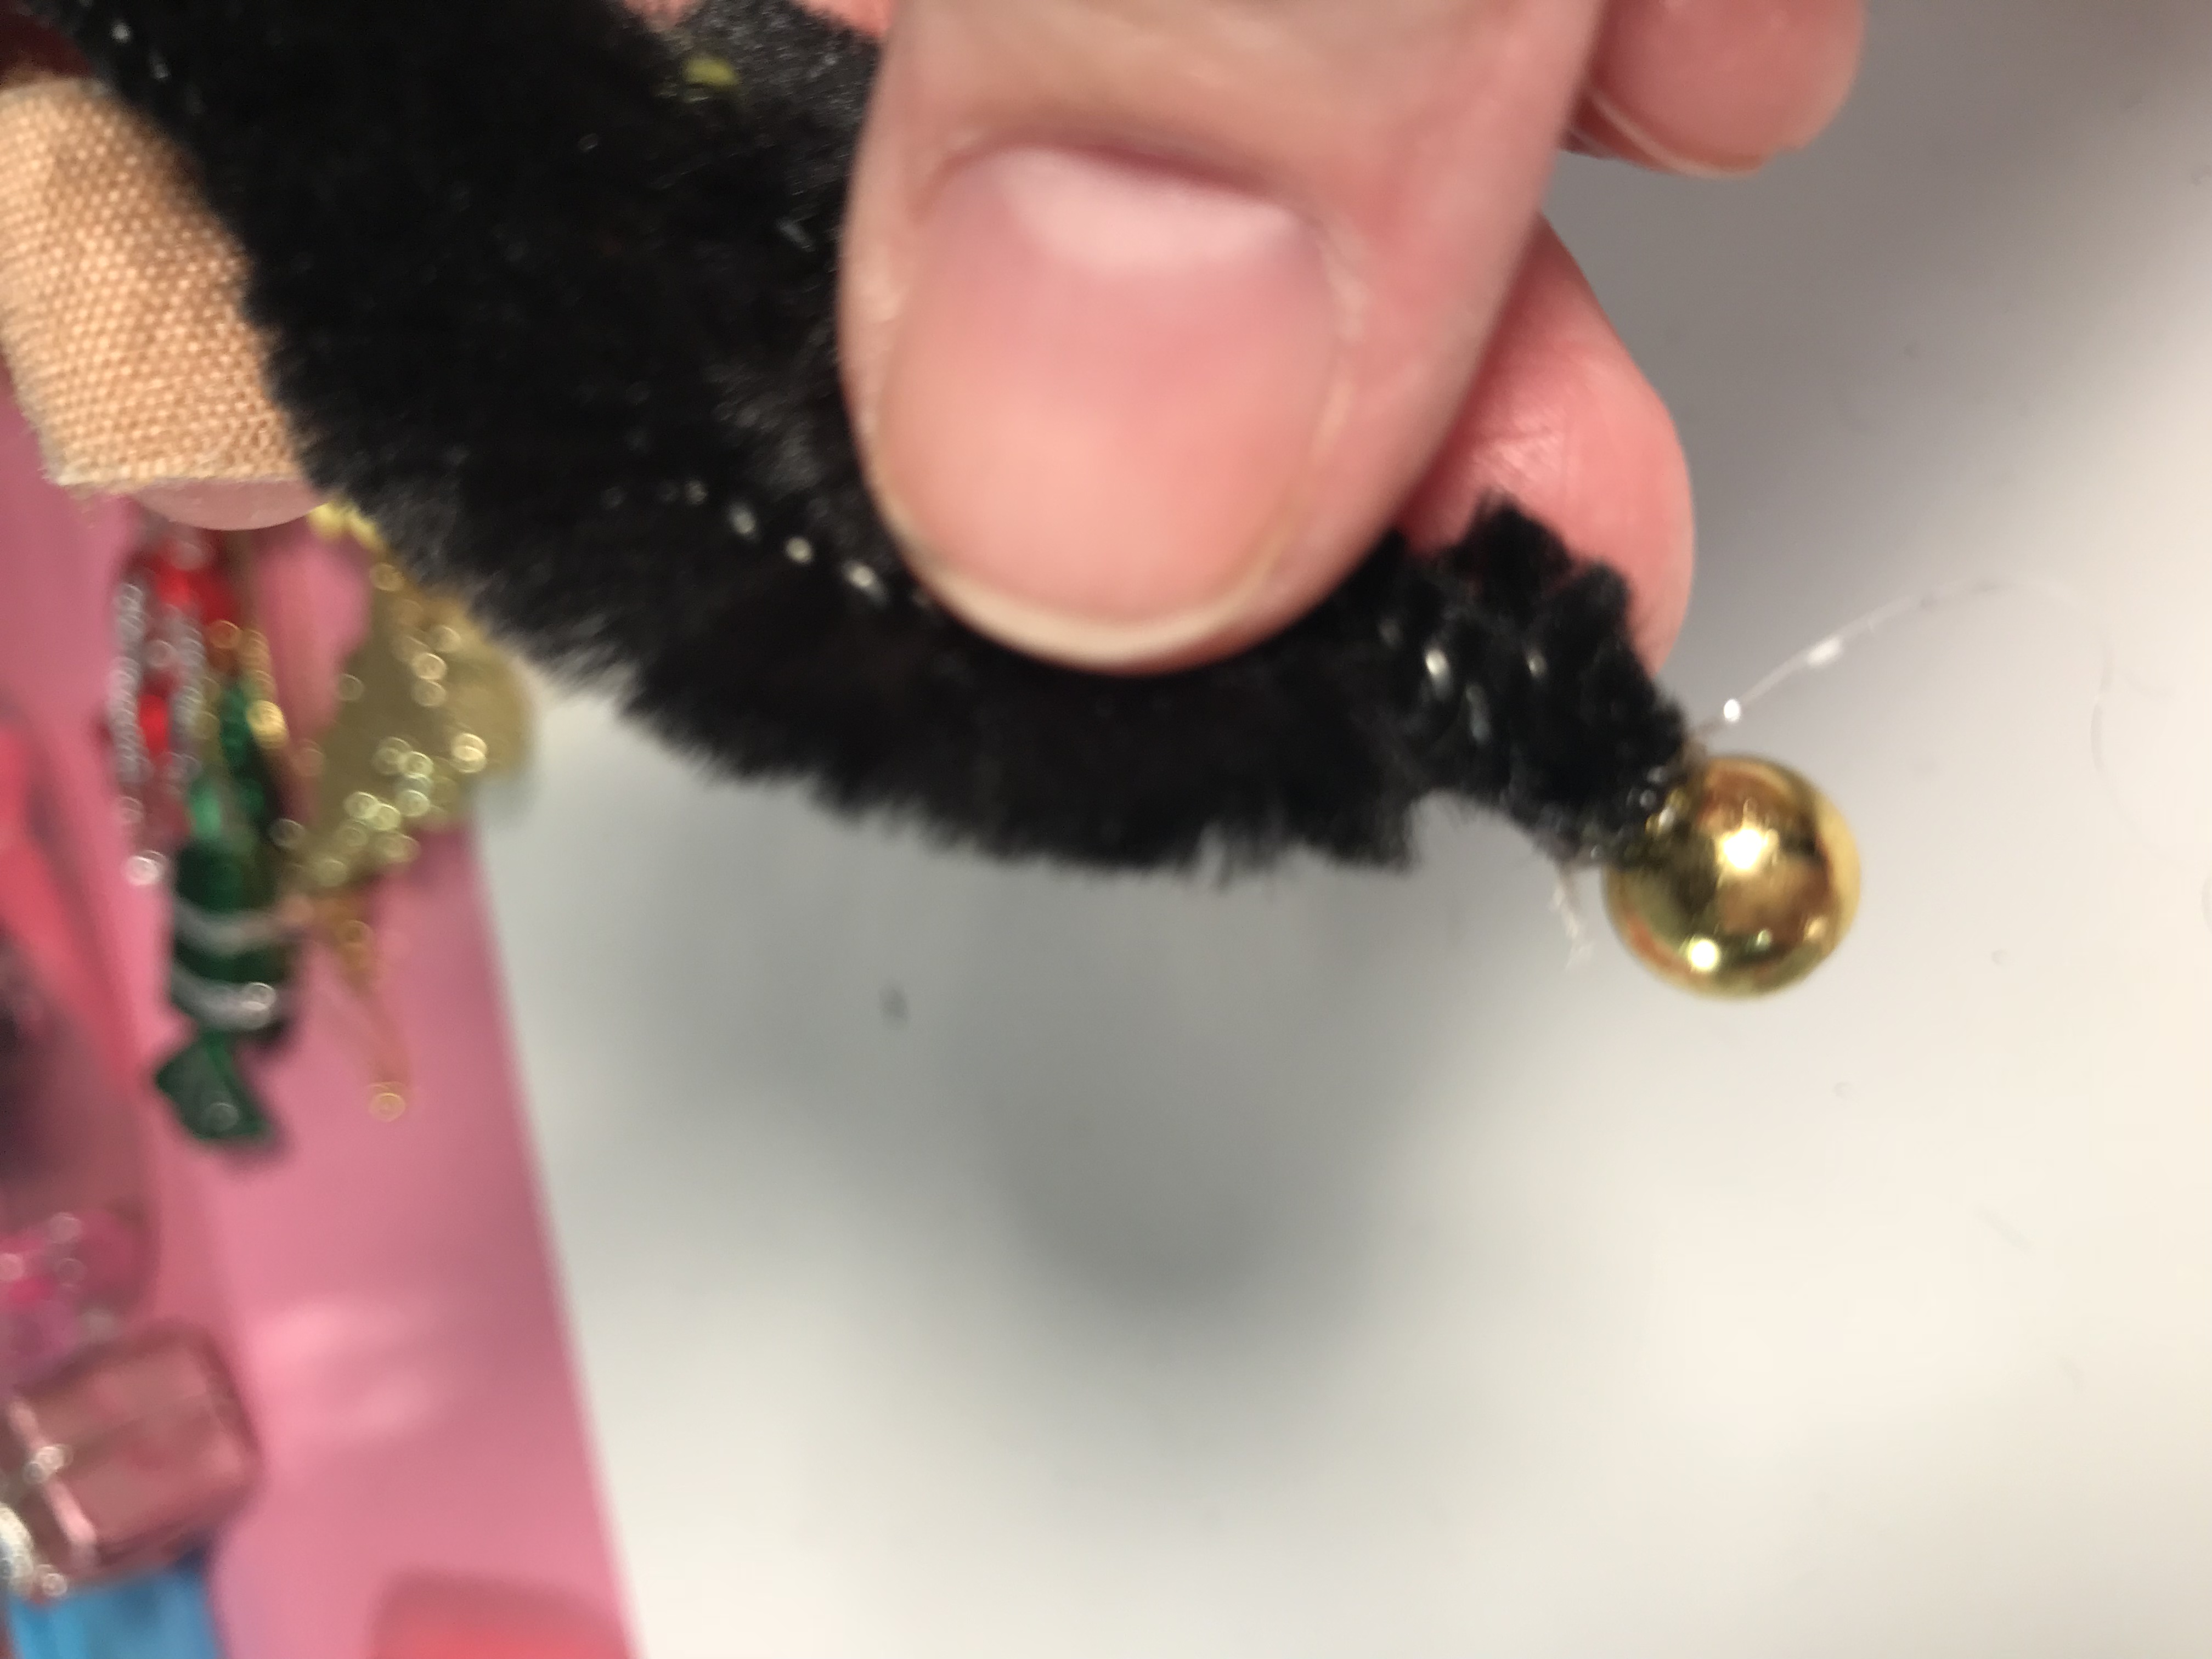
Next, use your glue gun to put a little drop of glue at the tips of the chenille stems and attach your beads at the very tips to cover the ends. think of those as caps. It’ll keep you from getting poked by the stem ends when you’re handling the chenille pixies.
Use the glue gun to put some glue on the top of the head and attach your hat.
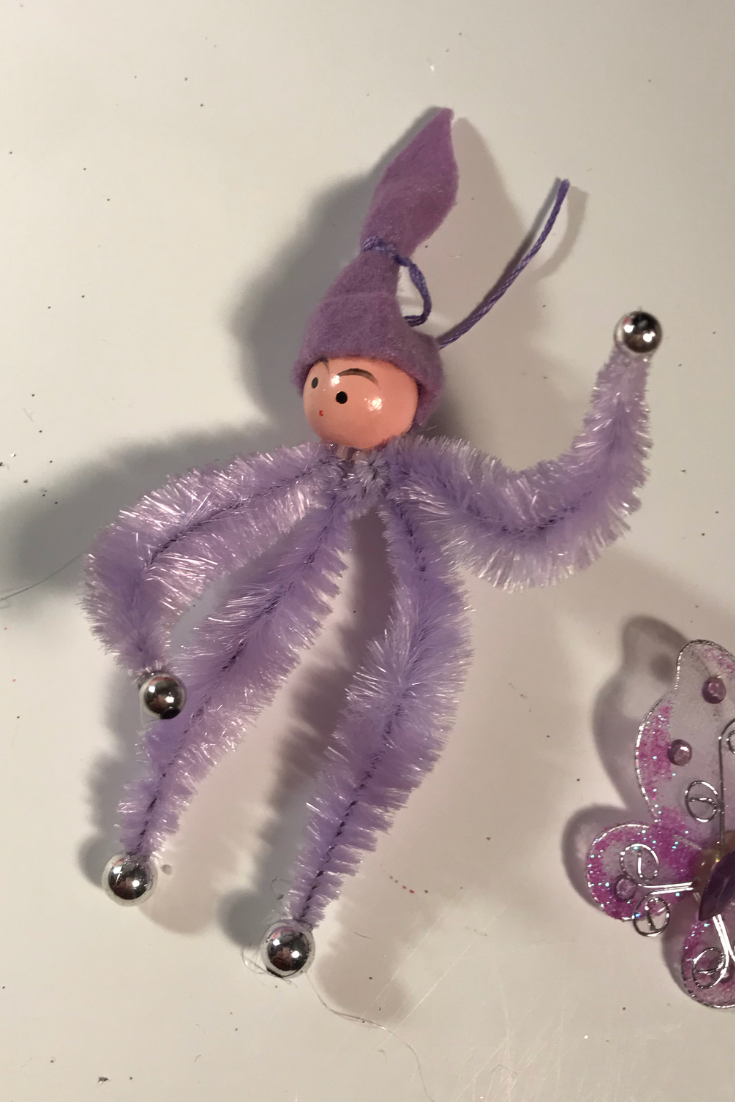
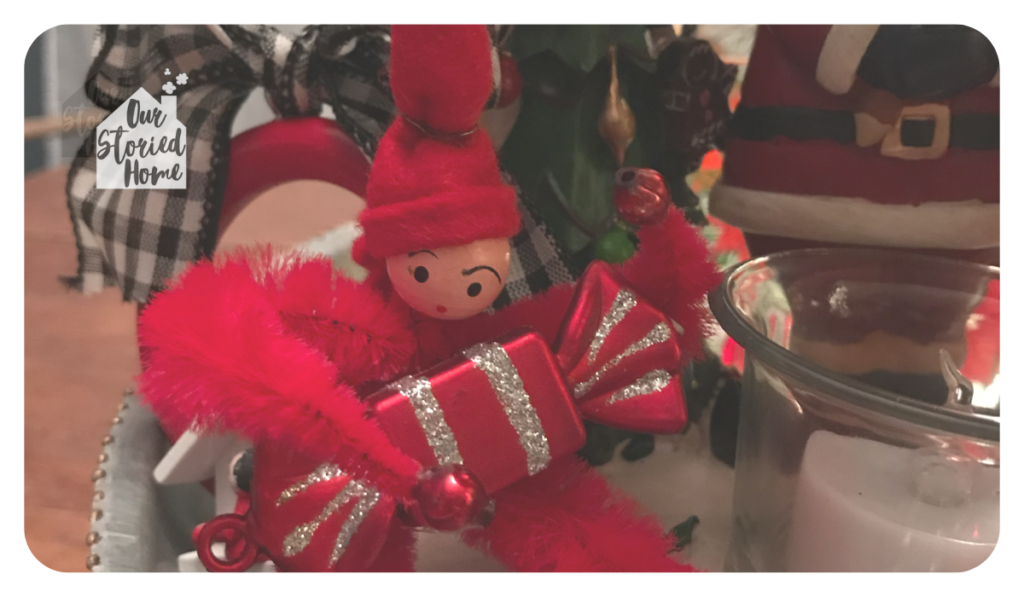
Other than the fact your pixie looks strange because it has no torso, it should be taking shape!!!
Take one of your smaller items, like the small piece you cut off part of an artificial floral arrangement, a little drum or small ornament and glue it onto your pixie where the torso is supposed to be, that way the item is covering up the fact your pixie has no tummy. Once your object has dried and is attached well, the only thing left to do is shape your pixie. Wrap the arms around the item it’s holding, and bend to use in your tree or on a package or wreath. The great thing about the chenille pixies is they’re flexible so just keep adjusting everything until you have it the way you want it.
I know it sounds like a lot, but the bulk of the work is really in the set up and getting all the materials you want to use. Once you have the pieces, you can make as many as you want at a time and the actual making of the chenille pixies doesn’t take long.
Happy Making!!!!
*there are affiliate links in this post