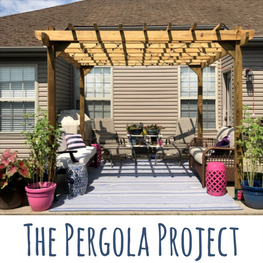
I had a pergola at my old house. My dad and I built it together when he was in the middle of treatment for lymphoma. He wanted to do this project with me because I think he knew it would probably be our last project together. I loved my pergola. It almost went across the entire back of the house and it almost felt like a room addition. Enhancing/creating an outdoor space adds so much to your home. Not only is it a place to relax and entertain, but it can also add value to your home.
Naturally I was pretty sad about leaving my old pergola behind when we moved. I love our house now, but I missed my pergola. My darling brother knew how much I loved my old one and money was tight, so a kit was pretty pricey. He offered to help me build one (which means he does the majority of the work and I help when he tells me to do something). He came up with the design and how we would put it together. I didn’t want anything fancy, just a basic pergola. We decided we would basically create our own kit, which ended up saving me hundreds of dollars. My whole pergola, including lumber, braces for the patio, and hardware cost me about $260.
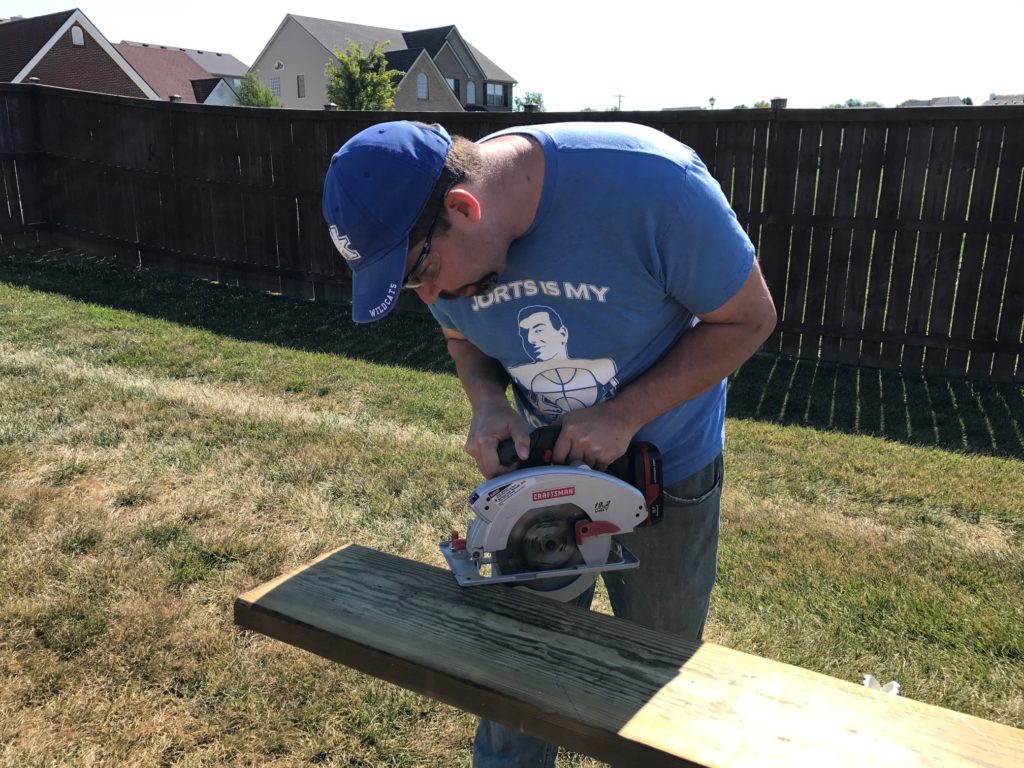
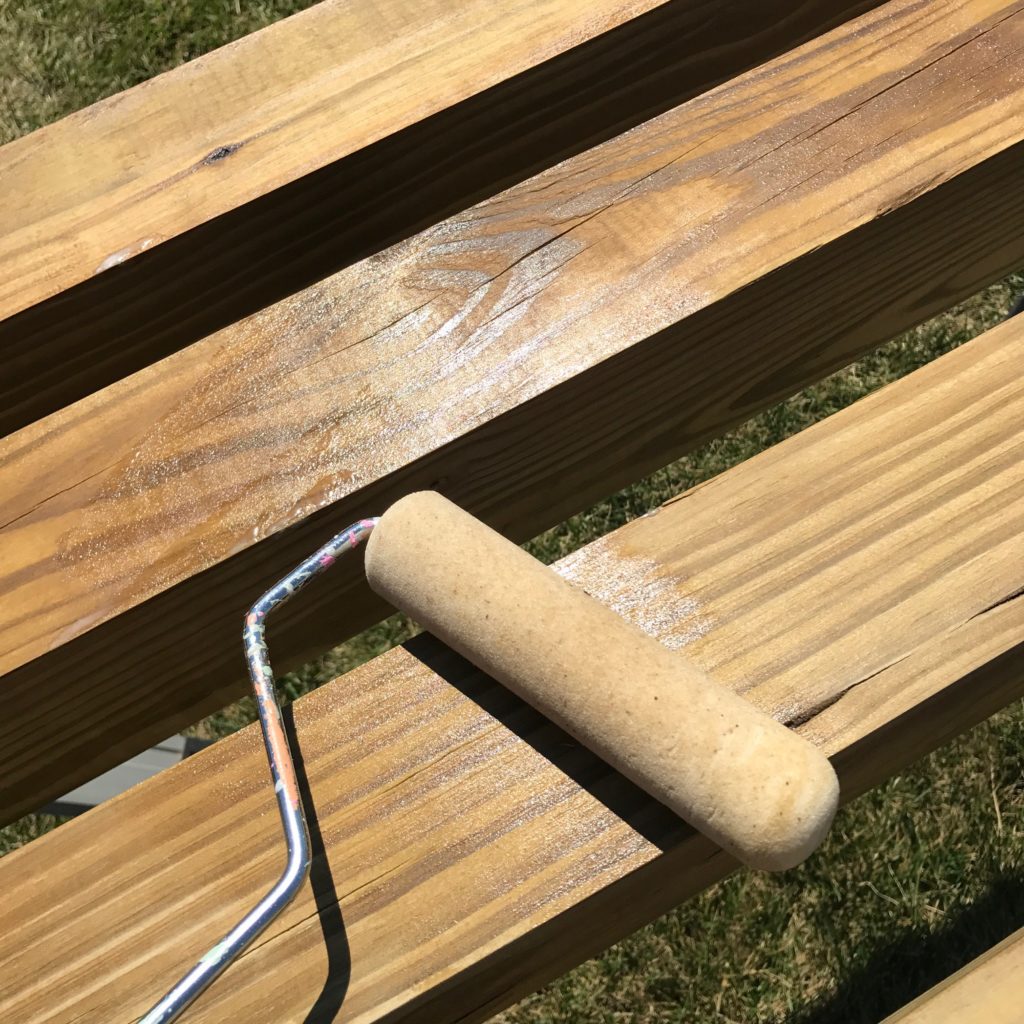
We cut all of the lumber ahead of time (it took one afternoon). AJ also notched the beams in some places so everything kind of fit together like Lincoln Logs. Next, I sealed all the lumber. I thought it would be easier to use a roller and roll it on that it would be if I waited to seal it when it had already been assembled. I chose sealant instead of stain. In my experience stain is much harder to work with and I like the “weathered” look of the wood, so sealant was a good choice for me. That took another afternoon. Finally, the third afternoon we assembled the pergola.
Here’s What You’ll Need:
*make sure all of your lumber has been treated to protect it and make it last longer
(4) 4×4″ posts (8 ft)
(4) anchors to attach posts to the patio
(7) 2×6″s (10 ft)
(4) 2×4″s (10 ft) OR (7) 1×2″s *if you don’t have the ability to halve the 2×4’s, buy the 1×2’s)
wood sealant (we used Thompson’s) or stain
hammer
Torx head screws (2.5 and 3.5)
Forstner bit
miter saw
circular saw
drill
ladder
clamps
tapcons
sander
The first thing AJ did was use the 2×10″ to cut four triangular braces at the top — two for the “front”, and two for the “back”.
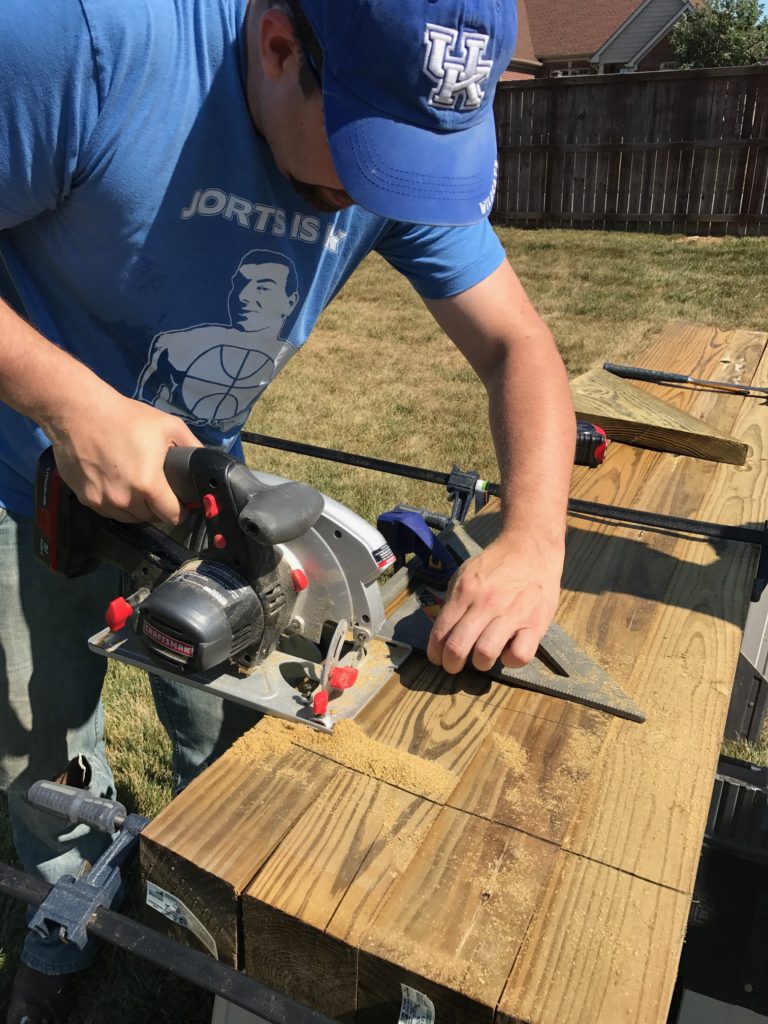
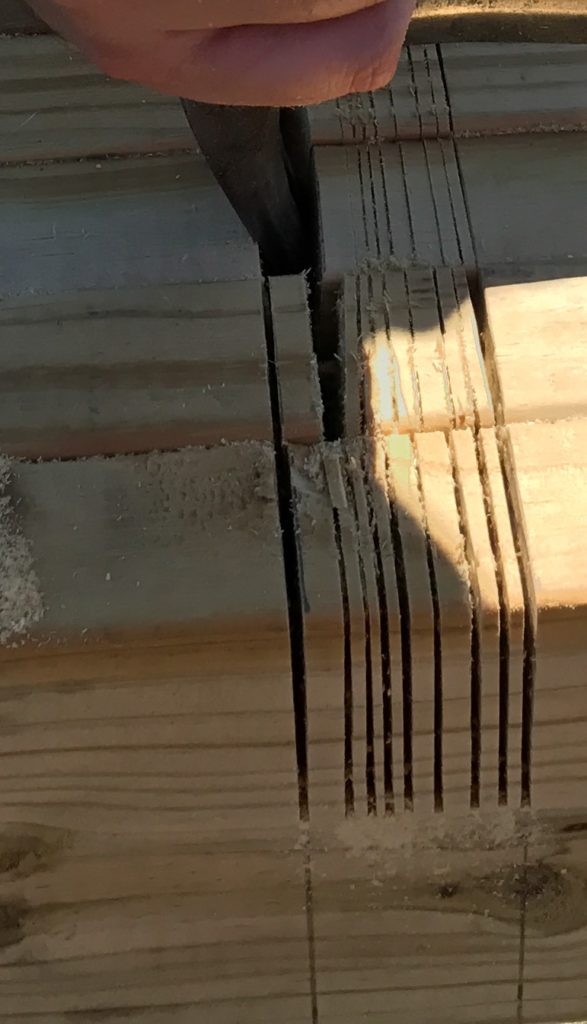
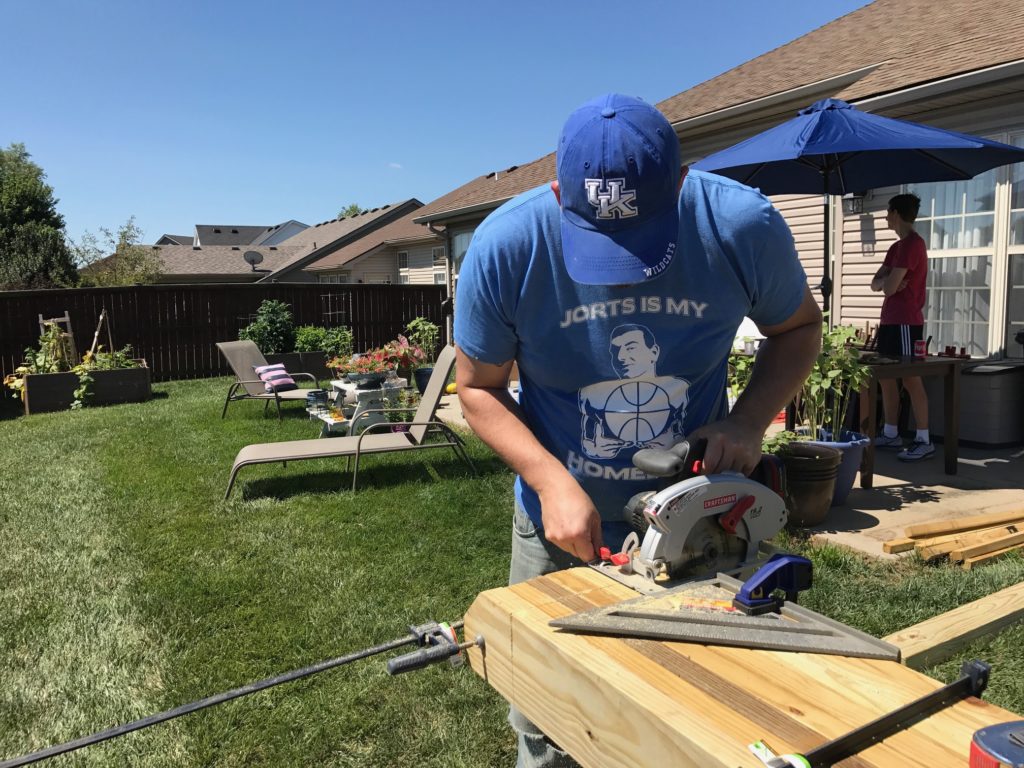
Then we clamped the four posts together and measured down to where we wanted the cross pieces to fit into the posts. AJ made several cuts side by side, very close together with the circular saw, the width of the 2×6’s.
These are what your notches should look like (although this particular photo is of the 2 x 6’s being notched and not the four posts). The notches on the four posts should be the width of the 2 x 6’s.
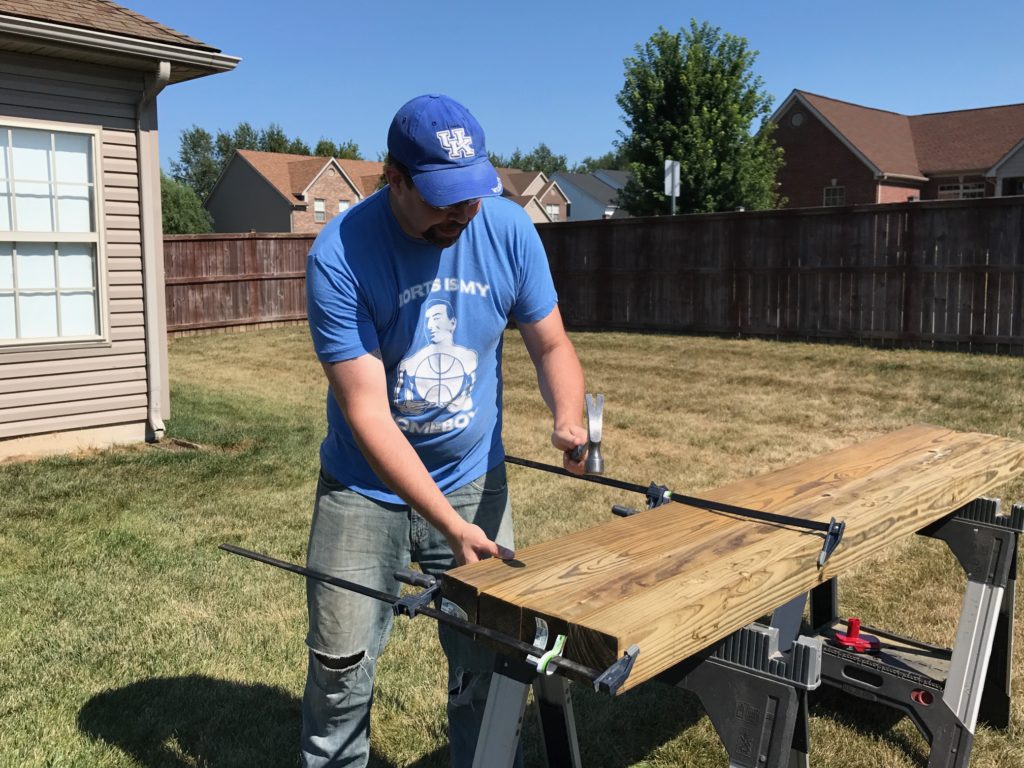
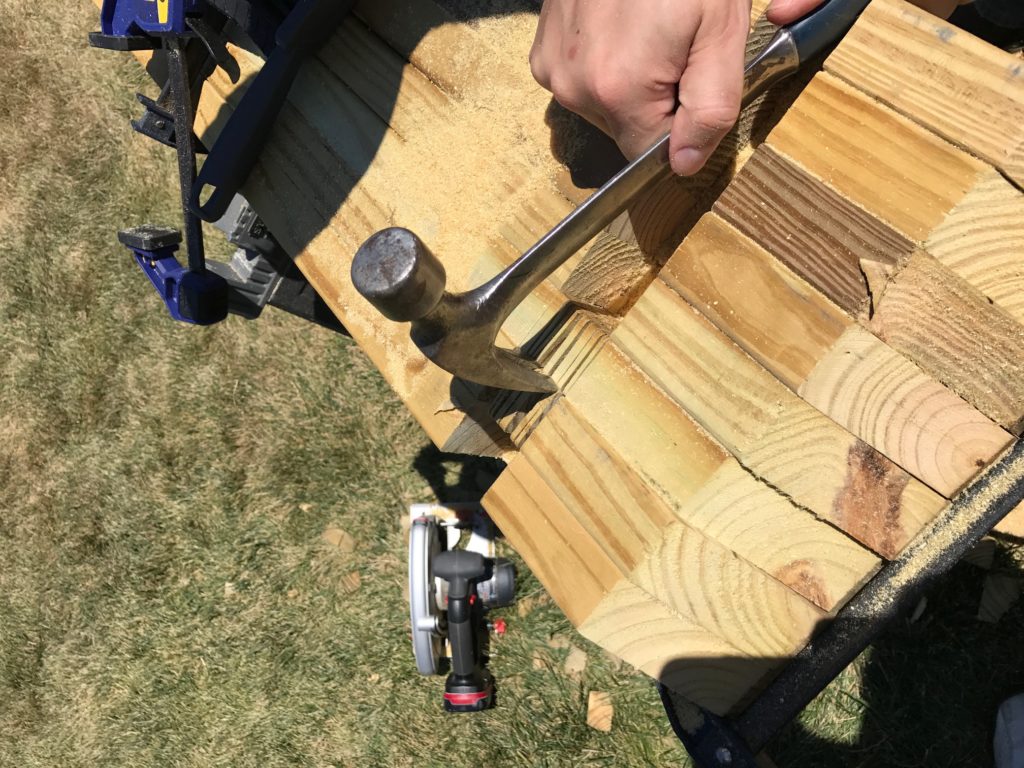
Take a hammer and knock the little pieces of wood out of the space for the notch. (Once again this is a photo of the 2 x 6’s not the posts, just showing the technique used).
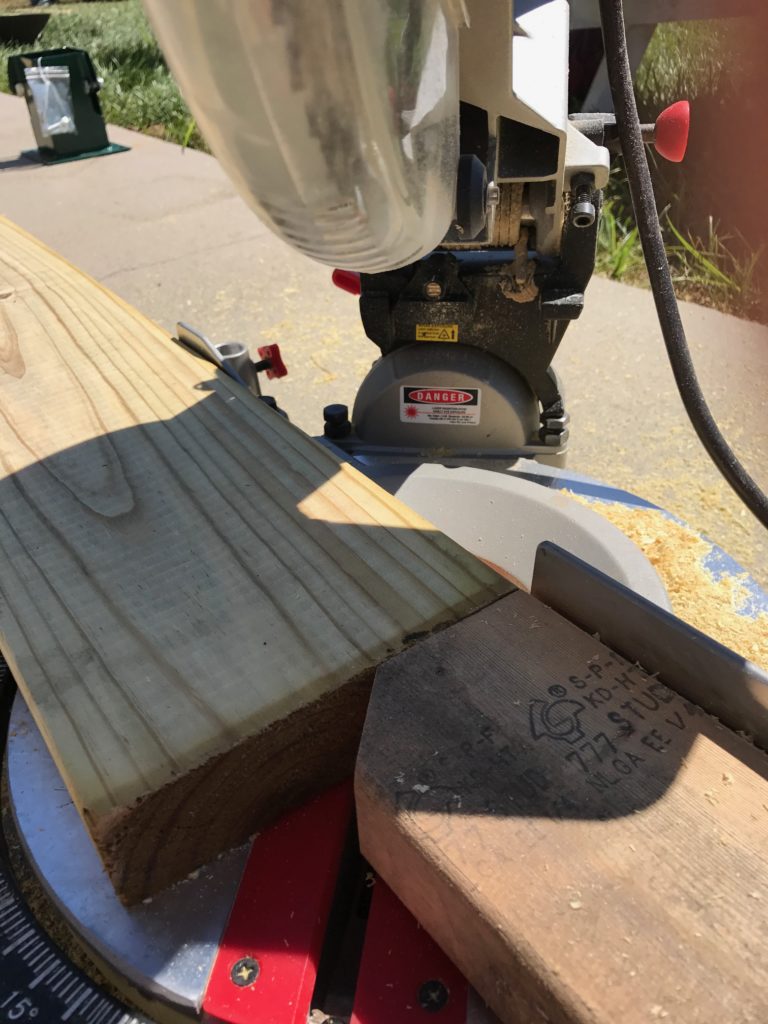
Next we took the 2×6’s and cut a small triangle at the top on both ends to make the pieces look a little more “finished”. Then we clamped all the 2×6’s together on the saw horses and AJ used the handsaw to cut several notches into the 2 x 6’s just like we did with the posts.
AJ used the braces he cut at first to hold everything in place while he made notches in the other end. The 2 x 6’s will be placed on top of the two pieces running perpendicular.
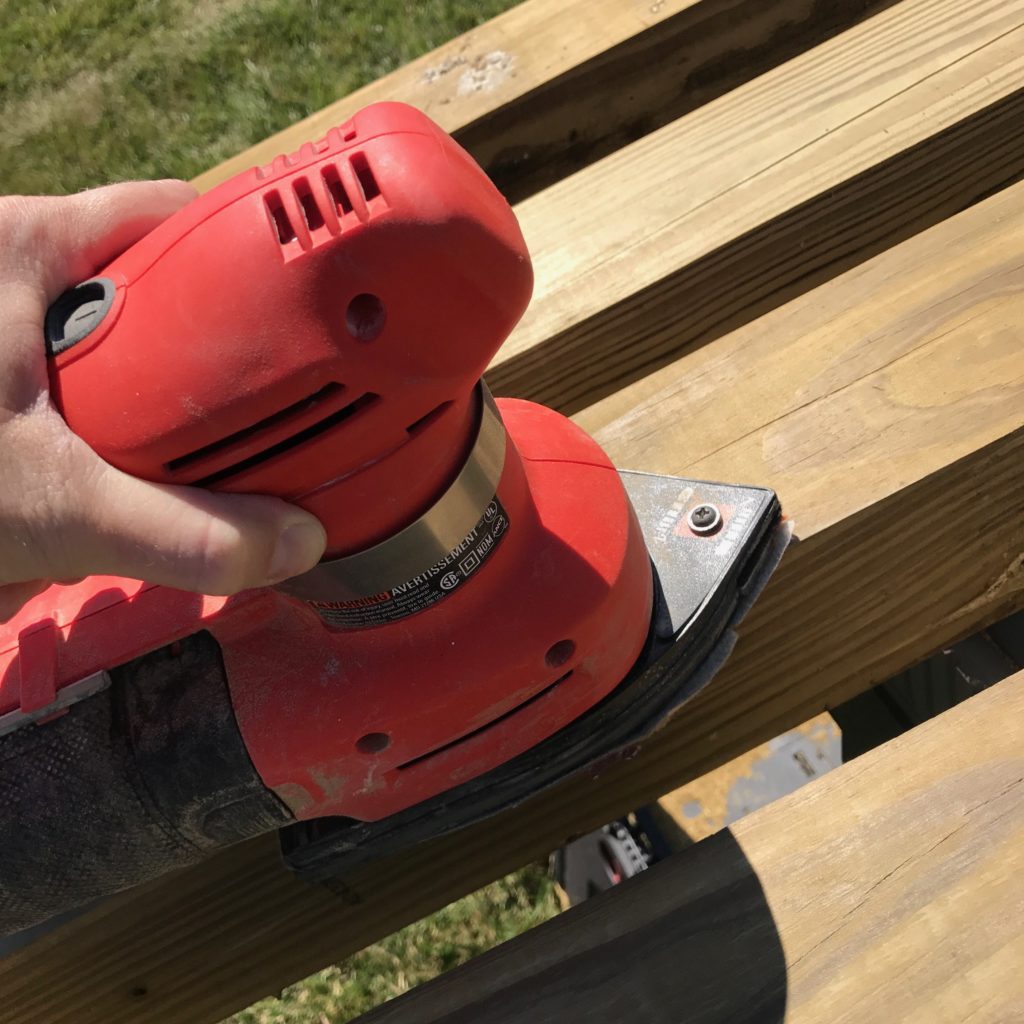
My part came next. I used a hand sander and sanded all the wood and then used a roller to roll the sealant on. I did two thin coats and then leaned the beams up against the fence to dry.
At this point we had essentially created our own pergola kit. With the exception of a few sunken pre-drilled holes (using a forstner bit) for hardware, all that was left was assembly, which we did the following Saturday.
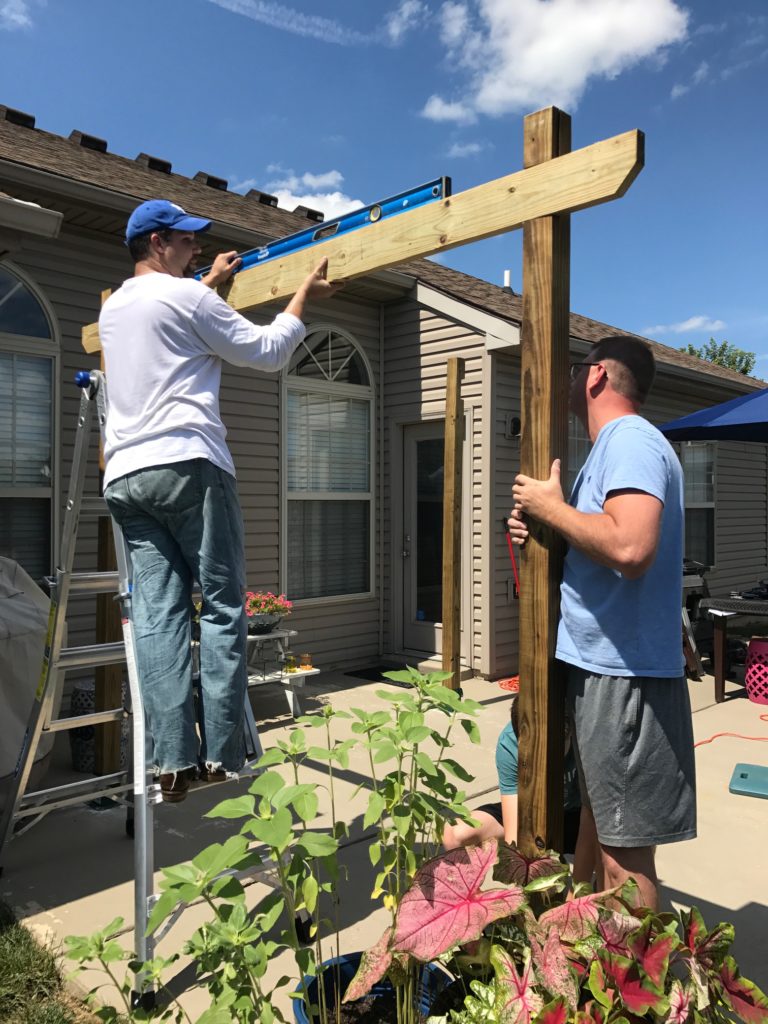
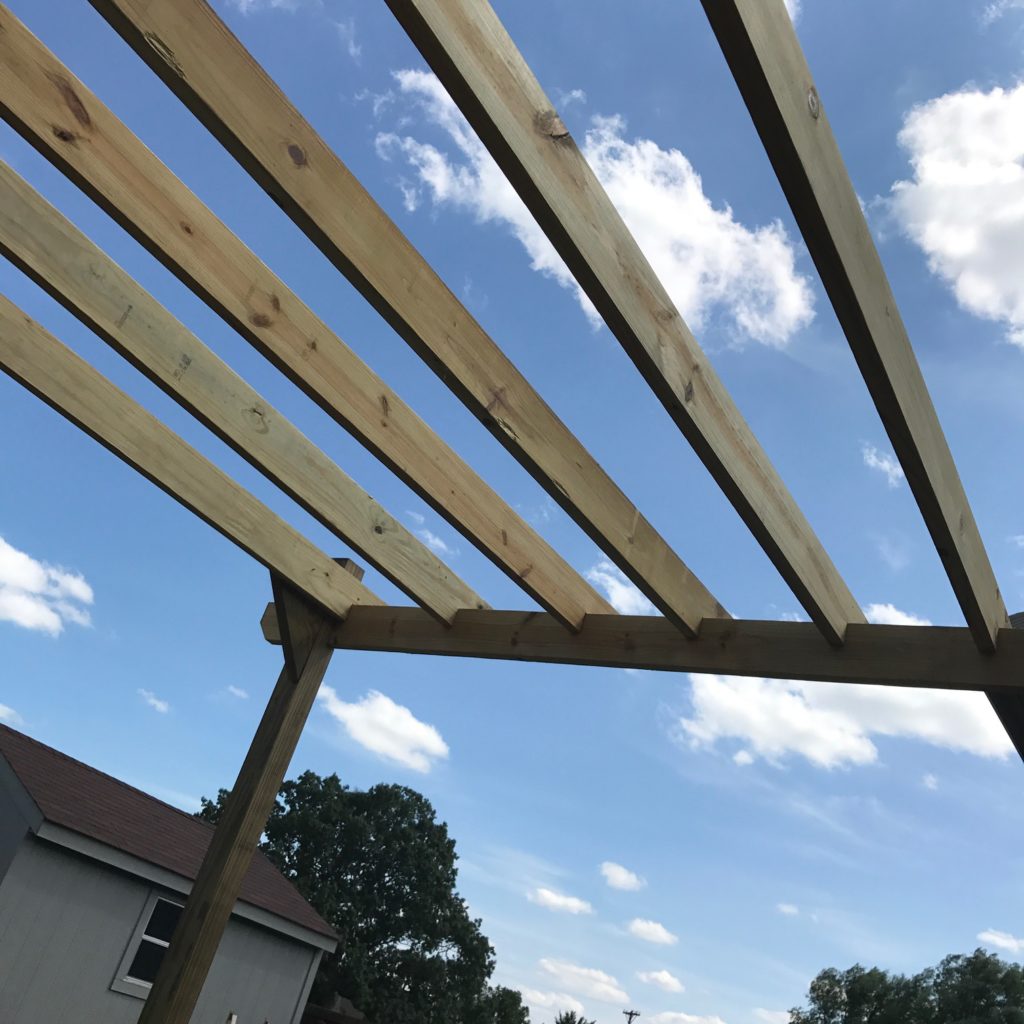
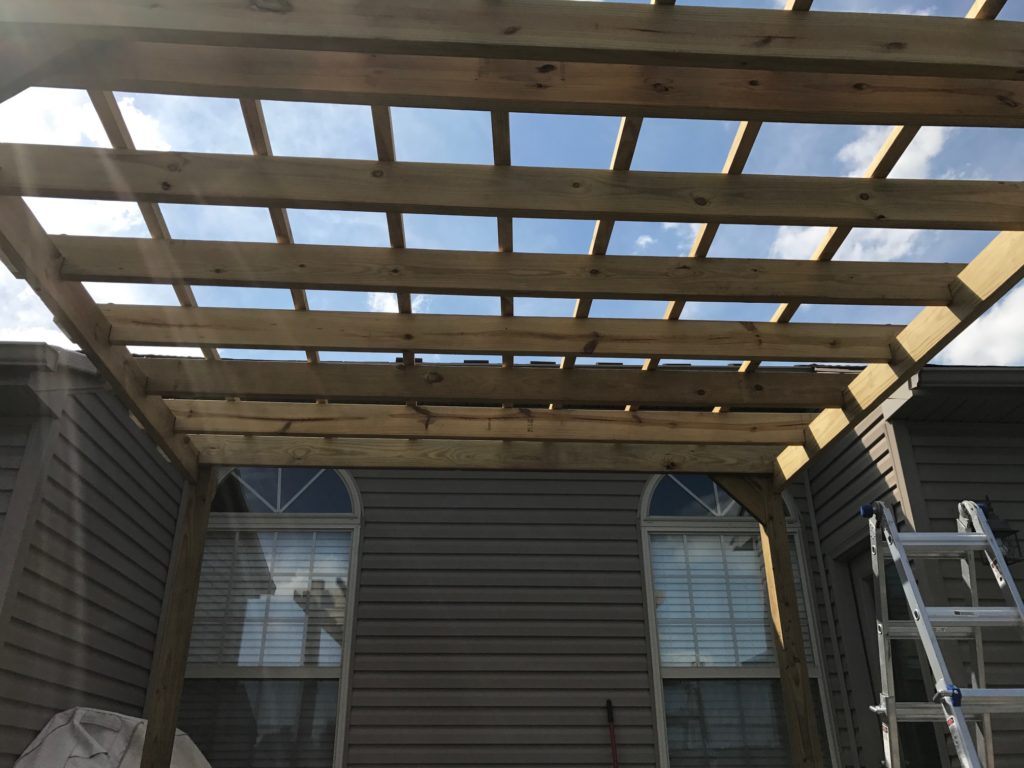
A.J. had me place the metal pieces that were to be screwed into the concrete patio where I wanted on the patio so we would have an idea where everything needed to go. Once those were placed, A.J. drilled the holes using a masonry bit into the patio and used tapcons to screw the fittings into place. Then they put the 4 x 4″ posts into the fittings, making sure to use the level and check to see everything is level and straight. Next they connected the two posts with a beam on one side, same thing on the other side so we had something attach to the larger beams that ran parallel. Remember all of these have been notched, so the beams fit perfectly into the 4 x 4 pieces. The other beams running perpendicular have also been notched so after placing them, they should fit right on top of those pieces.
Once those have been placed, we did the smaller pieces running in the opposite direction to those pieces. After placing those, then it’s time to crew everything together.
Once you get everything set where you want it, start screwing it all together. Once you get your anchors screwed into the concrete, the structure will be strong enough to continue screwing together the pergola. The notches also help to give it strength as you are doing the assembly.
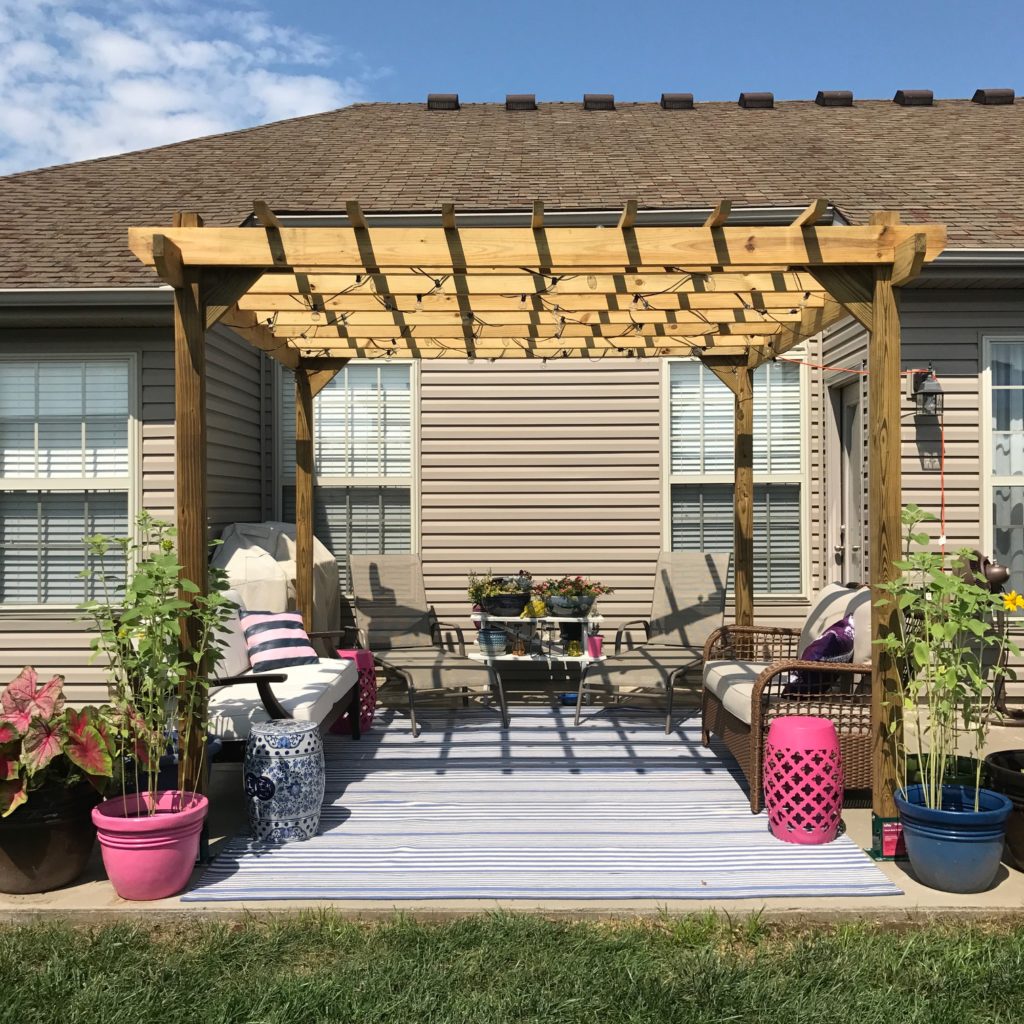
Once you finish with the basic structure, the fun part begins! Start decorating and creating the outdoor space you have been envisioning! Fall is a great time to build a pergola — it’s not unbearably hot outside, plus any accessories or furniture you might want to purchase for your pergola or outdoor space can often be bought on clearance at the end of the season. You may have to wait to use it more next spring, but it’s worth it if you are on a budget and want to save where you can.
We will have more decorating ideas coming soon! Enjoy!

