I’m a big fan of matte-finish paints as a medium for transforming builder-basic elements in my home. The first big project I did using a matte-finish paint, or chalk paint, was our kitchen cabinets. I used Annie Sloan chalk paint for that project, which is my go-to choice for larger or better quality furniture. For smaller projects, I’m a big fan of Americana Chalky Paint and Martha Stewart’s Vintage Finish Paints. These paints come in a wide variety of colors, can be found at Michael’s or Hobby Lobby and at about $10 each, they are much easier on the wallet.
Chalk paint adheres to virtually any surface without priming including metal, glass, wood, plastic and laminate finishes, which makes it perfect for personalizing your home quickly and without a lot of fuss. You do have to apply wax to protect the paint and with some surfaces, like kitchen cabinets or dining tables, you’ll have to reapply wax from time to time. Okay, now that I’ve covered the basics for those of you who’ve never experimented with chalk paint, let me show you how I used it to transform this builder-basic light:
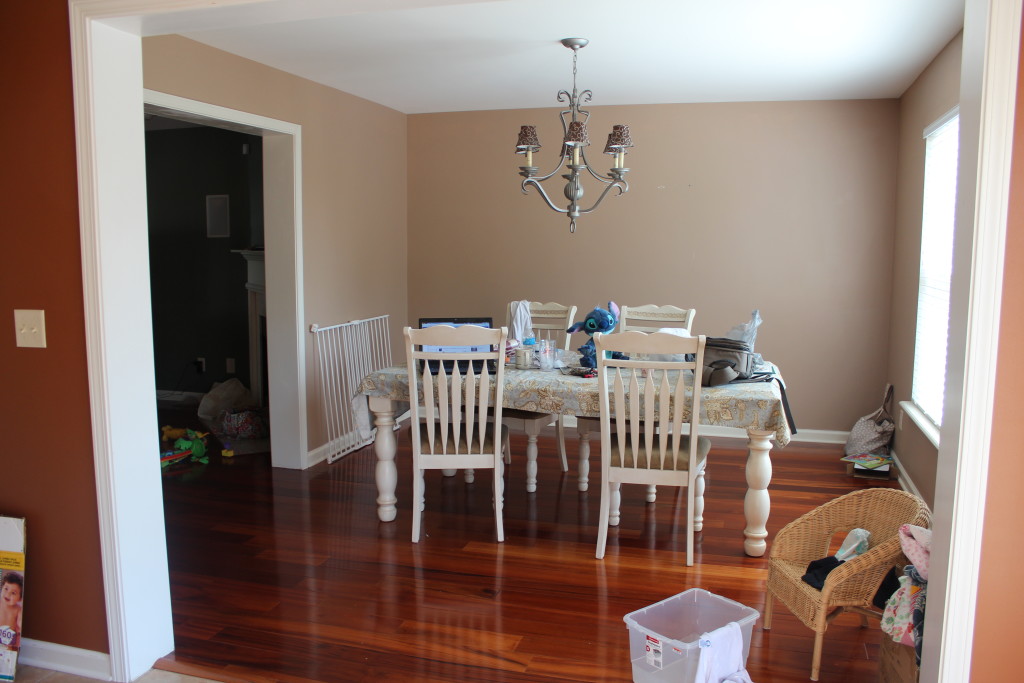
Here’s a peek at what our dining room chandelier looked like the weekend we moved in. It wasn’t bad. It just lacked some character and I certainly wasn’t a fan of those mini-shades.
I gathered my supplies, which included:
-Sample pot of Annie Sloan Chalk Paint in Old Ochre (or sub Martha Stewart Vintage Finish Paint in Ivory)
–Martha Stewart Vintage Finish Paint in Brooke
-Clear wax (Annie Sloan Clear Wax is my favorite)
-Dark wax (I used Annie Sloan Dark Wax but I’ve used and like this product as well)
-Small natural fiber brush
-Old white t-shirt
1. I started off by cleaning the light with my go-to mixture of Dawn, white vinegar and water to remove the dust and grime from the light. I don’t know how lights get so dirty but they do.
2. Once the light was dry, I brushed the Old Ochre over the entire light. Make sure to get in the nooks and crannies and look at the light from all angles. It will probably take two coats to cover the light but this goes quickly. Make a cup of coffee and turn on Pandora and you’ll be fine.
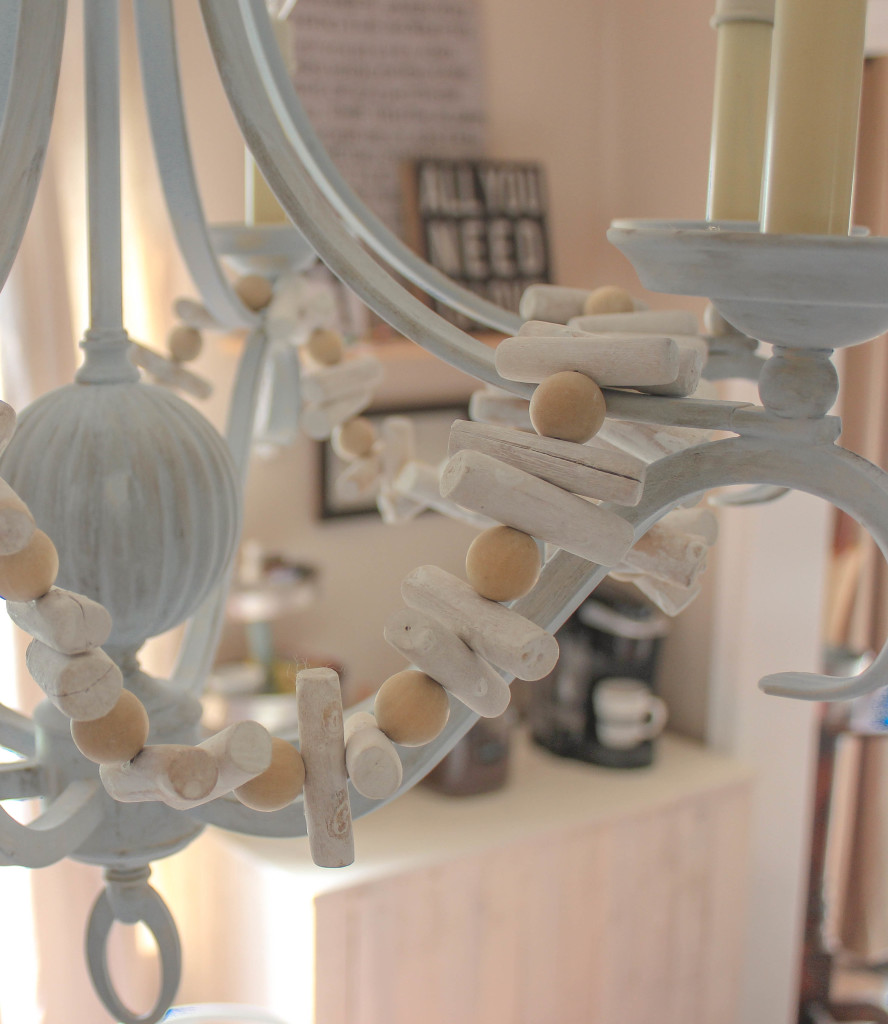
3. Once the Old Ochre was on, I dipped a clean brush in the Brook color and brushed over the light. I wasn’t going for a perfect finish here but instead a beachy, driftwood look.
4. When I had the color right, I used an old t-shirt cut into squares to apply the clear wax. I found this was much easier than trying to squeeze a wax brush into all of those tight places.
5. When the wax was dry, I applied the dark wax into the crevices of the light and in areas I thought it would see natural distressing if it had been hanging for a long time. I’d apply then buff it out, then repeat until I got the look I wanted.
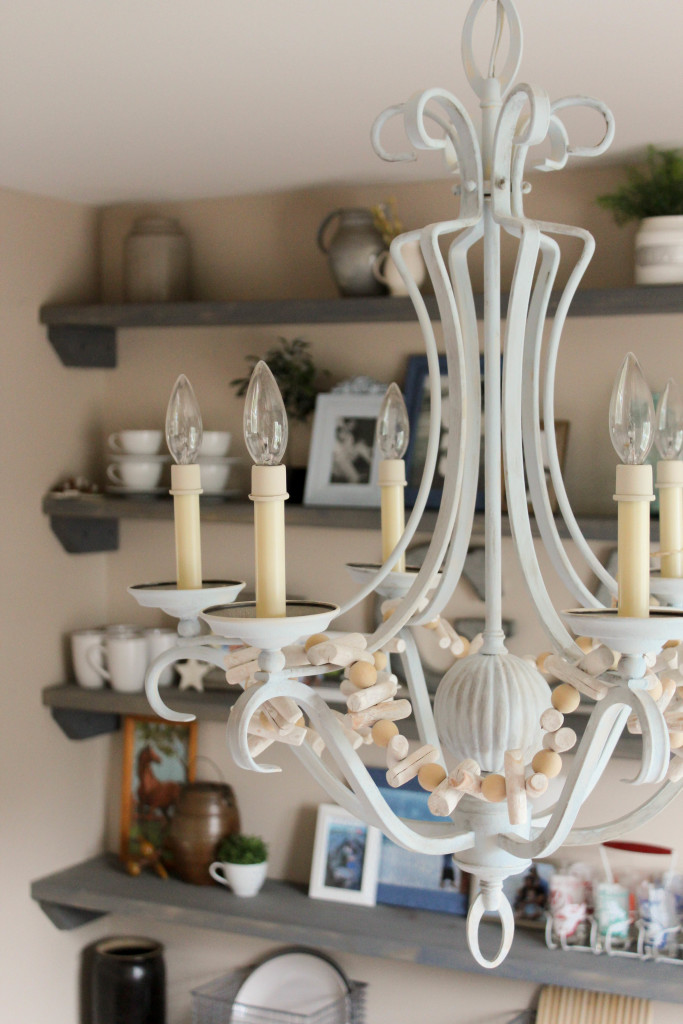
6. To finish the light, I draped a driftwood garland over the arms. I found my garland while on vacation in Destin but you can find similar ones here and here on Etsy.
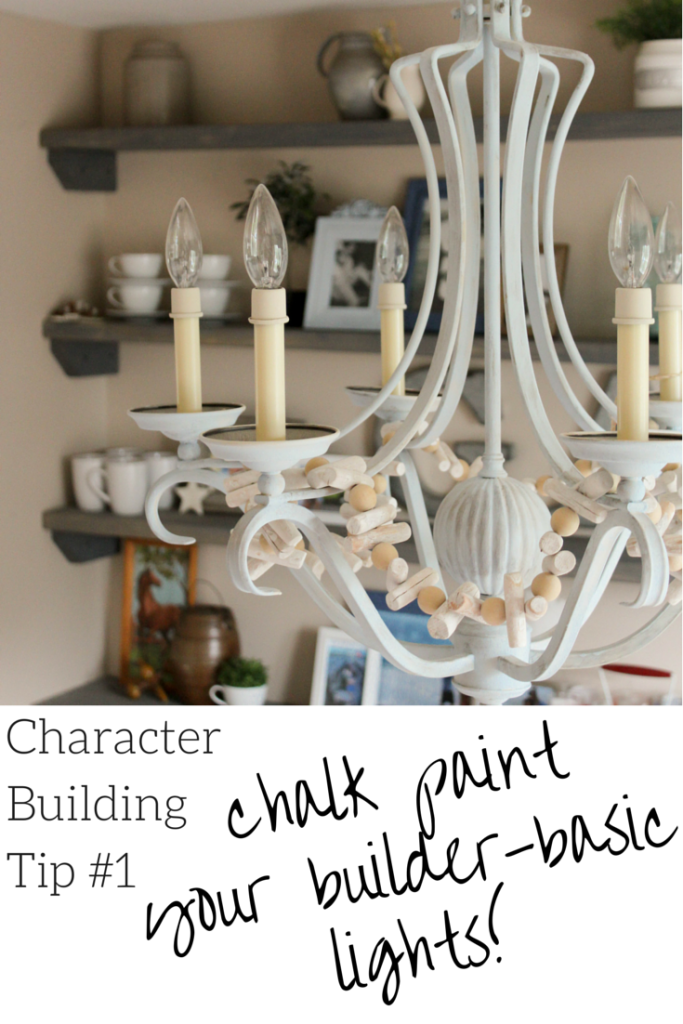
And here’s the finished look:
 Have you tried painting the lights in your house? Do you have a light you’d like to try this on?








One Response
I would like to paint the brass on my ceiling fan. Did you take the light down or paint it while hanging in place.