
That’s okay. Little by little, we’re making this house just as quirky and soulful as all of us crazies living here.
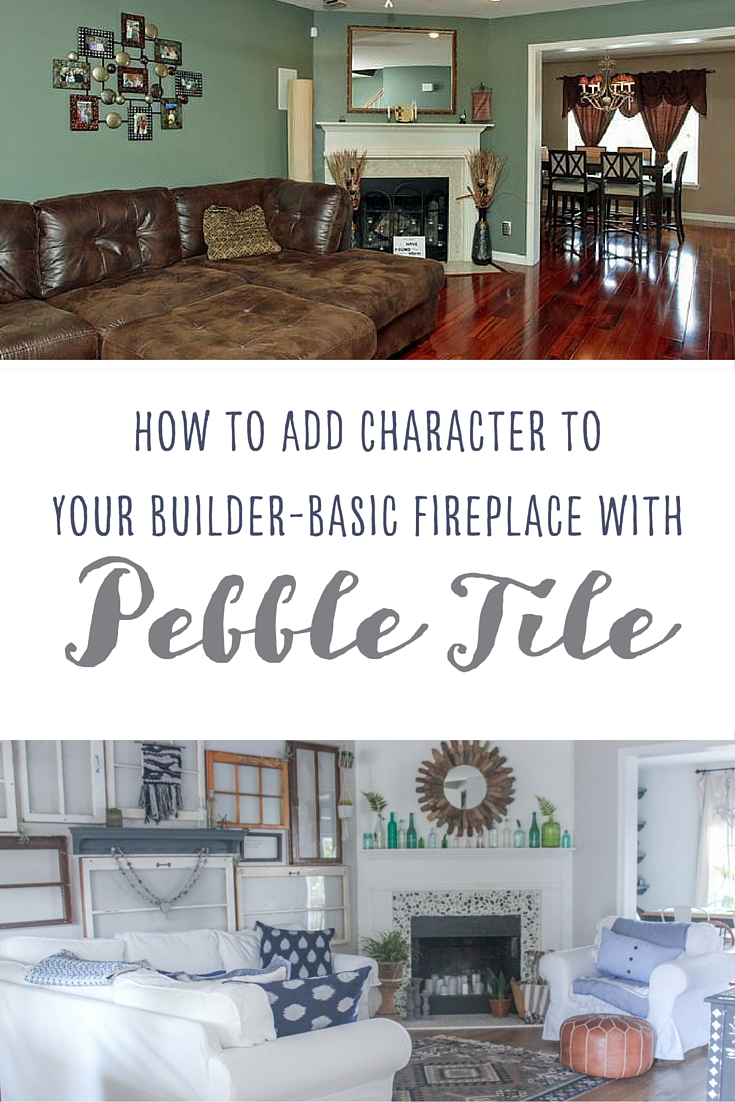
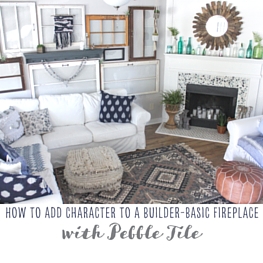
Friend, one of the projects I’ve been most excited to share with you is this pebble tile fireplace surround makeover. Here’s a shot of our living room when we first bought the house:
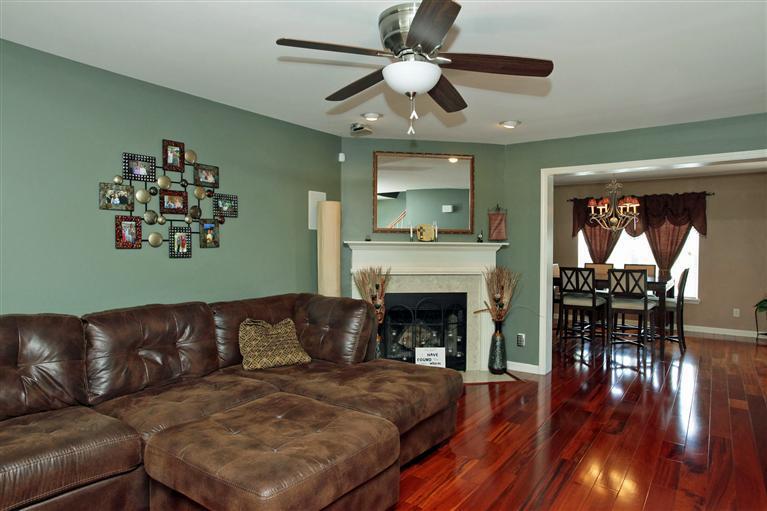
The fireplace wasn’t terrible but I didn’t love the beige-colored surround and hearth. If you have never tiled anything before, I think pebble tile is a great place to start. I love pebble tile because it has an earthy-look without being too rustic and the colors are so pretty and soothing. It’s also a classic option that I think I’ll still love in a decade. The thing I love most is that you don’t have to have any fancy tools to cut the pebble tile. The pebbles come on a mesh sheet that you cut with very sharp scissors.
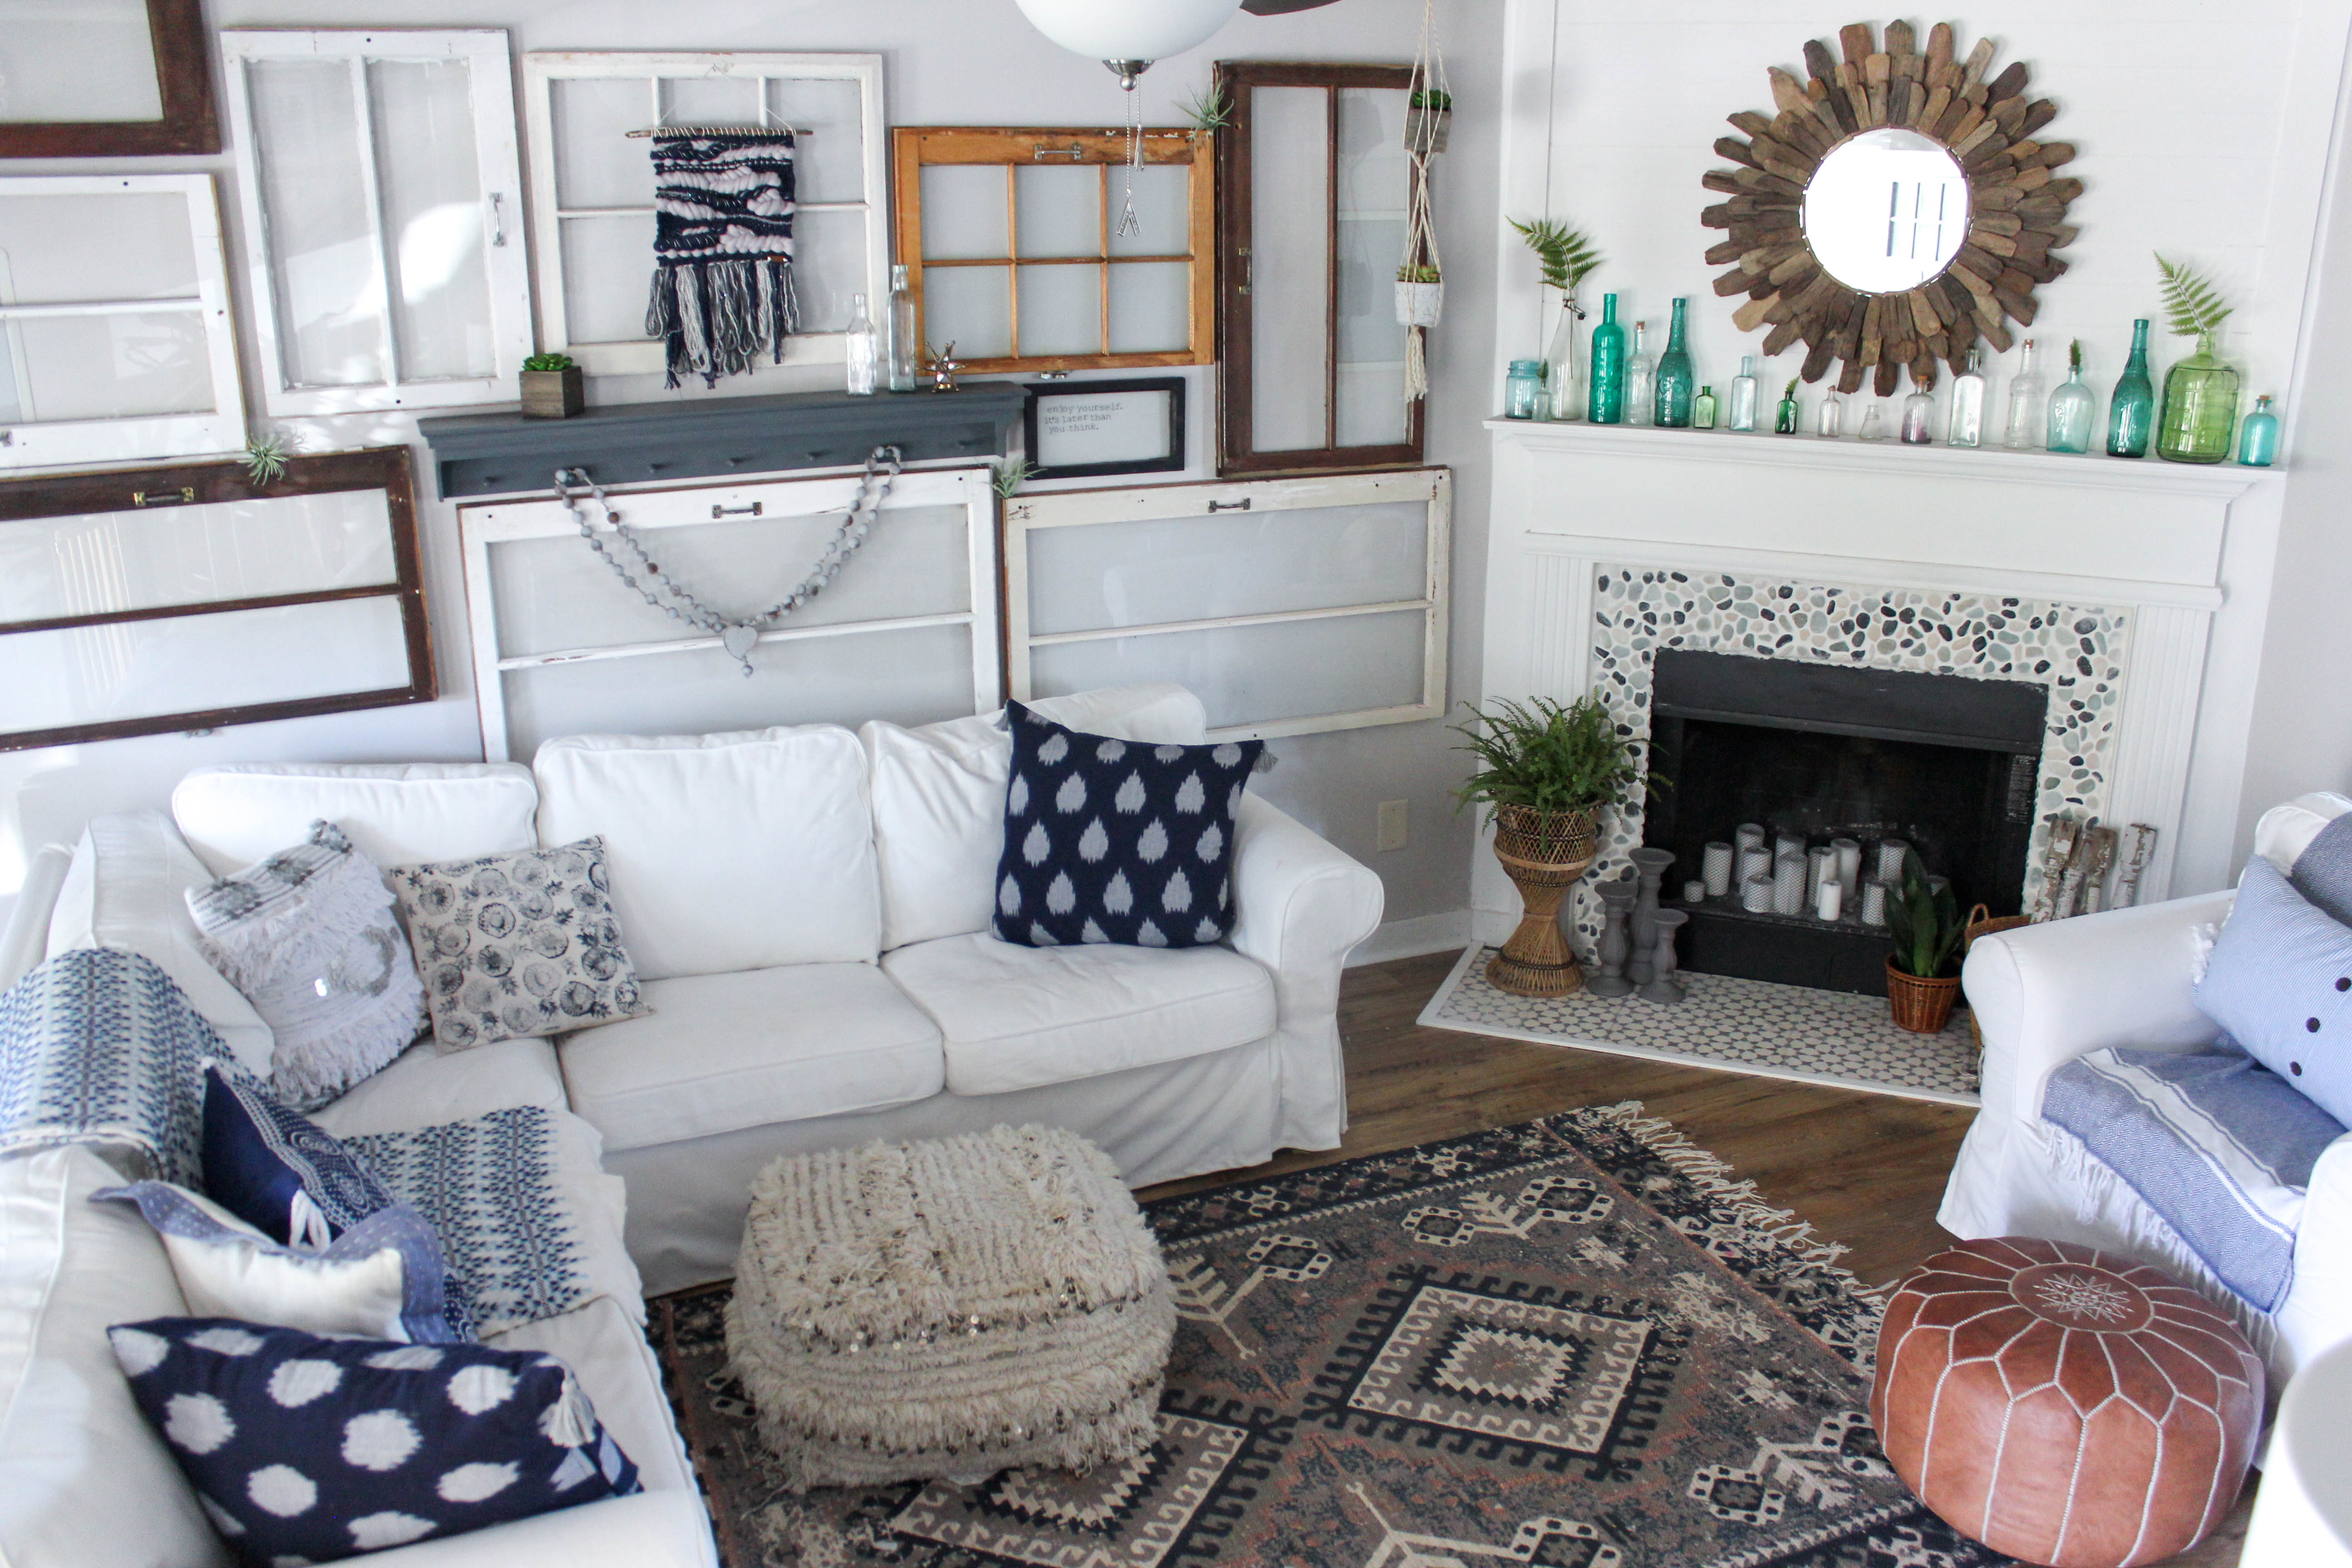
I was so excited to partner with the Pebble Tile Shop for this makeover. The Pebble Tile Shop has perhaps one of the largest selections of pebble tile online and always offers free shipping. They also have a variety of glass, pearl and wood tiles.
Okay, so here’s a quick primer on pebble tiles. The Pebble Tile Shop offers a variety of styles that include:
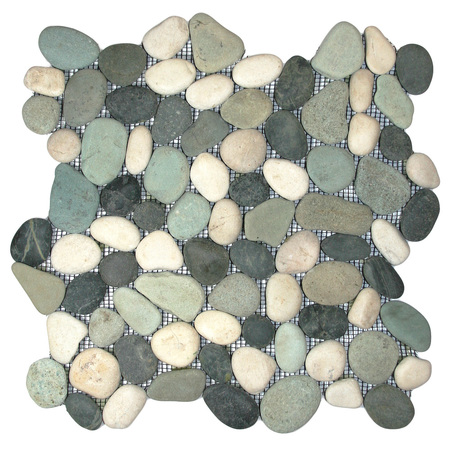
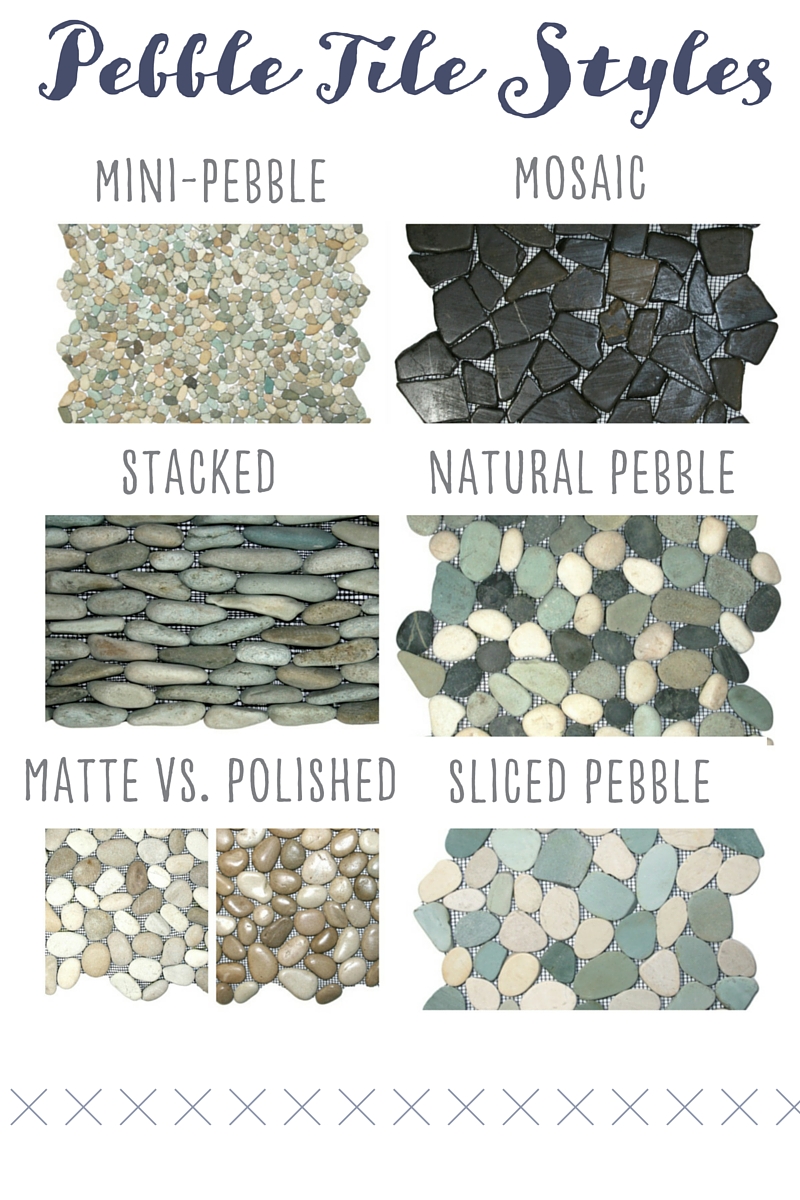 Before I committed, I ordered a few different styles and colors to compare them in person. I ended up choosing the Bali Turtle Pebble Tile, which has pretty sea-inspired hues. I needed 8 or 9 sheets for my fireplace surround but you may want to order a few extra sheets. This will give you options for filling odd spaces later. I need a lot of long, skinny pieces so having a few extra sheets allowed me to pick and choose the best shapes. You can always use the leftovers on a planter or other project.
I talked to a few local contractors before I got started and decided that the easiest route would be to tile over the existing surround. If you have a Chip Gaines-type around who wants to rip the surround out, fantastic. If not, you can do this the quick and easy way like I did!

Power Sander
Coarse Sanding Pads
Pebble Tile
Pre-Mixed Mortar
Pre-Mixed Non-Sanded Grout in White
Small Notched Trowel
Grout Float
Sponge
Bucket
Industrial Scissors
Stone Sealer
Brush or foam roller for applying sealer
Painter’s Tape
*If you have any future tile projects in mind, this $30 tile kit might be a smart investment. It includes everything above and tile snippers, which you won’t need for this project but could come in handy later.

- The contractors I spoke with all insisted that the pebble tile could be applied over the existing surround if I used a power sander to really rough up the surface. Make sure you wear eye protection and a mask while you’re doing this! (Please forgive the poor lighting and in-progress shots of the planked fireplace wall. I was doing this makeover, little by little, while the kids were in bed!)

- Once your surface has been sanded and wiped down and you’ve taped off the wood, hold the pebble tile sheet up to the surround to get an idea of how to lay your tile out. I started in the bottom left corner and worked my way around the fireplace surround.Since there isn’t a pattern, this is really a whatever-looks-good process. Use your notched trowel to apply the mortar to the surround. You will use the industrial scissors to cut the pebble sheet, sort of creating puzzle pieces to fit your surround. Press the cut sheet into the mortar carefully so the mortar doesn’t squeeze through the mesh too much. Work your way around the fireplace surround this way.
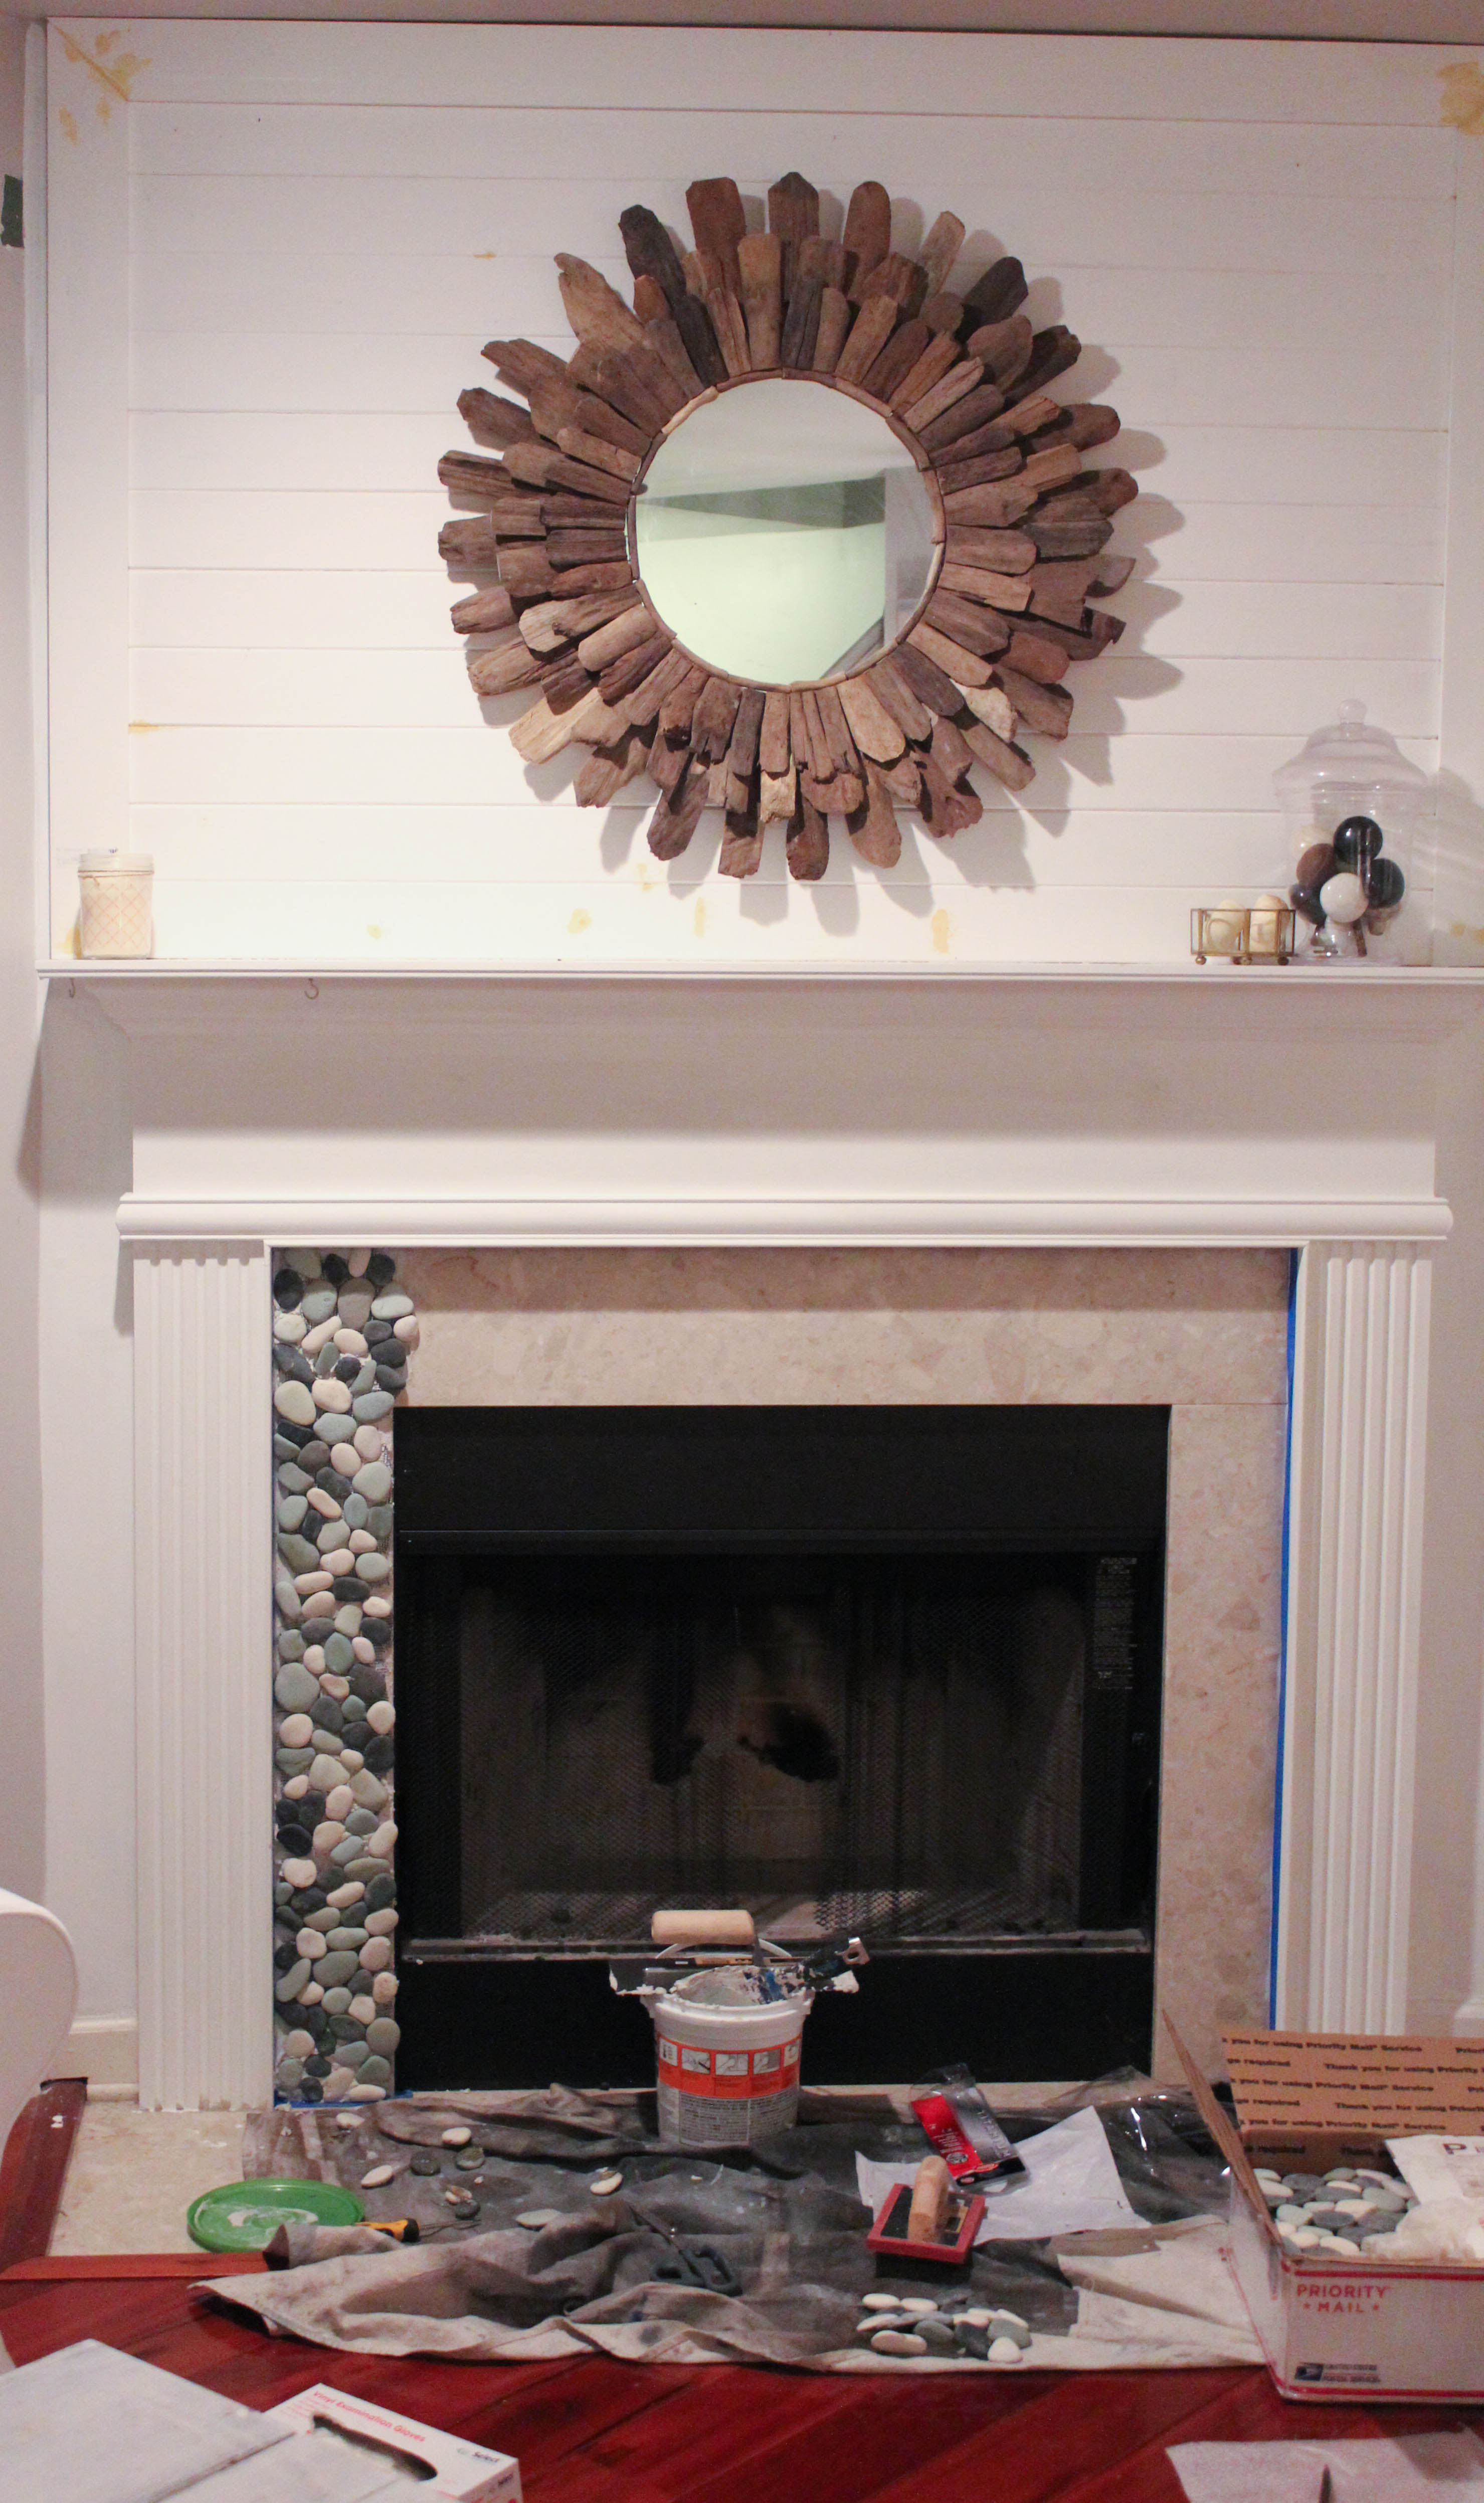
3. You will likely find that you need to remove individual pebbles from the sheets to fill spaces. Again, I found this to be a whatever-looks-right process. Relax and do whatever works for you! Once the surround is covered, allow the mortar to dry for at least 24 hours.
4. Using a brush or foam roller, apply a stone sealer to the pebbles. DO NOT SKIP THIS! If you skip this step, your grout will stick to the surface of the pebbles and be an absolute pain to remove! Let the sealer dry for the recommended time (I believe it is an hour) and prepare your supplies for grouting. This is going to get messy!

5. Here’s where I goofed and ended up hating the fireplace for months until I got the moxie to fix it; don’t use SANDED grout. The first time I applied grout, I used a pre-mixed sanded grout in a bone color and it looked like a wave rolled through the living room and plastered pebbles to the wall. It was messy-looking and awful. Traditionally, you use sanded grout when the grout lines are going to be 1/8″ or larger but if you’re going to recreate this look, I highly recommend using white UNSANDED grout. It will give you a cleaner finish. 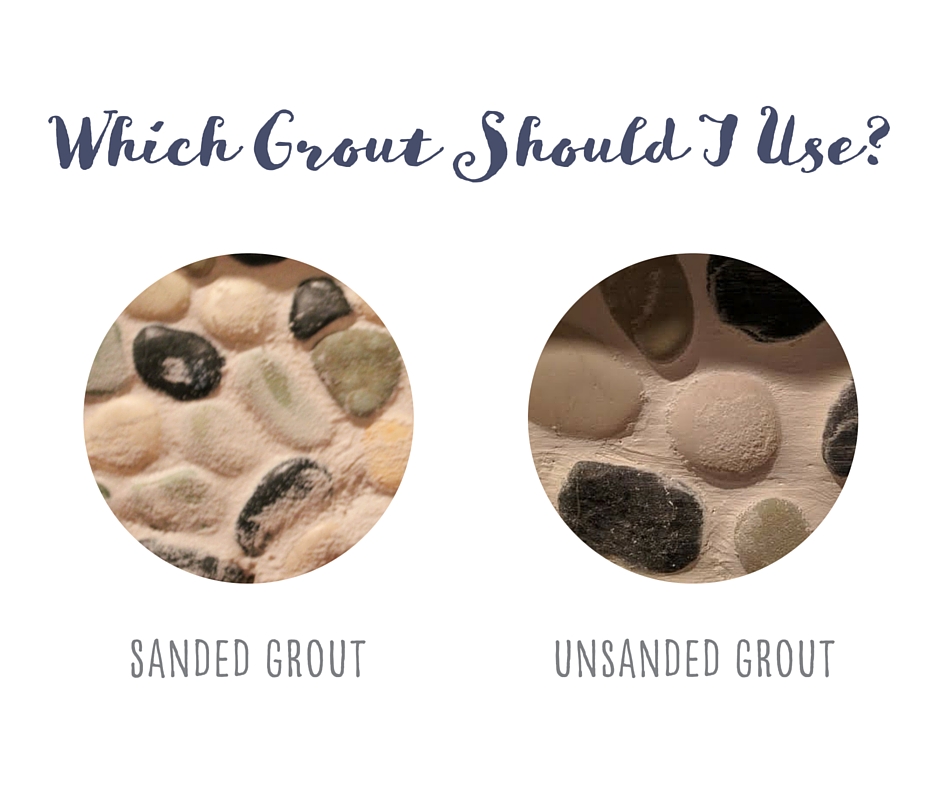 Working in small sections, use the grout float to apply the grout over the pebbles. You may need to use your fingers to press the grout in between the stones. Wear gloves or wash your hands quickly; grout can give you contact dermatitis which is no fun. Keep your bucket of water and sponge next to you so you can remove the excess grout with the wet sponge. Again, work your way around the fireplace surround then allow the grout to dry for 24 hours at which point you should apply the stone sealer one more time.
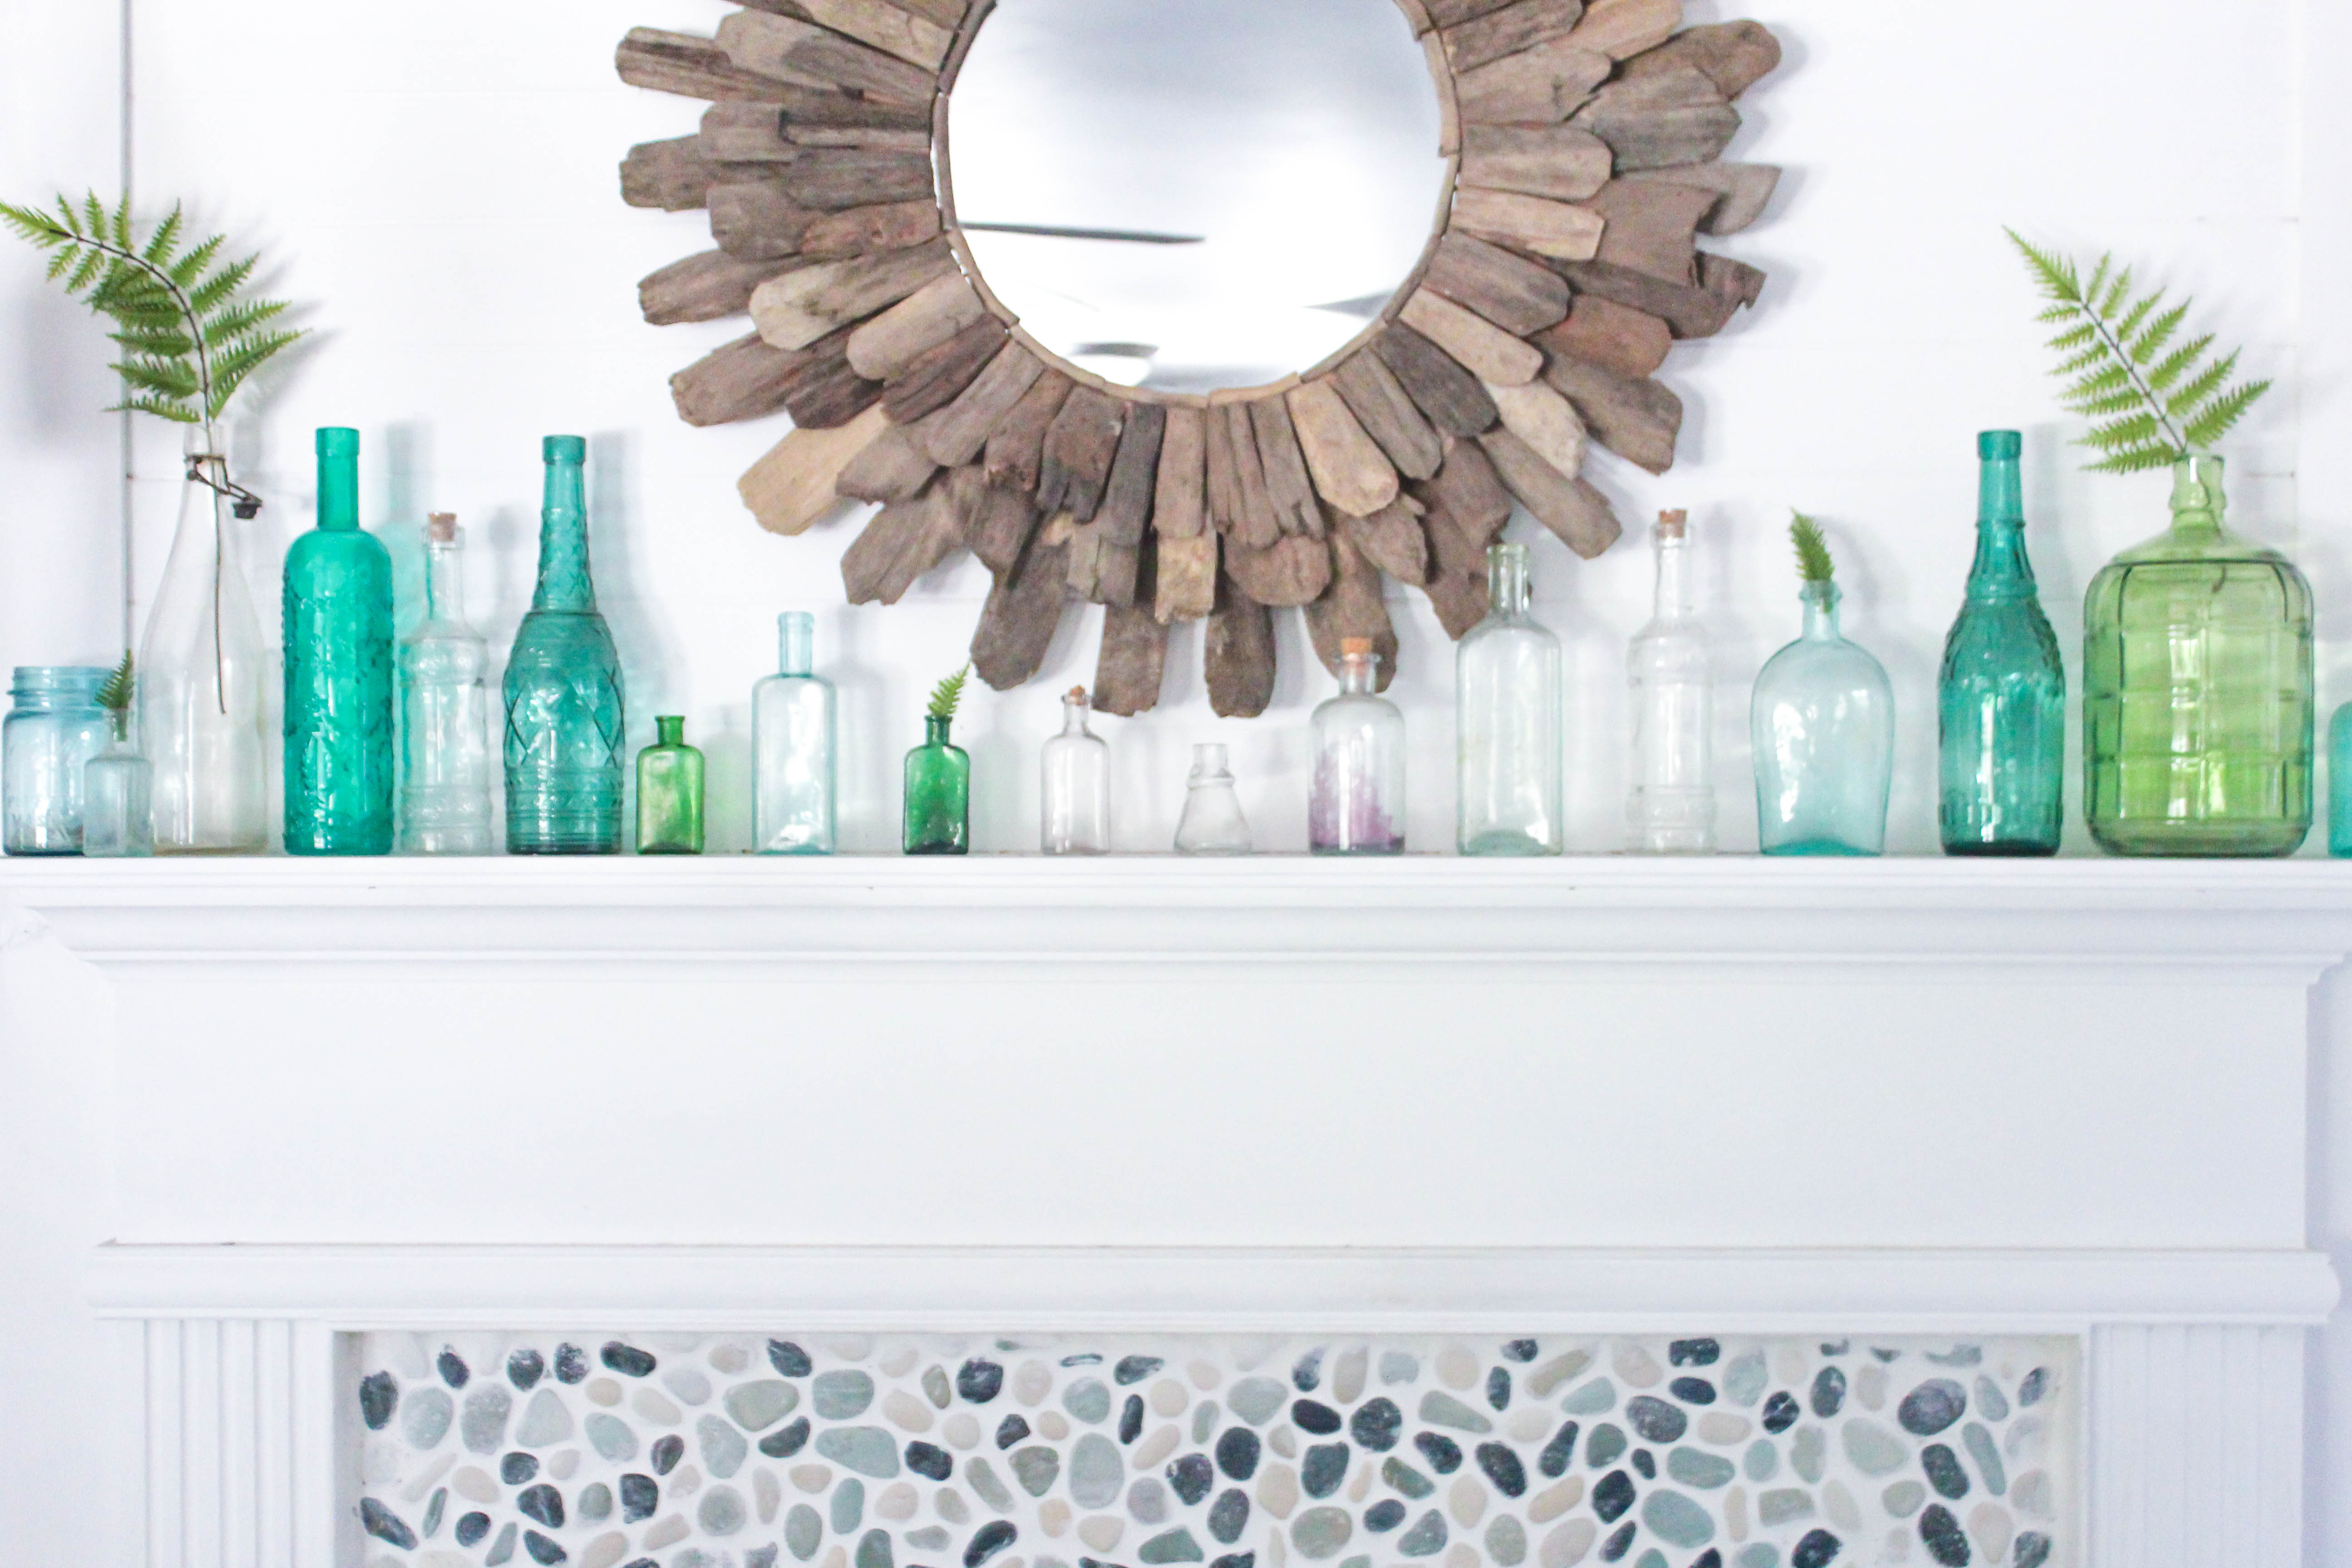
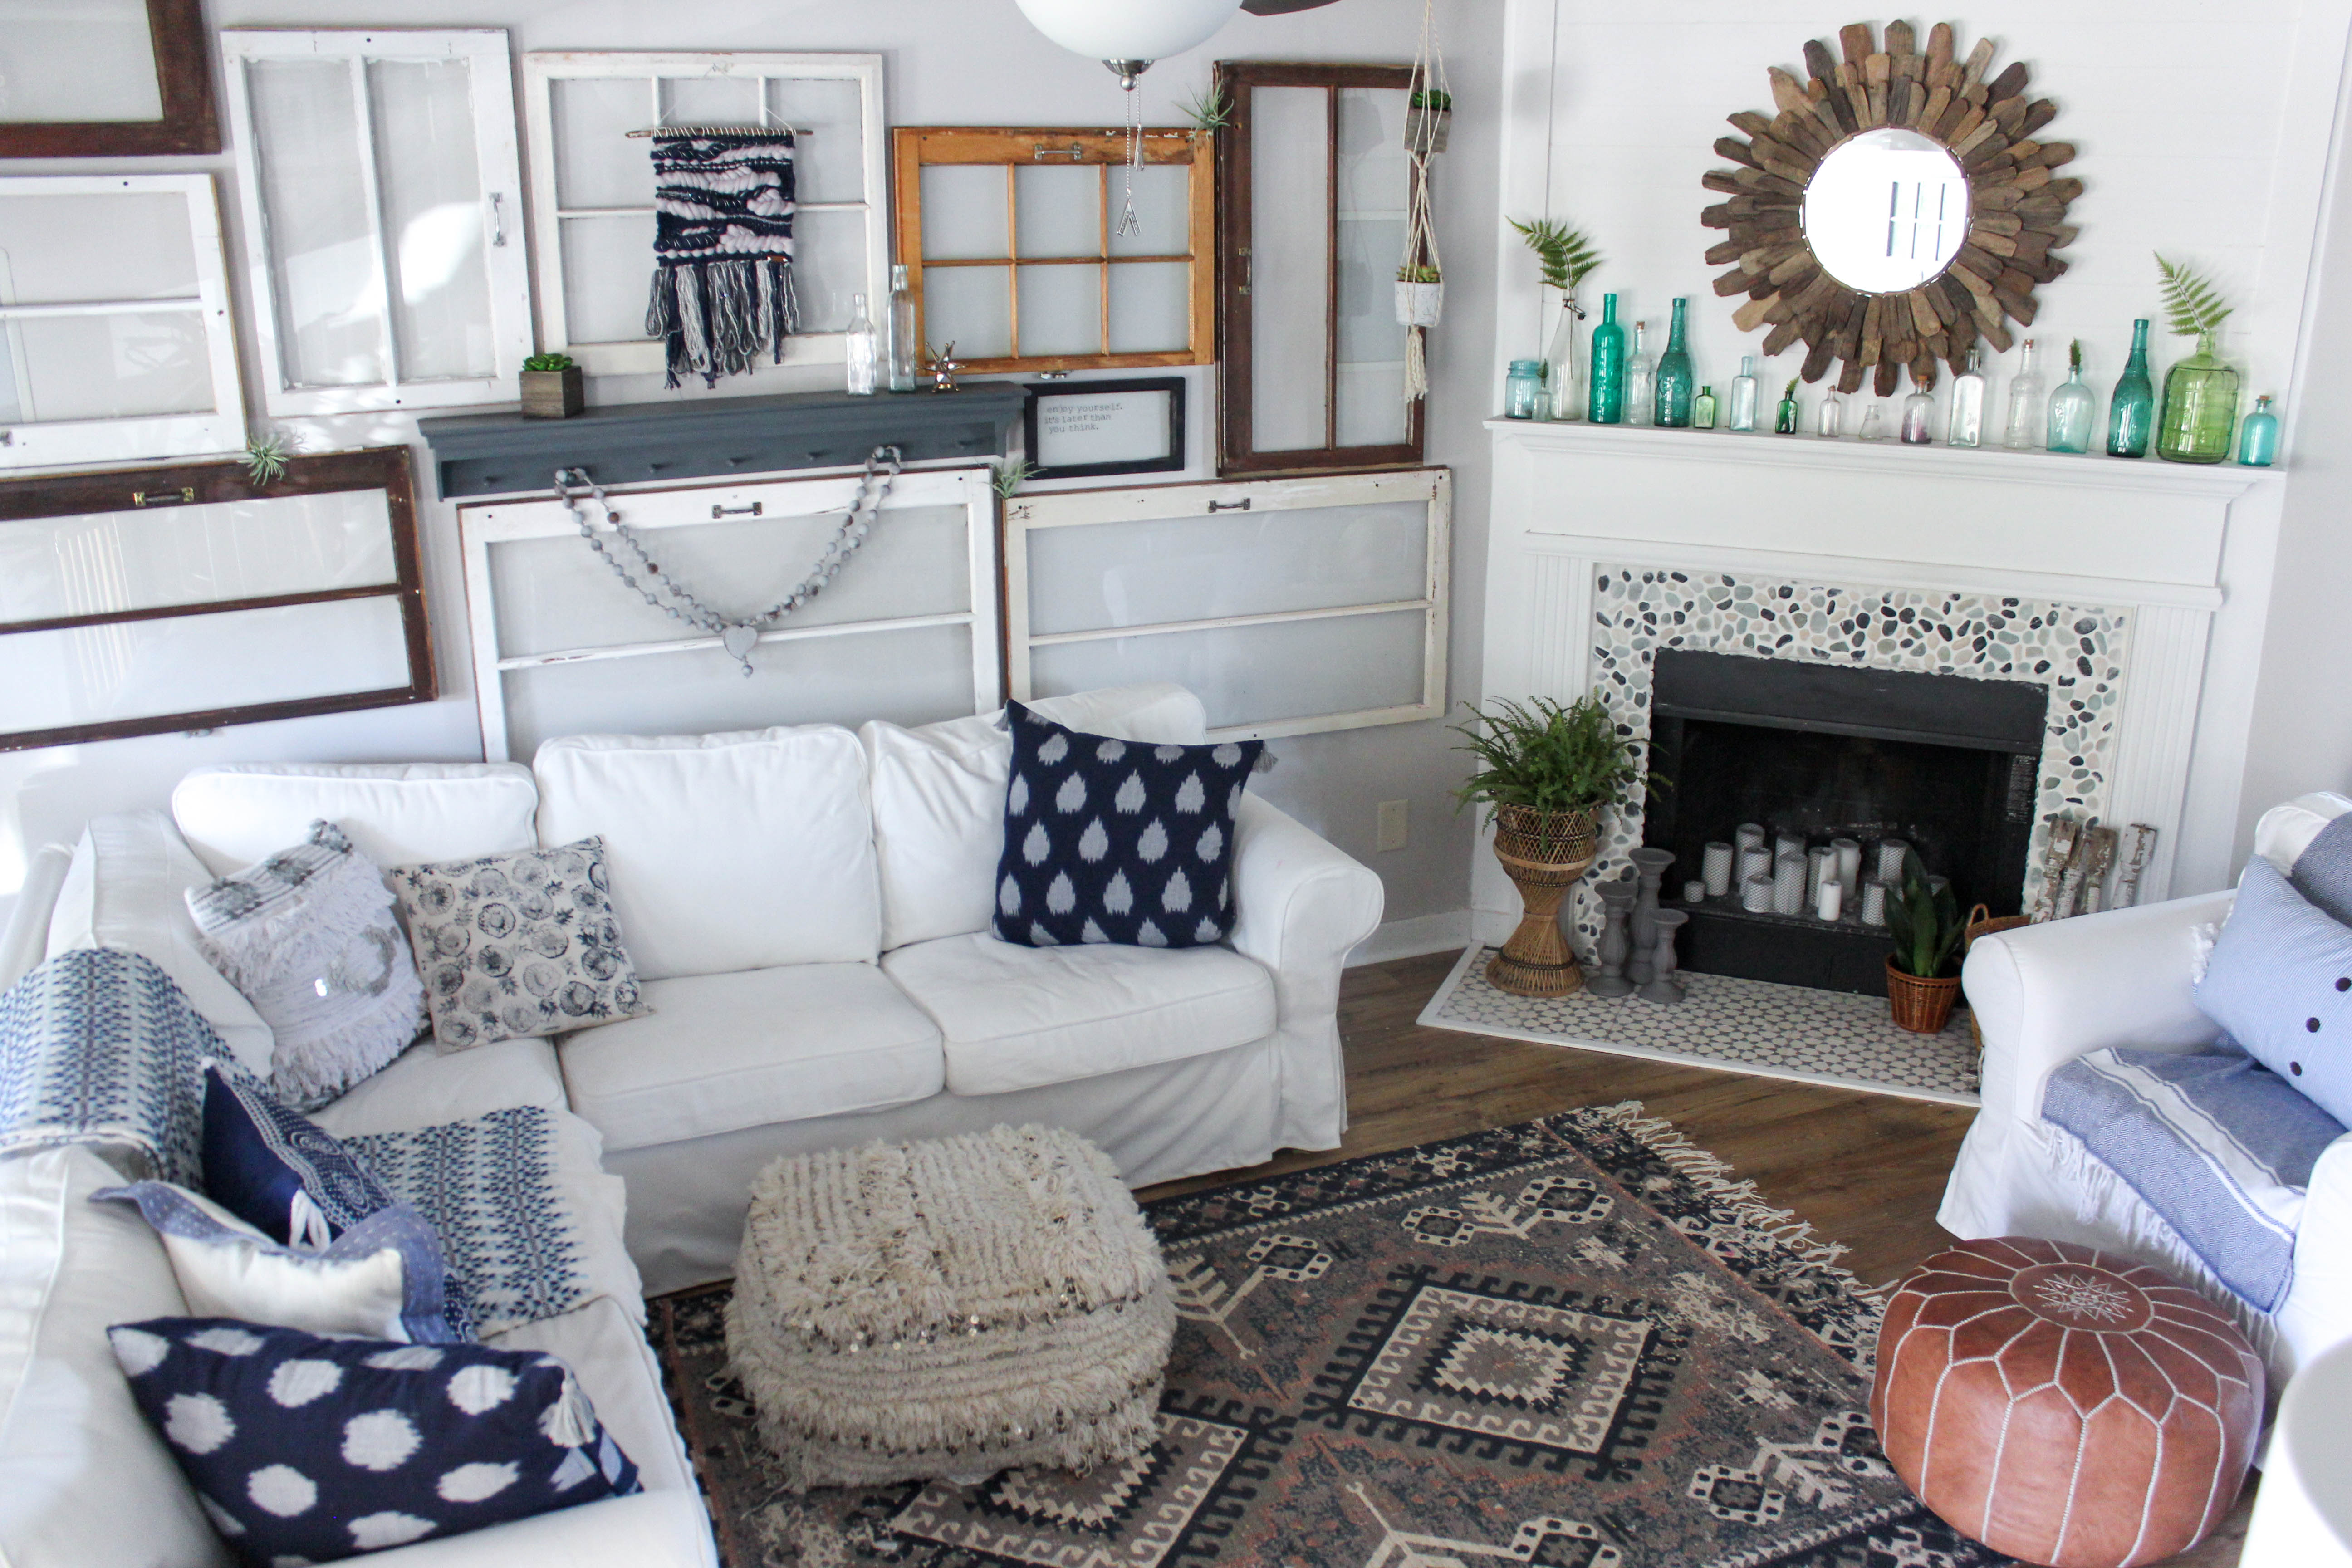
Tell me friend, does your fireplace surround bug you? Would you tackle this project?
*This post was written in collaboration with the Pebble Tile Shop. The opinions are my own, based on my experience with the product. This post also contains affiliate links meaning if you follow or purchase any of the suggested products, I will make a small commission at no cost to you. This helps me keep Our Storied Home running and will never be used to recommend products I do not use in my own home. Please feel free to read my policies if you’d like more information.





3 Responses
i adore the natural look of the pebble- so beautiful!
My new favourite website and Instagram account! Thank you for the beautiful inspiration and gorgeous pictures of your amazing space! :)
What did you do to the surround part on the floor? Thanks, Dale